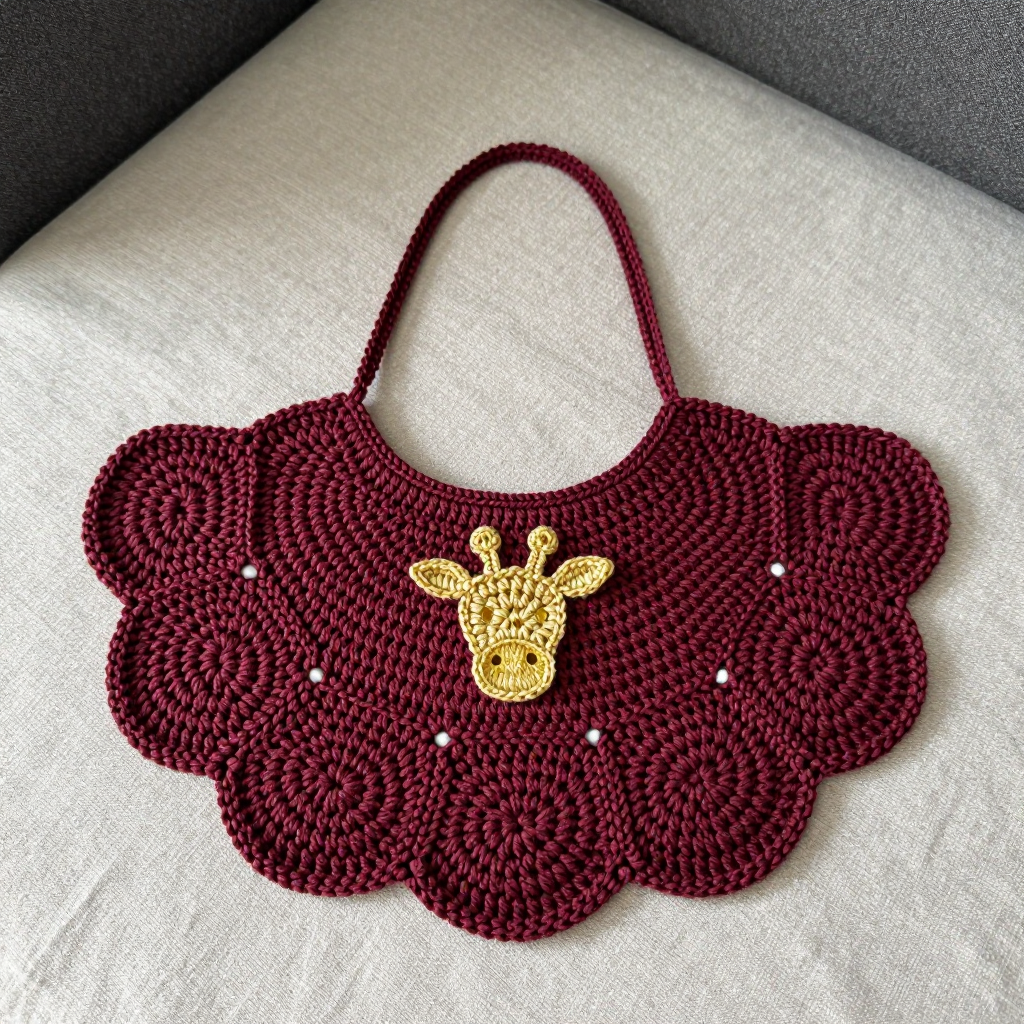
Shell Circle Berry Banner Free Pattern: Crochet Folk Art Garland

Introduction
Welcome to your very first crochet adventure! This Shell Circle Berry Banner is the perfect project for anyone who has just learned a few basic stitches and wants to make something genuinely beautiful. It is a folk-art garland made of seven round medallions, each one a little cream circle framed by sage-green shell stitches with a tiny red strawberry tucked in the middle. The finished garland looks cozy and handmade in the best way, with soft matte wool, visible stitch texture, and a gentle scalloped edge. It drapes beautifully across a mantel, a nursery wall, or a seasonal table, and because each medallion is small, you get the joy of finishing something in one sitting. If you can make a chain and a single crochet, you can absolutely make this.
Materials Needed
- Yarn: Aran weight wool blend, approximately 100g total: 60g cream, 40g sage green, plus a small amount (about 5g) of red for the berries.
- Crochet hook: 4.0 mm (US G/6).
- Stitch markers: At least 7, to mark the first stitch of each round.
- Tapestry needle: A blunt-tipped yarn needle for sewing and weaving in ends.
- Scissors: Sharp small scissors for cutting yarn.
- Small amount of fiberfill (or use yarn tails) to stuff the strawberries lightly.
- Finished size: Each medallion is about 3.5 in (9 cm) in diameter. The full garland is about 40 in (100 cm) long, with medallions spaced about 4 in (10 cm) apart.
Abbreviations and Beginner Glossary
- ch – chain: wrap yarn over hook and pull it through the loop on your hook. This makes a small linked loop.
- sl st – slip stitch: insert hook into the stitch, wrap yarn over, and pull it through both the stitch and the loop on your hook at once. It joins without adding height.
- sc – single crochet: insert hook into stitch, wrap yarn over, pull up a loop (2 loops on hook), wrap yarn over, pull through both loops. One loop remains.
- dc – double crochet: wrap yarn over hook, insert into stitch, wrap yarn over, pull up a loop (3 loops on hook), wrap yarn over, pull through 2 loops, wrap yarn over, pull through last 2 loops.
- sc2tog – single crochet two together (a decrease): insert hook into first stitch, pull up a loop, insert hook into next stitch, pull up a loop (3 loops on hook), wrap yarn over, pull through all 3 loops. This turns two stitches into one.
- st / sts – stitch / stitches.
- sp / sps – space / spaces (the gap made by a chain).
- magic ring – an adjustable loop you make with yarn, then crochet into, and pull closed so there is no hole in the center.
- picot – a tiny decorative bump: ch 3, then sl st into the third chain from your hook.
- join with sl st – finish a round by making a slip stitch into the first stitch of that round so the circle closes.
- fasten off – cut the yarn leaving a tail, then pull the tail through the last loop to secure it.
- weave in ends – thread a yarn tail onto the tapestry needle and sew it back and forth through the back of the work to hide it.
Gauge
Gauge: The first 3 rounds of the medallion should measure 2 in (5 cm) across. The finished medallion should measure 3.5 in (9 cm) in diameter.
Gauge means how big your stitches come out. It matters because if your stitches are too loose, your medallions will be floppy and oversized; if too tight, they will be stiff and small. To check, simply crochet Rounds 1–3 of one medallion and measure straight across the circle. If it is bigger than 2 in, try a smaller hook; if smaller, try a larger hook. Because this is a decorative garland, small differences are fine, but matching gauge keeps all seven medallions the same size.
Beginner Tips Before You Start
- Use a stitch marker. Place it in the first stitch of each round so you always know where the round began and where to join.
- Do not pull your yarn too tight. Keep a relaxed, even tension so the hook slides easily and your shells stay puffy.
- Count after every round. The stitch counts in parentheses tell you exactly how many stitches you should have. Check before moving on.
- Pull the magic ring closed firmly after Round 1 so the center is neat and hole-free.
- Make one complete medallion first as a practice piece before starting all seven. It teaches you the whole rhythm.
- Keep your color changes tidy by changing to sage green at the very start of Round 4, leaving a 6 in tail to weave in later.
Step-by-Step Instructions
Medallion (make 7)
Each medallion is worked in joined rounds. Do not turn at the end of rounds unless stated.
Round 1: With cream, make a magic ring. Ch 3 (counts as first dc), work 11 dc into the ring, join with sl st to top of ch-3. Pull ring closed. (12 dc)
Round 2: Ch 3 (counts as first dc), dc in same st, 2 dc in each st around, join with sl st to top of ch-3. (24 dc)
Round 3: Ch 1, sc in same st, ch 2, skip next st, *sc in next st, ch 2, skip next st; repeat from * around, join with sl st to first sc. (12 sc, 12 ch-2 sps)
Round 4 (shell round): Change to sage green. Ch 1, sc in same st, *skip next ch-2 sp, work 5 dc in next sc, skip next ch-2 sp, sc in next sc; repeat from * around, join with sl st to first sc. (6 shells, 6 sc)
Round 5 (picot edging): Ch 1, sc in same st, *ch 3, sl st in third ch from hook (picot made), sc in each of next 5 dc of shell, ch 3, sl st in third ch from hook, sc in next sc; repeat from * around, join with sl st to first sc. Fasten off sage green and weave in ends. (6 picot-edged shells)
Strawberry Center (make 7)
Round 1: With red, make a magic ring. Ch 1, work 6 sc into ring, join with sl st to first sc. Pull ring closed. (6 sc)
Round 2: Ch 1, sc in same st, 2 sc in next st, sc in next st, 2 sc in next st, sc in next st, 2 sc in next st, join with sl st to first sc. (9 sc)
Round 3: Ch 1, sc in each st around, join with sl st to first sc. (9 sc)
Round 4: Ch 1, sc in same st, sc2tog, sc in next st, sc2tog, sc in next st, sc2tog, join with sl st to first sc. Stuff lightly with yarn tail or a small amount of fiberfill. (6 sc)
Round 5: Ch 1, sc2tog around, join with sl st to first sc. Fasten off, leaving a 6 in (15 cm) tail. (3 sc) Using the yarn needle, draw the tail through the remaining 3 sts and pull tight to close.
Joining Chain
With cream, leave a 6 in (15 cm) starting tail. Ch 12, then *sl st in a picot of the first medallion, ch 12, make a picot (ch 3, sl st in third ch from hook), ch 12; repeat from * for each of the seven medallions, ending with ch 12 after the seventh medallion. Fasten off, leaving a 6 in (15 cm) tail. Use the tails at each end to make a small hanging loop.
Assembly and Finishing
Sew on the strawberries: Thread the red tail of each strawberry onto the tapestry needle and sew it to the center of a medallion, placing it over the cream center. Take several small stitches around the base and secure firmly, then weave in the end on the back.
Attach the medallions: As you work the joining chain, slip stitch each medallion to the chain at one of its picots, spacing them about 4 in (10 cm) apart. Adjust spacing evenly before fastening off.
Weave in ends: Thread each remaining tail onto the needle and sew it back and forth through the back of the work for about 1 in, then trim close.
Block: Lightly steam or spritz each medallion with water and pin flat on a towel or blocking mat. Let dry completely. This opens the shell stitches and flattens the edges so the garland hangs neatly.
Hang: Use the loops at each end of the chain to hang your garland.
Pro Tips and Variations
- Change the palette: Try dusty rose and oatmeal for a softer look, or mustard and charcoal for a bolder folk-art feel.
- Adjust the length: Make more or fewer medallions and add extra chain between them to fit a longer mantel or a narrow doorway.
- Substitute yarn: A cotton aran will give crisper stitch definition, while a softer wool blend gives a cozier, fuzzier finish. Just check your gauge again.
- Skip the stuffing: For a flatter garland, leave the strawberries unstuffed and simply sew them flat to the medallion center.