Tartan Twilight Throw Free Pattern – A Crocheted Plaid Blanket with Fringe
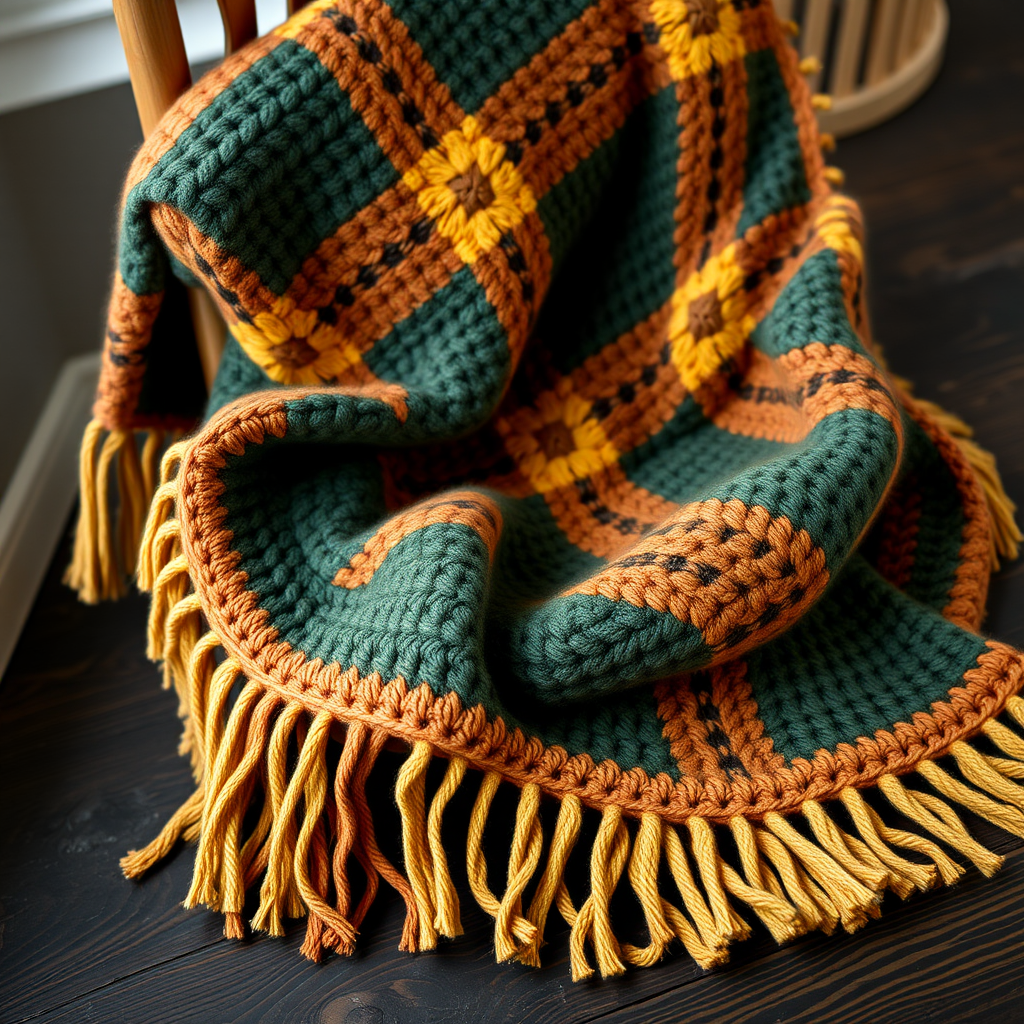
Cozy Up with the Tartan Twilight Throw: A Beginner-Friendly Crochet Plaid Blanket
There's something undeniably magical about a plaid blanket. It evokes memories of crisp autumn days, crackling fireplaces, and the simple comfort of home. Now, imagine wrapping yourself in that feeling, crafted by your own two hands. The Tartan Twilight Throw is a stunning crochet pattern that brings the timeless beauty of tartan into the modern era. Using a clever colorwork technique with basic single crochet stitches, you can create a dense, textured, and gorgeously rustic blanket that looks like a family heirloom. This pattern is perfect for confident beginners looking to tackle their first big project or any crocheter wanting a cozy, stylish addition to their living space. Let's grab our hooks and yarn, and start creating this beautiful piece of comfort.
Materials Needed: Gathering Your Tartan Toolkit
Before we dive into the stitches, let's make sure you have everything you need. This project is wonderfully straightforward, requiring just a few key supplies to bring the Tartan Twilight Throw to life.
- Yarn: Worsted weight yarn in 4 colors. The pattern uses a classic autumn palette:
- Color A (Deep Forest Green): For the foundation, border, and main grid.
- Color B (Rust Orange): For the first contrasting stripe.
- Color C (Mustard Yellow): For the second contrasting stripe.
- Color D (Cream): For the final light stripe.
- Crochet Hook: A 5.5 mm (I-9) crochet hook. This size is perfect for worsted weight yarn, creating a fabric that is dense and warm but not too stiff.
- Scissors: For cutting your yarn and trimming the fringe.
- Yarn Needle: A large-eye tapestry needle for weaving in the ends and finishing the fringe.
- Stitch Markers (Optional): These can be helpful for keeping track of your rows, especially when you're working with color changes.
Step-by-Step Instructions: Weaving Your Plaid Masterpiece
This pattern is all about repetition and rhythm. The magic happens by creating "skipped" stitches that form the horizontal lines of your plaid, while the color changes create the vertical blocks. Follow these detailed instructions carefully, and you'll be amazed at the beautiful pattern that emerges.
Getting Started: The Foundation and First Stripe
Foundation: With Color A (Deep Forest Green), make a loose chain of 160 stitches. It's crucial to keep this chain loose so your foundation edge doesn't pucker. You can use a hook one size larger just for the chain if you tend to crochet tightly.
Row 1: Single crochet (sc) in the 2nd chain from your hook and in each chain across. When you reach the end, turn your work. You should now have 159 single crochet stitches.
Rows 2-10: Chain 1 (this counts as your turning chain, but does not count as a stitch), then single crochet in each stitch across. Turn at the end of each row. After Row 10, you will have a solid block of green.
Creating the Plaid Effect: The Skip Stitch Technique
This is where the tartan pattern begins to take shape! The "skipped" stitches will create the horizontal bars of your plaid.
Row 11 (Color Change): Change to Color B (Rust Orange). Chain 1. Single crochet in the first 10 stitches. Now, for the magic: *Skip the next 5 stitches, then single crochet in the next 10 stitches.* Repeat from * to * across the row. You will end with single crochet in the last 9 stitches. Turn.
Pro-Tip: When you skip stitches, you are creating a gap. Later, you will work into these gaps to create the intersecting lines of the plaid.
Rows 12-20: With Color B, chain 1, and single crochet in each stitch across. This includes the stitches you worked into the skipped gaps. Turn at the end of each row. This solid block of orange will form the first vertical stripe.
Building the Pattern: Repeating the Color Blocks
Now you'll repeat the exact same process with your remaining colors to build the full plaid grid.
Rows 21-30 (Color C): Change to Color C (Mustard Yellow). Repeat the instructions from Row 11: Chain 1, sc in first 10 stitches, *skip next 5 stitches, sc in next 10 stitches* across, ending with sc in last 9 stitches. Turn. Then, for Rows 22-30, chain 1 and sc in each stitch across. Turn.
Rows 31-40 (Color D): Change to Color D (Cream). Repeat the same pattern: Chain 1, sc in first 10 stitches, *skip next 5 stitches, sc in next 10 stitches* across, ending with sc in last 9 stitches. Turn. Then, for Rows 32-40, chain 1 and sc in each stitch across. Turn.
Rows 41-50 (Back to Color A): Change back to Color A (Deep Forest Green). Repeat the same pattern: Chain 1, sc in first 10 stitches, *skip next 5 stitches, sc in next 10 stitches* across, ending with sc in last 9 stitches. Turn. Then, for Rows 42-50, chain 1 and sc in each stitch across. Turn.
Scaling Your Blanket: Repeating the Sequence
You've just completed one full sequence of the plaid pattern! To make your throw a beautiful, cozy size, you'll need to repeat this sequence.
Repeat Rows 11-60 two more times. This means you will go through the Color B, Color C, Color D, and Color A blocks two more times. This repetition will create the full, repeating tartan grid across the entire blanket.
Finishing Touches: The Border and Fringe
Once you've completed all your rows, it's time to give your blanket a polished, professional finish.
Final Border: With Color A (Deep Forest Green), work a round of single crochet around the entire blanket. When you reach a corner, work 3 single crochet stitches into the corner stitch to help the border turn the corner smoothly and lie flat. Continue around the whole perimeter, then fasten off and weave in your ends.
Adding the Fringe: The fringe is the perfect final touch! Cut 12-inch lengths of each of your four yarn colors. For each fringe tassel, take 3 strands of yarn (you can mix colors or keep them uniform). Fold the strands in half. Insert your crochet hook from the back to the front through an edge stitch on the short end of the blanket. Pull the folded loop of yarn through the stitch. Then, pull the loose ends of the yarn through the loop and pull tight to secure. Place a fringe tassel every 2 inches along both short edges of the blanket. Once all the fringe is attached, trim the ends evenly for a clean, finished look.
And there you have it—your very own Tartan Twilight Throw! This project is a labor of love, but the rhythmic stitching and the beautiful, evolving pattern make it a joy to create. The result is a stunning, cozy blanket that brings a touch of rustic elegance to any room. Whether you're snuggling up on the couch or draping it over a favorite chair, this throw is sure to be a cherished handmade treasure for years to come. Happy crocheting!


