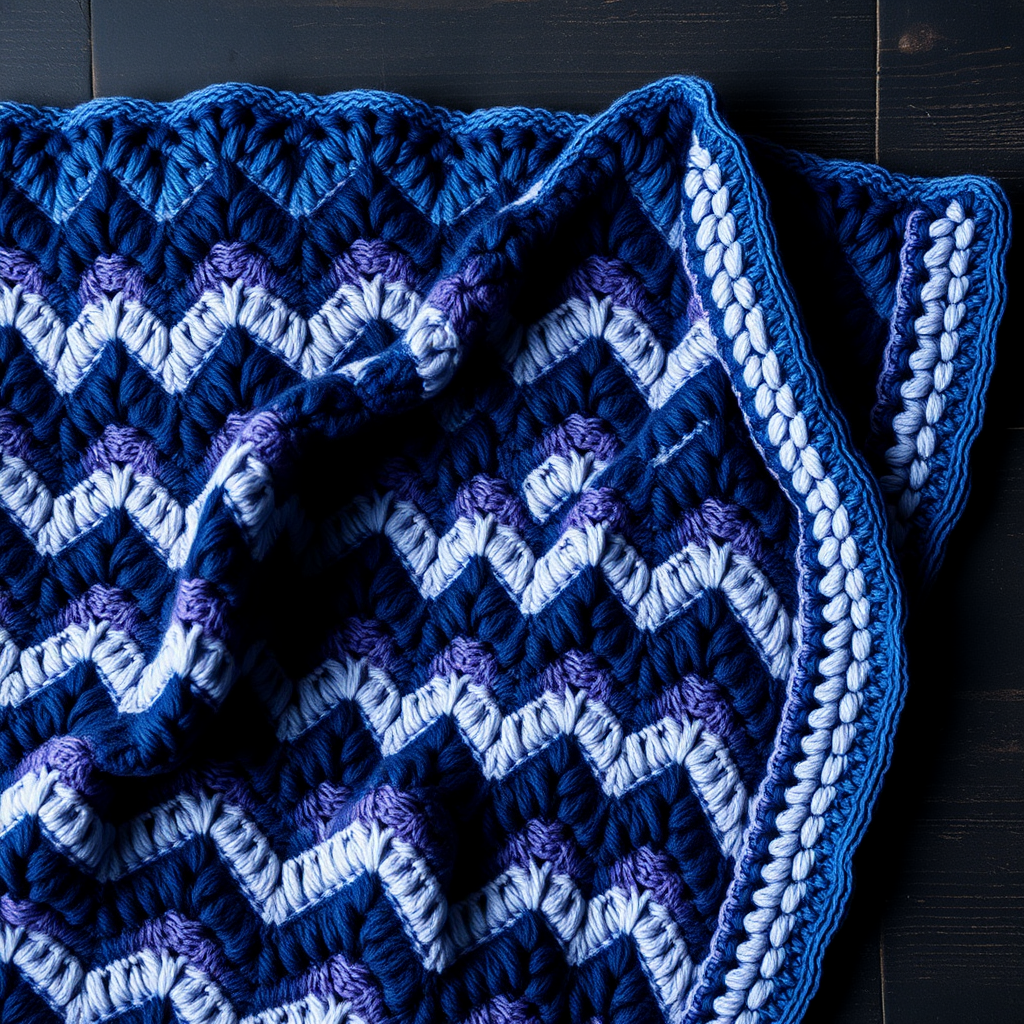
Whispering Petals Corner-to-Corner Crochet Throw Free Pattern

Introducing the Whispering Petals Corner-to-Corner Crochet Throw
There are certain crochet projects that feel less like crafting and more like meditation. The Whispering Petals Corner-to-Corner (C2C) Crochet Throw is precisely that kind of project. Imagine wrapping yourself in a gentle cascade of soft gradient petals—dusty rose, sage green, soft gold, and blush pink—blooming across a creamy, off-white canvas. This isn't just a blanket; it's a modern heirloom piece designed to bring warmth and quiet elegance to any living space.
Using the beloved corner-to-corner technique, this pattern is perfect for intermediate crafters who are ready to move beyond basic squares and explore diagonal construction. The rhythmic, repetitive nature of C2C makes it a wonderfully meditative project, while the carefully planned color sequence creates a stunning, subtle gradient effect that feels both contemporary and timeless. Whether you're curling up on the couch or adding a handmade touch to a guest room, this throw is sure to become a treasured favorite.
Materials Needed
Before you begin your crafting journey, gather the following materials. Having everything ready will ensure a smooth, uninterrupted crochet session.
Yarn
You will need worsted weight (Category 4) yarn in five beautiful colors. The total yardage required is approximately 1800 yards. Here is the exact breakdown:
- Color A (Cream): 800 yards – This will be your primary background color.
- Color B (Dusty Rose): 400 yards
- Color C (Sage Green): 300 yards
- Color D (Soft Gold): 200 yards
- Color E (Blush Pink): 100 yards
Hook and Notions
- Crochet Hook: 6 mm (J/10) crochet hook
- Yarn Needle: For weaving in ends
- Scissors: For cutting yarn
- Blocking Mats and Pins (Optional): For finishing and shaping your throw
Gauge
To achieve the correct size and drape, your gauge should be 3 corner-to-corner blocks per 4 inches (10 cm). It's always a good idea to make a small swatch first to check your tension.
Step-by-Step Instructions: Mastering the C2C Technique
This pattern uses the classic corner-to-corner (C2C) technique, where you work diagonally from one corner to the opposite. Each "block" is a ch-3, 3-dc cluster. The project has three main phases: Increasing, Working Even, and Decreasing. Follow the written counts and color sequence carefully for a flawless result.
Understanding the C2C Block
Before you start, it's crucial to understand the anatomy of a C2C block. A block is created by working a chain-3 (which counts as your first double crochet) followed by 3 actual double crochet stitches into a designated space. When you see "3 dc," it means three double crochet stitches worked into the same chain space.
Phase 1: Increasing (Rows 1-10)
In this phase, you will be adding one block to each row, creating a growing triangle. This forms the first corner of your blanket.
Foundation Row (Row 1): With Color A, chain 6. Work 1 double crochet (dc) in the 4th chain from your hook. Work 1 dc in each of the next 2 chains. You have now created your first block. (1 block total)
Row 2: Chain 6. Dc in the 4th chain from the hook, and dc in the next 2 chains. This creates your new block. Now, slip stitch (sl st) into the chain-3 space of the block from the previous row. Chain 3, then work 3 dc into that same chain-3 space. (2 blocks total)
Row 3: Chain 6, dc in the 4th chain from the hook, dc in the next 2 chains. Slip stitch into the next chain-3 space (the one you just created), chain 3, and work 3 dc in that same space. Repeat this process across the row: slip stitch into the next chain-3 space, chain 3, and work 3 dc. (3 blocks total)
Continue Increasing: Repeat the pattern from Row 3, adding one new block at the beginning of each row, until you have 10 blocks along the diagonal side. This is the widest point of your first corner.
Color Sequence for Increases (Rows 1-10):
Follow this exact color pattern to create the beautiful gradient effect:
- Rows 1-3: Color A (Cream)
- Row 4: Color B (Dusty Rose)
- Row 5: Color A (Cream)
- Row 6: Color C (Sage Green)
- Row 7: Color A (Cream)
- Row 8: Color D (Soft Gold)
- Row 9: Color A (Cream)
- Row 10: Color E (Blush Pink)
Phase 2: Working Even (Rows 11-20)
Now that you've reached the widest point of the corner, you will stop increasing. You will now work diagonally across the middle of the blanket, maintaining the same number of blocks in each row. To do this, simply work a slip stitch into the next chain-3 space, chain 3, and work 3 dc into that space. Repeat this across the row. Do not add a new block at the beginning.
Color Sequence for Even Rows (11-20):
- Row 11: Color A (Cream)
- Row 12: Color B (Dusty Rose)
- Row 13: Color A (Cream)
- Row 14: Color C (Sage Green)
- Row 15: Color A (Cream)
- Row 16: Color D (Soft Gold)
- Row 17: Color A (Cream)
- Row 18: Color E (Blush Pink)
- Row 19: Color A (Cream)
- Row 20: Color A (Cream)
Phase 3: Decreasing (Rows 21-30)
In this final phase, you will be decreasing one block per row to create the opposite corner of your blanket. At the start of each row, you will slip stitch across the top of the first block to reach the next chain-3 space. Then, chain 3 and work 3 dc into that space. Continue across the row as normal, but do not work a block in the last space.
Detailed Decrease Row: Slip stitch into the top of the first double crochet of the previous row's first block. Slip stitch into the top of the second double crochet. Slip stitch into the chain-3 space. Chain 3, work 3 dc into that same space. Continue working 3 dc clusters into each chain-3 space across the row, stopping before the very last block.
Color Sequence for Decreases (Rows 21-30):
This sequence reverses the gradient for a symmetrical look.
- Row 21: Color A (Cream)
- Row 22: Color E (Blush Pink)
- Row 23: Color A (Cream)
- Row 24: Color D (Soft Gold)
- Row 25: Color A (Cream)
- Row 26: Color C (Sage Green)
- Row 27: Color A (Cream)
- Row 28: Color B (Dusty Rose)
- Row 29: Color A (Cream)
- Row 30: Color A (Cream) – This is your final block.
Finishing Touches
Once you have completed Row 30, fasten off your yarn and weave in all loose ends with your yarn needle. To give your throw a professional, polished look, it's highly recommended to block it. Pin the blanket to the desired dimensions on blocking mats and gently steam or mist it with water. Allow it to dry completely. This will even out your stitches and help the corners lie perfectly flat.
Optional Delicate Border
For a beautiful, finished edge, add this simple two-round border using Color A (Cream):
- Round 1: Work a round of single crochet (sc) around the entire edge of the blanket. In each corner, work 3 single crochet stitches into the same corner space to ensure the corner lies flat and turns nicely.
- Round 2: Work a round of reverse single crochet (also known as crab stitch). This is worked from left to right (or right to left if you are left-handed) and creates a lovely, twisted-cord edging that adds a delicate, refined finish.
Once your border is complete, weave in any remaining ends. Your Whispering Petals Throw is now ready to be draped, gifted, or admired. Enjoy the fruits of your labor and the beautiful, calming presence it brings to your home!