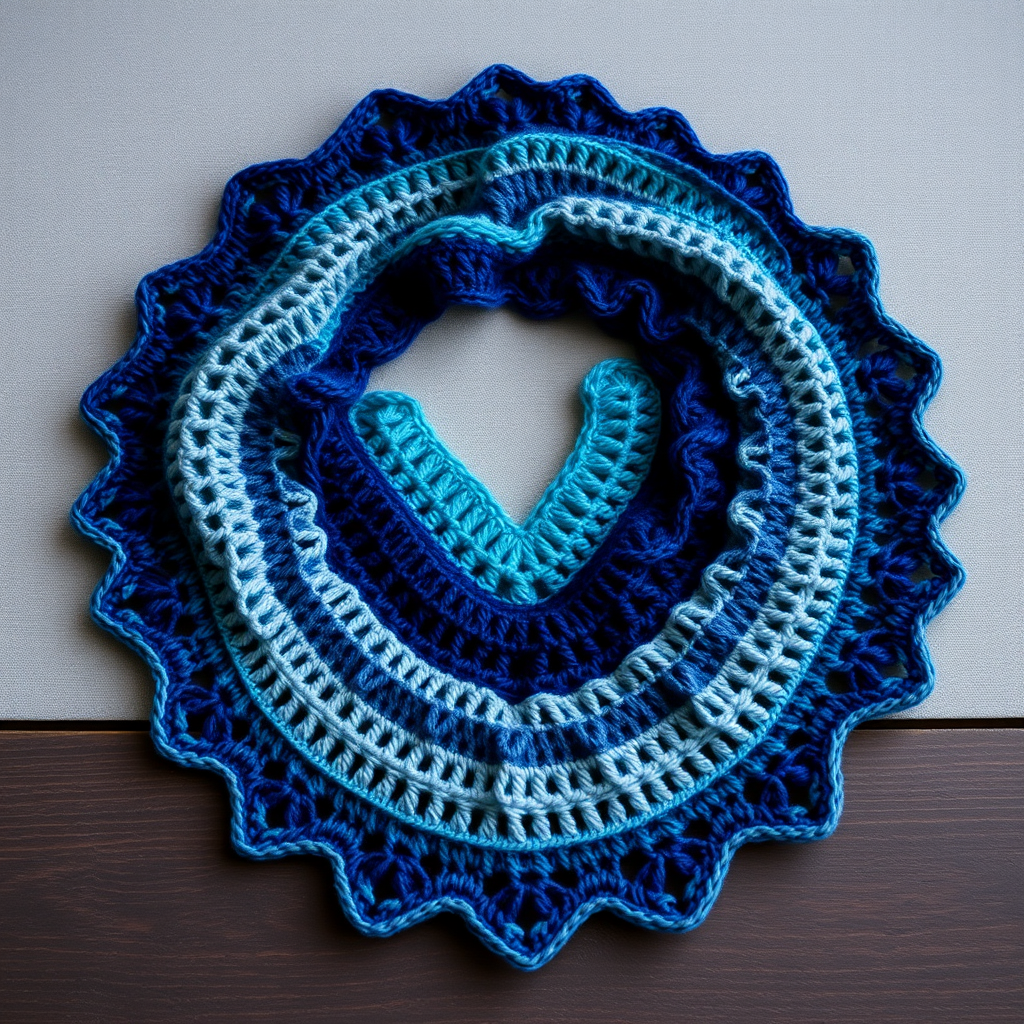
The Amethyst Cascade Scarf Free Pattern – Crochet a Lacy Magenta Ripple Wrap

The Amethyst Cascade Scarf Free Pattern – Crochet a Lacy Magenta Ripple Wrap
Drape yourself in the luxurious, flowing waves of the Amethyst Cascade Scarf, a crochet pattern that captures the shimmering beauty of a twilight waterfall. This lacy magenta ripple wrap is the perfect blend of bohemian elegance and cozy warmth, making it a stunning statement piece for any season. Whether you're a seasoned crocheter or a confident beginner looking for a rewarding project, this pattern is designed to guide you through every step, resulting in a breathtaking accessory that will turn heads.
The magic of this scarf lies in its rhythmic ripple stitch, which creates gentle peaks and valleys that mimic the ebb and flow of water. The deep, saturated magenta hue, reminiscent of amethyst crystals, adds a touch of luxury and sophistication. With its soft, airy texture and elegant drape, this wrap is as comfortable as it is beautiful. Let's dive into the pattern and create something truly special together.
Materials Needed
Before we begin, gather the following materials. Having everything ready will make your crocheting experience smooth and enjoyable.
- Yarn: Worsted weight yarn in magenta (approx. 400-450 yards). For a gradient effect, you can use optional contrasting shades, changing colors every 10 rows to create a beautiful ombre transition.
- Crochet Hook: US Size I/9 (5.5 mm) crochet hook. This size is perfect for achieving the right gauge and drape.
- Other Tools: A yarn needle for weaving in ends, and a pair of scissors.
Gauge: 4 ripple repeats (approx. 4 inches) and 6 rows (approx. 3 inches) in pattern stitch. While gauge is important for size, this pattern is forgiving—don't stress too much if your gauge is slightly off, as the scarf's length is determined by your foundation chain.
Step-by-Step Instructions
This pattern is worked in rows, creating a ripple effect with increases and decreases. The scarf is worked lengthwise, so the number of chains in your foundation determines the final length. Follow these detailed instructions carefully, and you'll have a beautiful scarf in no time.
Pattern Notes
- The pattern is worked in rows, creating a ripple effect with increases and decreases.
- Ch 3 at the beginning of each row counts as the first double crochet (dc).
- The scarf is worked lengthwise, so the number of chains determines the length.
Foundation Chain
Ch 120 loosely (or any multiple of 12 + 2 for desired length). For a longer scarf, simply add multiples of 12 to your chain. For a shorter scarf, subtract multiples of 12. The key is to keep the chain loose to prevent the edges from curling.
Row 1
Dc in the 4th ch from hook (this counts as your first 2 dc). Now, follow this sequence: *dc in next 4 ch, 2 dc in next ch, dc in next 4 ch, skip next 2 ch; repeat from * across, ending with dc in last ch. Turn. (You will have 10 ripple points).
Tip: The "skip next 2 ch" creates the valley of the ripple, while the "2 dc in next ch" creates the peak. This is the foundation of the wave pattern.
Row 2
Ch 3 (counts as dc), dc in next 2 dc. Then, *dc in next 4 dc, 2 dc in next dc, dc in next 4 dc, skip next 2 dc; repeat from * across, ending with dc in last 3 dc. Turn.
Tip: Notice how you're working into the stitches from the previous row, not the chains. This builds the vertical ripple. The "skip next 2 dc" in this row aligns with the skipped chains from Row 1, maintaining the pattern's integrity.
Rows 3-60
Repeat Row 2 until the scarf reaches your desired width (about 8-10 inches). For a gradient effect, change colors every 10 rows. To change colors, simply finish the last dc of the row with the new color, pulling through the final loop with the new yarn. This creates a seamless transition.
Counting Rows: It's helpful to count your rows every so often. You can use a row counter or simply mark every 10th row with a stitch marker. This ensures your scarf is symmetrical and reaches the desired width.
Edging
Do not turn at the end of the last row. Ch 1, then work a round of single crochet (sc) evenly around the entire scarf. Work 3 sc in each corner to ensure the corners lie flat and are neat. Join with a slip stitch (sl st) to the first sc. Fasten off and weave in all ends using your yarn needle.
Tip: When working the edging, try to keep your tension consistent. The single crochet border gives the scarf a polished, finished look and helps stabilize the edges.
Optional Fringe
For a boho finish, add fringe to both short ends of the scarf. Cut 12-inch strands of yarn. Fold each strand in half, insert the loop through the edge of the scarf, and pull the ends through. Repeat this process across the entire edge, spacing the fringe evenly. For a fuller look, use 2-3 strands per fringe.
Tip: To make the fringe even, wrap the yarn around a piece of cardboard that is 12 inches wide, then cut along one edge. This gives you uniform strands quickly.
Final Thoughts
Congratulations! You've just completed the Amethyst Cascade Scarf. This lacy magenta ripple wrap is a testament to your skill and creativity. Whether you wear it draped over your shoulders on a cool evening or as a stylish accessory to elevate a simple outfit, this scarf is sure to become a favorite in your wardrobe.
The beauty of this pattern is its versatility. Feel free to experiment with different color combinations—think ocean blues, sunset oranges, or forest greens. Each colorway will give the scarf a completely different personality. The ripple stitch is also a fantastic way to practice your crochet skills, as it combines basic stitches with increases and decreases in a rhythmic, meditative flow.
We hope you enjoyed this pattern and are proud of your handmade creation. Happy crocheting!