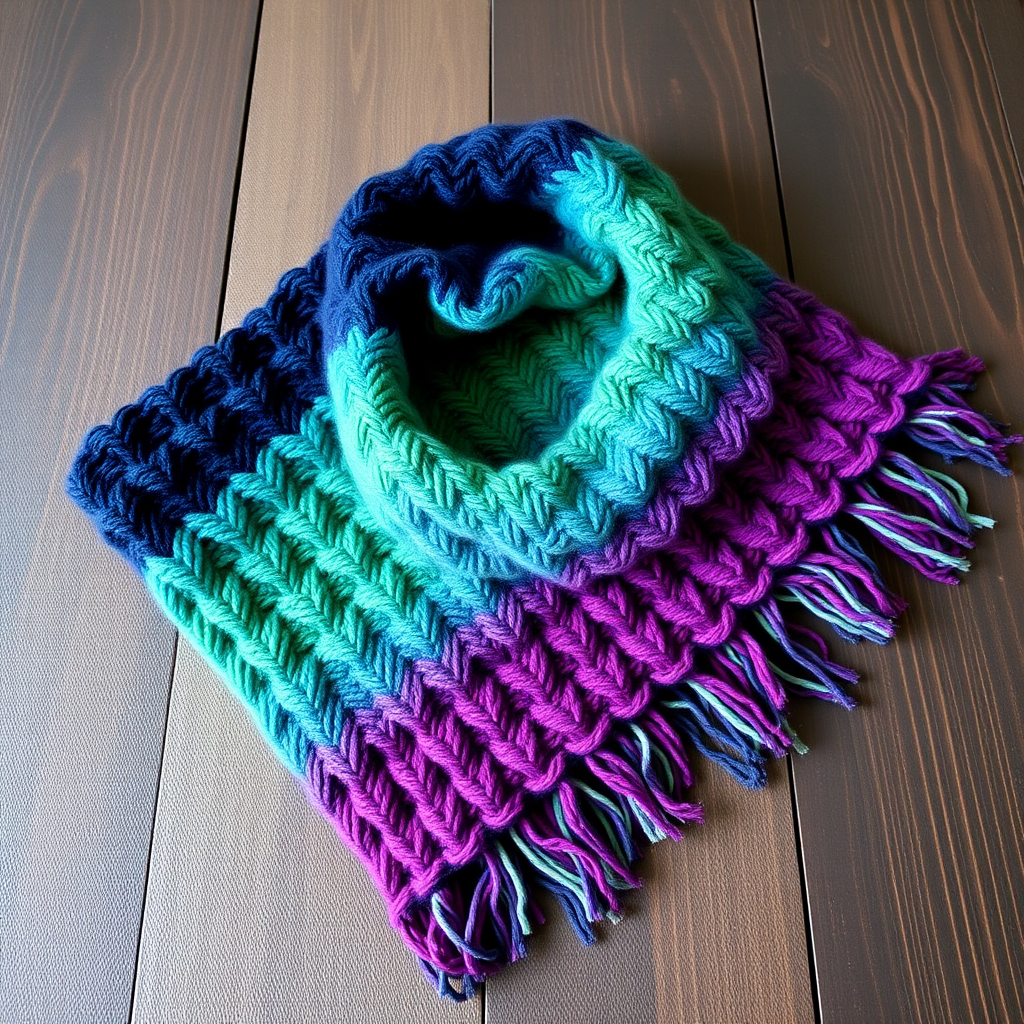
The Ancient Path Celtic Weave Scarf: A Free Knitting Pattern for a Textured, Two-Tone Accessory

Wrap Yourself in History: The Ancient Path Celtic Weave Scarf
There is a quiet magic in the rhythm of cables—a timeless dance of stitches that transforms simple yarn into something deeply textured and evocative. The Ancient Path Celtic Weave Scarf is more than just a winter accessory; it is a journey into the art of textured knitting. This free pattern combines the rugged beauty of ancient stone pathways with a modern, two-tone palette. Featuring a stunning interplay of cables and moss stitch, this scarf creates a cozy, sophisticated accessory that will keep you warm while turning heads. Whether you are a confident intermediate knitter or a dedicated beginner ready for a challenge, this pattern will guide you step-by-step to create a heirloom-quality piece.
Materials Needed
Before you begin, gather the following tools and yarn. The exact specifications are crucial for achieving the correct gauge and drape.
- Yarn: Worsted weight yarn (Category 4). Shown in: Color A (Stone Gray) - 2 skeins (approx 220 yds each), Color B (Deep Heather) - 2 skeins (approx 220 yds each). Total approx 880 yds.
- Needles: US Size 8 (5.0 mm) knitting needles
- Notions: Cable needle, Tapestry needle for weaving in ends
- Gauge: 20 stitches x 26 rows = 4 inches in Stockinette stitch (blocked). Cable pattern panel (18 sts) = 3.5 inches wide. Always check your gauge to ensure your finished scarf matches the dimensions.
Step-by-Step Instructions
Note: This scarf is worked flat in two color blocks, creating a beautiful gradient effect. The main body uses Color A, while the central cable panel uses Color B. Read through the entire pattern before beginning.
Abbreviations
- CO: Cast on
- K: Knit
- P: Purl
- C4F: Slip 2 stitches to cable needle, hold in front, knit next 2 stitches, then knit 2 stitches from cable needle.
- C4B: Slip 2 stitches to cable needle, hold in back, knit next 2 stitches, then knit 2 stitches from cable needle.
- M1: Make one stitch (increase)
- K2tog: Knit two together (decrease)
- St(s): Stitch(es)
- RS: Right side
- WS: Wrong side
Section 1: Lower Border (Color A)
CO 42 sts with Color A.
- Row 1 (RS): K2, *P2, K2; repeat from * to end.
- Row 2 (WS): P2, *K2, P2; repeat from * to end.
Repeat Rows 1-2 for 2 inches (approx 12 rows). End with a WS row.
Section 2: Main Body (Color A with Color B Cable Panel)
This section creates the textured body. The cable panel is worked in Color B, while the side panels remain in Color A. You will carry both yarns up the side of the work, twisting them at the color change to avoid holes.
- Row 1 (RS): With Color A, K10, P1, K2, P1, K14, P1, K2, P1, K10. (42 sts)
- Row 2 (WS): With Color A, P10, K1, P2, K1, P14, K1, P2, K1, P10.
- Row 3 (RS): With Color A, K10, P1, C4F, P1, K14, P1, C4B, P1, K10.
- Row 4 (WS): With Color A, P10, K1, P4, K1, P14, K1, P4, K1, P10.
- Row 5 (RS): With Color A, K10, P1, K4, P1, K14, P1, K4, P1, K10.
- Row 6 (WS): With Color A, P10, K1, P4, K1, P14, K1, P4, K1, P10.
- Row 7 (RS): With Color A, K10, P1, C4B, P1, K14, P1, C4F, P1, K10.
- Row 8 (WS): With Color A, P10, K1, P4, K1, P14, K1, P4, K1, P10.
Color Change Instructions for Cable Panel: On Row 1 of each repeat, you will switch to Color B for the central 18 stitches (the cable panel). Here is exactly how to do it:
- On Row 1 (RS): With Color A, K10, P1. Drop Color A (do not cut, just let it hang). With Color B, K2, P1, K14, P1, K2. Drop Color B. With Color A, P1, K10.
- On Row 2 (WS): With Color A, P10, K1. Drop Color A. With Color B, P2, K1, P14, K1, P2. Drop Color B. With Color A, K1, P10.
- Continue this color change for all rows of the cable panel section. The cable panel will be worked in Color B, while the side panels remain in Color A.
Work until scarf measures approximately 60 inches from cast-on edge, or desired length, ending with a WS row.
Section 3: Upper Border (Color A)
Work in 2x2 ribbing (K2, P2) as in Section 1 for 2 inches. Bind off loosely in pattern.
Finishing
Weave in all ends using a tapestry needle. Block the scarf gently to open up the cable pattern and even out the stitches. Lay flat to dry.
Your Ancient Path Celtic Weave Scarf is now complete. Wrap it around your neck and enjoy the rich texture and warmth of your handmade creation. Happy knitting!