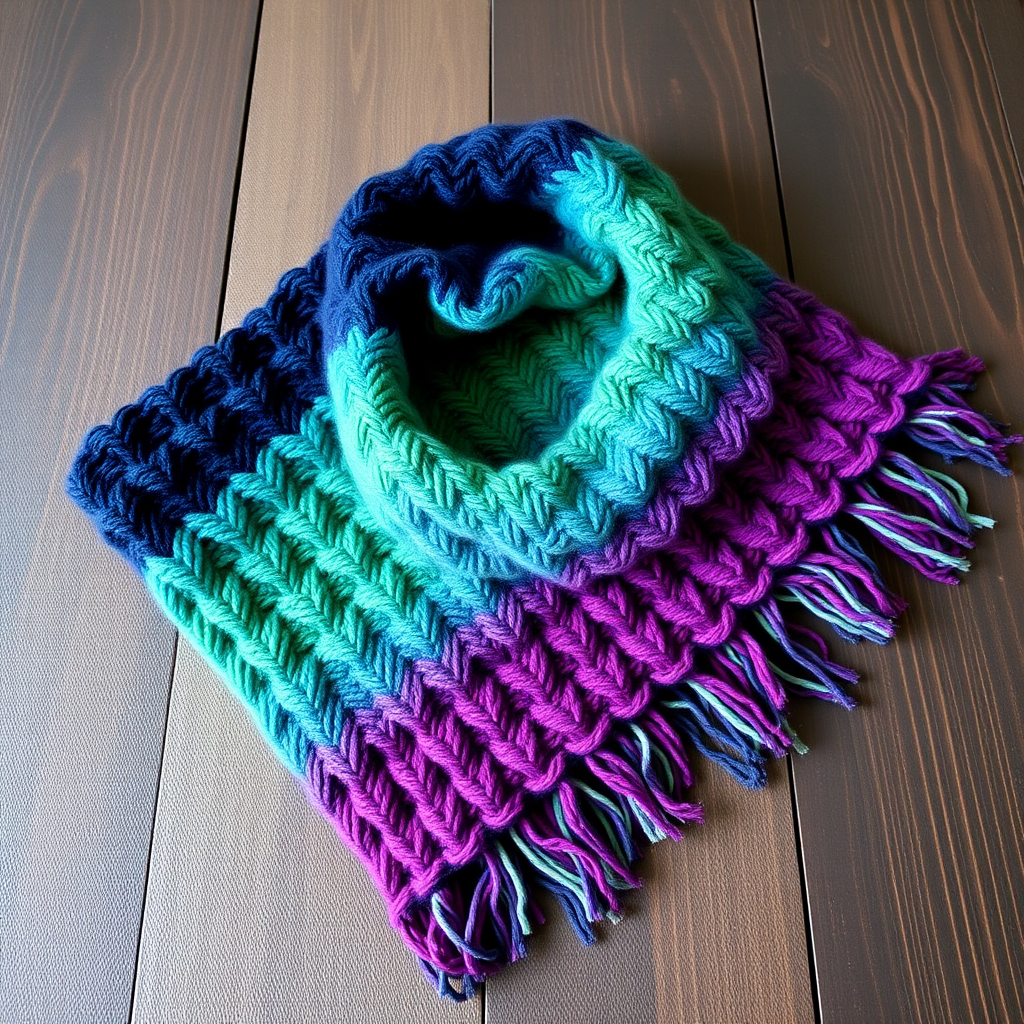
The Apothecary Bloom Knit Scarf Free Pattern – A Healing Garden Wrap

The Apothecary Bloom Knit Scarf – A Healing Garden Wrap
Wrap yourself in the calming essence of a botanical apothecary with this textured knit scarf, featuring cascading leaf motifs and soothing herbal hues. This cozy accessory is crafted to bring a touch of nature's remedy to your everyday style. Whether you're a seasoned knitter or a curious beginner, this pattern offers a meditative rhythm that mimics the gentle pace of a walk through a healing garden.
The Apothecary Bloom Scarf combines a delicate leaf lace pattern with a sturdy garter stitch border, creating a piece that is both visually stunning and practical. The optional color stripes in dusty lavender and cream add a subtle herbal accent, making this scarf a unique addition to any wardrobe. Let's dive into this therapeutic knitting project.
Materials Needed
Before you begin, gather the following materials to ensure a smooth and enjoyable knitting experience:
- Yarn: Worsted weight yarn in sage green (MC), dusty lavender (CC1), and cream (CC2) – approximately 400g total. The main color (sage green) should be about 300g, with 50g each of the contrasting colors if you choose to add the optional stripes.
- Needles: US 8 (5mm) knitting needles. Straight needles are recommended for this flat-knit project, though circular needles can be used for comfort if you prefer.
- Stitch Markers: At least 2 stitch markers to delineate the border sections.
- Tapestry Needle: For weaving in ends and blocking.
- Measuring Tape: To check your gauge and scarf length.
Gauge: 18 stitches and 24 rows = 4 inches in stockinette stitch. It's crucial to check your gauge before starting to ensure your scarf matches the intended dimensions. If your gauge is off, adjust your needle size accordingly.
Step-by-Step Instructions
Pattern Notes
- The scarf is worked flat, back and forth, in one piece.
- The main body features a repeating leaf lace pattern with a garter stitch border on each side.
- For a neat, professional edge, slip the first stitch of each row purlwise (as if to purl) without knitting it.
- The pattern is written with 5 border stitches on each side, marked with stitch markers.
Abbreviations
- K = knit
- P = purl
- Yo = yarn over (bring yarn to front, then over the needle to the back, creating a new loop)
- K2tog = knit two stitches together (right-leaning decrease)
- SSK = slip, slip, knit (left-leaning decrease: slip two stitches knitwise one at a time, then knit them together through the back loop)
- PM = place marker
Getting Started: Cast On and Border
Step 1: With your main color (MC) sage green yarn, cast on 45 stitches using your preferred method (long-tail cast on works well).
Step 2: Work the garter stitch border:
- Rows 1-6: Knit all stitches. This creates a solid, non-curling border at the bottom of your scarf.
The Main Leaf Lace Pattern
Now you'll begin the beautiful leaf lace pattern. Remember to slip the first stitch of every row purlwise for a clean edge, and always knit the last 5 stitches of each row (the border).
Row 7 (Right Side): K5 (border), PM, *K1, yo, SSK, K3, K2tog, yo, K1* repeat from * to * until 5 stitches remain, PM, K5. (You will repeat the section between the asterisks 5 times total.)
Row 8 (Wrong Side): K5, P to marker, K5. (Purl all stitches between the markers, knit the 5 border stitches on each side.)
Row 9: K5, *K2, yo, SSK, K1, K2tog, yo, K2* repeat to marker, K5.
Row 10: K5, P to marker, K5.
Row 11: K5, *K3, yo, SSK, K2tog, yo, K3* repeat to marker, K5.
Row 12: K5, P to marker, K5.
Row 13: K5, *K1, K2tog, yo, K1, yo, SSK, K1* repeat to marker, K5.
Row 14: K5, P to marker, K5.
Row 15: K5, *K2, K2tog, yo, K1, yo, SSK, K2* repeat to marker, K5.
Row 16: K5, P to marker, K5.
Row 17: K5, *K3, K2tog, yo, K1, yo, SSK, K3* repeat to marker, K5.
Row 18: K5, P to marker, K5.
These 12 rows (7-18) form the complete leaf lace pattern repeat. Continue repeating these rows until your scarf measures approximately 60 inches from the cast-on edge, ending with a wrong-side row (Row 8, 10, 12, 14, 16, or 18) to ensure you're ready to start a new section cleanly.
Adding Herbal Color Accents (Optional)
To incorporate the beautiful herbal color palette, you can add garter stitch stripes at intervals. Here's how:
- After the scarf measures approximately 12 inches from the cast-on, switch to CC1 (dusty lavender) and work 6 rows of garter stitch (knit every row).
- Switch back to MC and continue the leaf lace pattern for another 12 inches.
- After the scarf measures approximately 24 inches from the cast-on, switch to CC2 (cream) and work 6 rows of garter stitch.
- Switch back to MC and continue the leaf lace pattern for the remainder of the scarf, adding another CC1 stripe at 36 inches and a CC2 stripe at 48 inches if you wish to maintain the rhythm.
Note: When changing colors, work the first row of the new color on a right-side row for the neatest transition. Weave in ends as you go or save them for the finishing stage.
Finishing Border and Bind Off
Step 1: Once your scarf reaches the desired length (approximately 60 inches), switch back to MC if you're not already using it.
Step 2: Work 6 rows of garter stitch (knit every row) to create a matching border at the top of the scarf.
Step 3: Bind off loosely. To ensure a stretchy edge that matches the lace pattern, use a loose bind-off method such as the "knit two together" bind off or simply bind off with a larger needle (US 9 or 10) to prevent pulling.
Blocking: The Final Touch
Blocking is essential for lace patterns to open up the stitches and reveal the beautiful leaf motifs. Here's how to wet block your scarf:
- Fill a basin or sink with lukewarm water and add a small amount of gentle wool wash or mild soap.
- Submerge the scarf and let it soak for 20-30 minutes. Do not agitate or wring the fabric.
- Carefully remove the scarf and gently press out excess water. Roll it in a clean towel to remove more moisture.
- Lay the scarf flat on a blocking mat or clean towel. Gently stretch it to your desired dimensions, focusing on opening up the lace pattern along the edges.
- Pin the edges to hold the shape, especially the points of the leaf pattern. Allow it to dry completely, which may take 24-48 hours.
- Once dry, remove the pins and weave in any remaining ends with your tapestry needle.
Your Apothecary Bloom Knit Scarf is now complete! The combination of the sage green base with subtle lavender and cream stripes creates a soothing, botanical aesthetic that's perfect for cozy days or as a thoughtful handmade gift. The leaf lace pattern drapes beautifully, and the garter stitch borders keep the edges neat and flat.
Enjoy wrapping yourself in this healing garden of stitches, and remember—each row is a small step in your knitting journey. Happy knitting!