The Aurora Bloom Mosaic Blanket Free Pattern – A Knitted Ombre Flower Garden
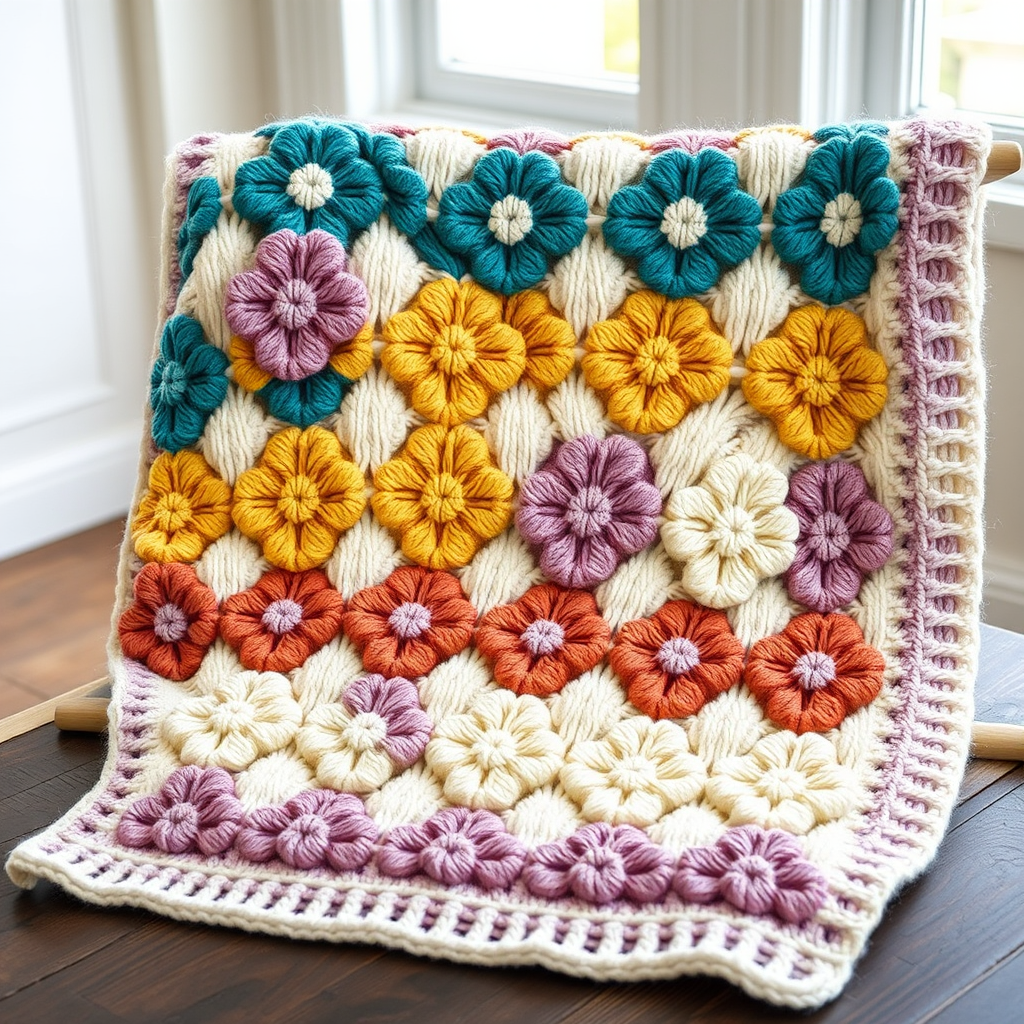
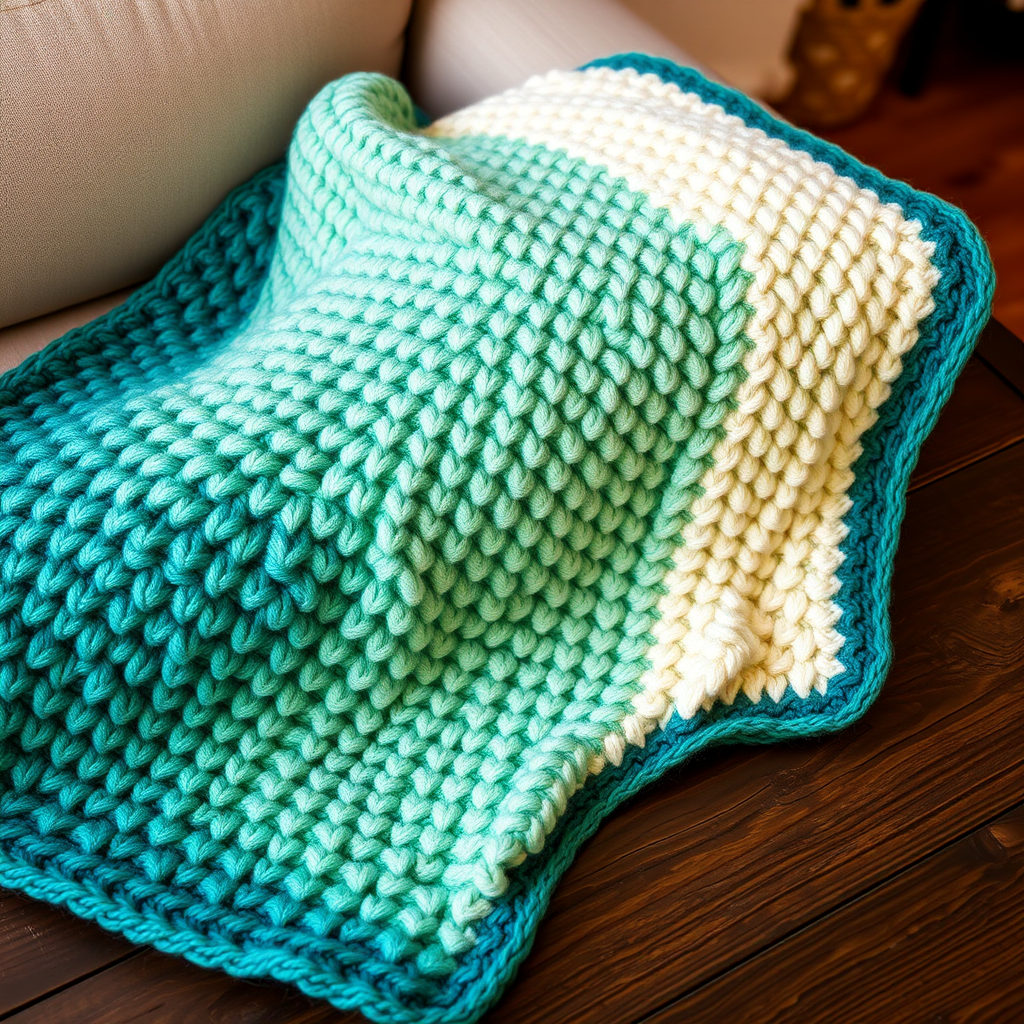
Imagine wrapping yourself in a garden of textured, ombre blossoms, each petal formed by the rhythmic dance of slipped stitches and color changes. The Aurora Bloom Mosaic Blanket is more than just a cozy throw—it's a work of art that transforms your living space into a serene, colorful retreat. This free knitting pattern uses the mesmerizing mosaic technique to create geometric floral motifs that appear to bloom across five horizontal strips, each with its own unique color story. Whether you're a seasoned knitter looking for a meditative project or a confident beginner ready to learn a new skill, this blanket offers a rewarding journey. The result is a dense, textured heirloom piece that measures approximately 60 x 60 inches—perfect for draping over a sofa, snuggling under on a chilly evening, or gifting to someone special. Let's dive into this creative adventure and knit a garden of your own.
Materials Needed
Before you begin, gather the following supplies to ensure a smooth and enjoyable knitting experience. The quality of your materials will directly impact the final look and feel of your blanket, so choose yarns you love.
- Yarn: Worsted weight yarn in 5 colors (approximately 1800 yards total):
- Color A: Deep Teal (approx. 400 yards)
- Color B: Dusty Rose (approx. 400 yards)
- Color C: Golden Yellow (approx. 350 yards)
- Color D: Cream (approx. 400 yards)
- Color E: Soft Lavender (approx. 250 yards)
- Needle: US 8 (5.0 mm) circular knitting needle with a 32-inch cable. The long cable is essential for holding the many stitches of each strip comfortably.
- Notions: Stitch markers (optional, but helpful for counting pattern repeats), a tapestry needle for weaving in ends and seaming, and blocking pins for the final finishing.
- Gauge: 18 stitches and 24 rows = 4 inches in stockinette stitch. Always knit a gauge swatch to ensure your blanket matches the intended dimensions.
Step-by-Step Instructions
This blanket is ingeniously constructed in five horizontal strips, each 12 inches wide and 60 inches long. You'll knit each strip separately using the mosaic technique, then seam them together lengthwise. The mosaic method involves working with two colors per row, slipping stitches to create the pattern. Don't be intimidated—once you get into the rhythm, it's incredibly satisfying.
Abbreviations
- K: knit
- P: purl
- Sl: slip stitch purlwise (unless otherwise noted)
- K2tog: knit two stitches together
- Yo: yarn over
- St(s): stitch(es)
- RS: right side of work
- WS: wrong side of work
Pattern Notes
- The blanket consists of 5 strips, each 12 inches wide and 60 inches long. After knitting all strips, you will sew them together lengthwise.
- Each strip uses a 2-row mosaic pattern repeat. Always slip stitches with yarn held in back on RS rows, and in front on WS rows. This is crucial for the pattern to lie flat and look crisp.
- When changing colors, do so at the beginning of a row. Carry the unused color loosely up the side of the work, or cut and rejoin as preferred.
Strip 1 (Teal & Cream)
This first strip establishes the mosaic rhythm. Take your time to master the slipped stitch technique here—it will make the subsequent strips a breeze.
- Cast On: With Color A (Deep Teal), cast on 54 stitches.
- Row 1 (RS): With A, knit all stitches.
- Row 2 (WS): With A, purl all stitches.
- Row 3 (RS): Switch to Color B (Cream). K1, *sl 1, k3; repeat from * to last 3 stitches, sl 1, k2. (Remember: slip with yarn in back.)
- Row 4 (WS): With B, p1, *sl 1, p3; repeat from * to last 3 stitches, sl 1, p2. (Slip with yarn in front.)
- Row 5 (RS): Switch back to A. K3, *sl 1, k3; repeat from * to last 2 stitches, k2.
- Row 6 (WS): With A, p3, *sl 1, p3; repeat from * to last 2 stitches, p2.
- Row 7 (RS): Switch to B. K2, *sl 1, k3; repeat from * to last 4 stitches, sl 1, k3.
- Row 8 (WS): With B, p2, *sl 1, p3; repeat from * to last 4 stitches, sl 1, p3.
- Row 9 (RS): Switch to A. Knit all stitches.
- Row 10 (WS): With A, purl all stitches.
- Repeat: Continue repeating Rows 3-10 until the strip measures 60 inches from the cast-on edge, ending with a Row 10. Bind off loosely with Color A.
Strip 2 (Dusty Rose & Cream)
This strip mirrors Strip 1 but with a romantic dusty rose base. The pattern is identical, just with different color assignments.
- Cast On: With Color B (Dusty Rose), cast on 54 stitches.
- Foundation Rows: Work Row 1 (knit) and Row 2 (purl) with Color B.
- Mosaic Pattern: Work exactly as Strip 1, but use Color D (Cream) as the contrast color in place of Color B. Follow the same row sequences (Rows 3-10), substituting D for B and B for A.
- Repeat: Continue until the strip measures 60 inches. Bind off loosely with Color B.
Strip 3 (Golden Yellow & Lavender)
Here, the mosaic pattern shifts slightly, creating a different flower alignment. This adds delightful variety to the overall blanket design.
- Cast On: With Color C (Golden Yellow), cast on 54 stitches.
- Row 1 (RS): With C, knit all stitches.
- Row 2 (WS): With C, purl all stitches.
- Row 3 (RS): Switch to Color E (Soft Lavender). K2, *sl 1, k3; repeat from * to last 4 stitches, sl 1, k3.
- Row 4 (WS): With E, p2, *sl 1, p3; repeat from * to last 4 stitches, sl 1, p3.
- Row 5 (RS): Switch to C. K1, *sl 1, k3; repeat from * to last 3 stitches, sl 1, k2.
- Row 6 (WS): With C, p1, *sl 1, p3; repeat from * to last 3 stitches, sl 1, p2.
- Row 7 (RS): Switch to E. K3, *sl 1, k3; repeat from * to last 2 stitches, k2.
- Row 8 (WS): With E, p3, *sl 1, p3; repeat from * to last 2 stitches, p2.
- Row 9 (RS): Switch to C. Knit all stitches.
- Row 10 (WS): With C, purl all stitches.
- Repeat: Continue repeating Rows 3-10 until the strip measures 60 inches. Bind off with Color C.
Strip 4 (Lavender & Teal)
This strip uses the same pattern as Strip 3 but swaps the colors, creating a beautiful echo of the first strip's palette.
- Cast On: With Color E (Soft Lavender), cast on 54 stitches.
- Foundation Rows: Work Row 1 (knit) and Row 2 (purl) with Color E.
- Mosaic Pattern: Work the same mosaic pattern as Strip 3, but use Color A (Deep Teal) as the contrast color instead of E. Follow the exact row sequences, substituting A for E and E for C.
- Repeat: Continue until the strip measures 60 inches. Bind off with Color E.
Strip 5 (Cream & Dusty Rose)
The final strip brings the design full circle, using the original pattern with a fresh color pairing.
- Cast On: With Color D (Cream), cast on 54 stitches.
- Foundation Rows: Work Row 1 (knit) and Row 2 (purl) with Color D.
- Mosaic Pattern: Work the same mosaic pattern as Strip 1, but use Color B (Dusty Rose) as the contrast color instead of A. Follow the row sequences, substituting B for A and D for B.
- Repeat: Continue until the strip measures 60 inches. Bind off with Color D.
Finishing: Seaming and Blocking
Now comes the magical moment where your individual strips transform into a cohesive, stunning blanket.
- Lay Out Strips: Arrange your finished strips in this order: Strip 1 (teal/cream), Strip 2 (rose/cream), Strip 3 (yellow/lavender), Strip 4 (lavender/teal), Strip 5 (cream/rose). This creates the ombre flower garden effect.
- Seam the Strips: With a tapestry needle and matching yarn, sew the strips together along their long edges using a mattress stitch. This invisible seam will align the flower motifs beautifully. Take your time to match the rows precisely for a professional finish.
- Weave in Ends: Carefully weave in all loose ends from color changes and seaming, ensuring they are secure and hidden.
- Block to Size: Pin the blanket to the desired dimensions (approximately 60 x 60 inches) on a blocking mat. Gently steam or mist with water, then allow it to dry completely. Blocking will even out the stitches, sharpen the color transitions, and give your blanket a polished, drapey finish.
Congratulations! You've just completed the Aurora Bloom Mosaic Blanket. This piece is a testament to your skill and patience, a cozy work of art that will be cherished for years. Whether you keep it for yourself or gift it to a loved one, the garden of blossoms you've knitted is sure to bring warmth and joy to any space. Happy knitting!