The Aurora Icefall Throw Free Pattern – Knit a Glacial Lace Blanket
The Aurora Icefall Throw Free Pattern – Knit a Glacial Lace Blanket
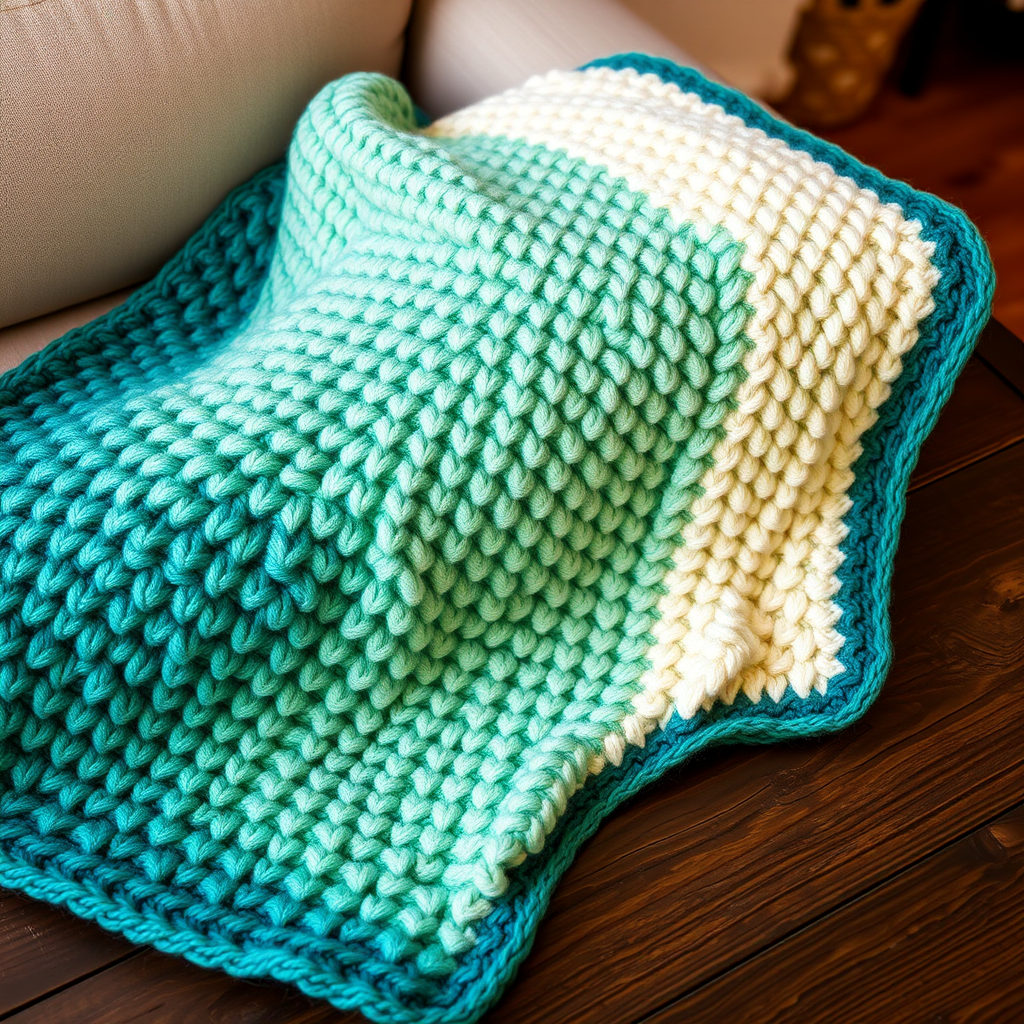
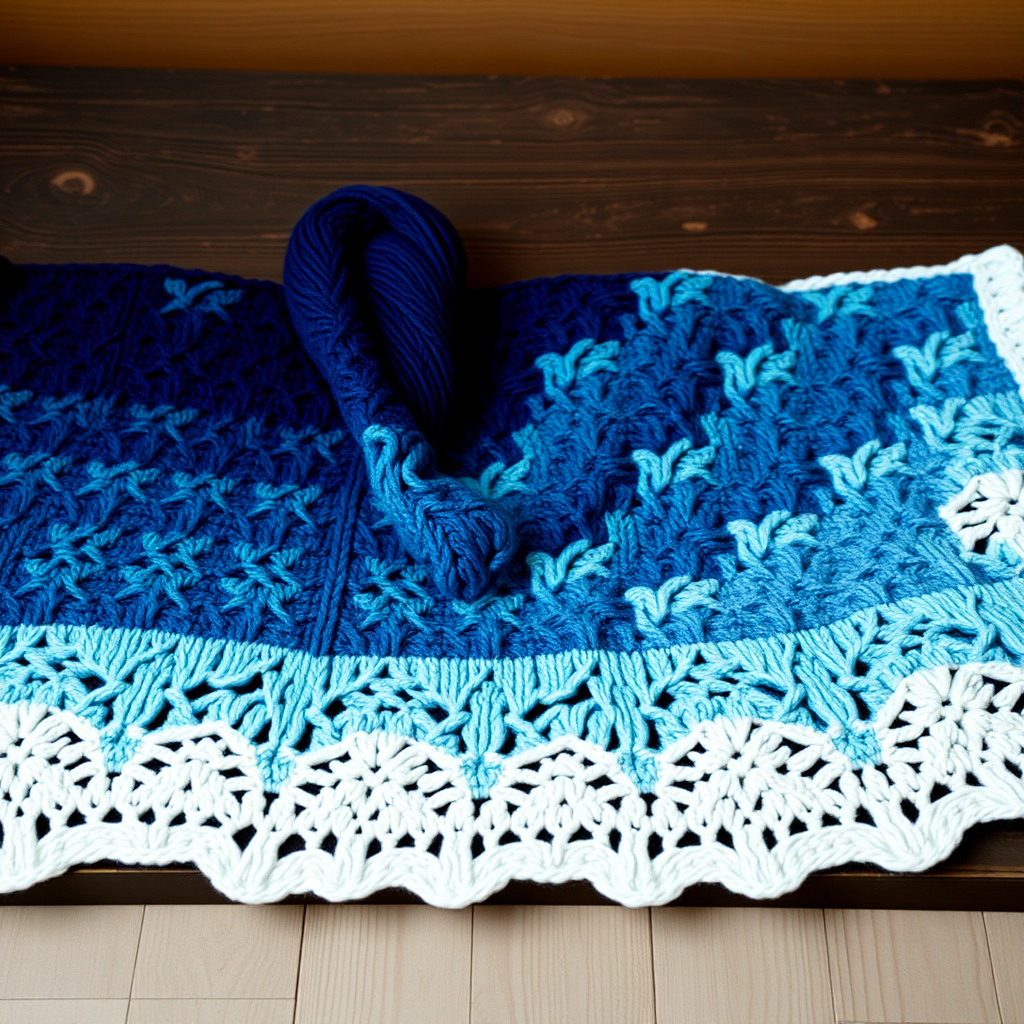
Imagine wrapping yourself in the shimmering beauty of polar night skies, where cascading waterfalls of lace meet icy gradient hues. The Aurora Icefall Throw is a stunning knitted blanket that captures the ethereal magic of the aurora borealis and glacial landscapes. This statement piece for cozy, modern living rooms features intricate lace panels that resemble frozen icicles catching light, transitioning from deep navy through teal, icy blue, pale aqua, and finally to pristine white. Whether you're an experienced knitter looking for a rewarding project or a confident beginner ready to expand your skills, this throw will become a cherished heirloom that transforms any space into a serene arctic retreat.
Materials Needed
Before you begin this beautiful journey, gather the following materials to ensure a smooth knitting experience:
- Yarn: Worsted weight yarn in 5 shades – deep navy (A), teal (B), icy blue (C), pale aqua (D), and white (E) – approximately 1800g total. Choose a soft, durable wool or wool-blend for best drape and stitch definition.
- Needles: US 9 (5.5mm) circular knitting needles with a 32-inch cable. The long cable is essential to accommodate the 228 stitches comfortably.
- Gauge: 18 stitches and 24 rows = 4 inches in stockinette stitch. Always knit a gauge swatch first to ensure your finished throw matches the intended dimensions.
- Extras: Stitch markers (optional, but helpful for tracking lace repeats), tapestry needle for weaving in ends, blocking pins and mats, and gentle wool wash for finishing.
Pattern Overview
Finished Size: 50 inches wide x 65 inches long
Stitch Abbreviations:
- k = knit
- p = purl
- yo = yarn over
- k2tog = knit two together (right-leaning decrease)
- ssk = slip, slip, knit (left-leaning decrease)
- sl = slip stitch
- rep = repeat
Pattern Notes:
- This throw is worked flat in one piece from bottom to top, making it easy to manage and perfect for curling up with on the couch.
- Use a separate ball of yarn for each color block. When changing colors, twist the yarns at the color change to avoid holes and create a seamless transition.
- The lace pattern is a 12-row repeat that creates a cascading waterfall effect. Once you master the first repeat, the rhythm becomes intuitive and meditative.
Step-by-Step Instructions
Cast On and Border
Cast On: With color A (deep navy), cast on 228 stitches loosely. A long-tail cast-on works beautifully here, but ensure you don't cast on too tightly – the border needs to remain flexible and drapey.
Border (Rows 1-8):
- Row 1 (RS): Knit all stitches.
- Row 2 (WS): Purl all stitches.
- Repeat Rows 1-2 three more times (total 8 rows of garter stitch border). This creates a neat, sturdy edge that will frame your throw beautifully.
Main Body – Color Block A (Navy)
Stockinette Section:
- Row 9 (RS): Knit all stitches.
- Row 10 (WS): Purl all stitches.
- Repeat Rows 9-10 until the piece measures 8 inches from the cast-on edge, ending with a WS row. This solid stockinette section provides a calm foundation before the lace begins.
Lace Panel 1 (Navy)
Now we begin the magical lace work. Follow these 12 rows carefully, and remember to maintain the 4-stitch garter border on each side throughout the lace panels.
- Row 1 (RS): k4, *yo, ssk, k4, k2tog, yo, k1; rep from * to last 4 sts, k4.
- Row 2 (WS): Purl all stitches.
- Row 3 (RS): k4, *k1, yo, ssk, k2, k2tog, yo, k2; rep from * to last 4 sts, k4.
- Row 4 (WS): Purl all stitches.
- Row 5 (RS): k4, *k2, yo, ssk, k2tog, yo, k3; rep from * to last 4 sts, k4.
- Row 6 (WS): Purl all stitches.
- Row 7 (RS): k4, *k3, yo, sl1, k2tog, psso, yo, k4; rep from * to last 4 sts, k4. (Note: sl1, k2tog, psso is a double decrease – slip one stitch, knit two together, then pass the slipped stitch over. This creates a beautiful centered decrease.)
- Row 8 (WS): Purl all stitches.
- Row 9 (RS): k4, *k2, k2tog, yo, k1, yo, ssk, k3; rep from * to last 4 sts, k4.
- Row 10 (WS): Purl all stitches.
- Row 11 (RS): k4, *k1, k2tog, yo, k3, yo, ssk, k2; rep from * to last 4 sts, k4.
- Row 12 (WS): Purl all stitches.
Repeat Rows 1-12 once more, then work Rows 1-6 again. End with a WS row. This creates a total of 30 lace rows, giving you a substantial waterfall panel.
Color Block B (Teal)
Switch to color B. Work in stockinette stitch (knit RS, purl WS) for 6 inches, ending with a WS row. The teal section adds a beautiful transition between the deep navy and the lighter shades to come.
Lace Panel 2 (Teal)
Repeat the 12-row lace pattern exactly as written above, but now using color B. Work the lace panel twice (24 rows total), ending with a WS row. Notice how the same lace pattern looks completely different in each color – this is the magic of the gradient!
Color Block C (Icy Blue)
Switch to color C. Work in stockinette stitch for 6 inches, ending with a WS row. The icy blue brings a crisp, fresh feeling to the throw, like a winter morning.
Lace Panel 3 (Icy Blue)
Repeat the 12-row lace pattern using color C. Work the lace panel twice (24 rows total), ending with a WS row. The icy blue lace will catch the light beautifully, resembling frozen crystals.
Color Block D (Pale Aqua)
Switch to color D. Work in stockinette stitch for 6 inches, ending with a WS row. The pale aqua adds a soft, dreamy quality that bridges the cool blues and the white.
Lace Panel 4 (Pale Aqua)
Repeat the 12-row lace pattern using color D. Work the lace panel twice (24 rows total), ending with a WS row. This panel creates a gentle, airy feel as we approach the top of the throw.
Color Block E (White)
Switch to color E. Work in stockinette stitch for 8 inches, ending with a WS row. The white section represents the pristine snowcaps and completes the glacial gradient beautifully.
Border and Bind Off
Border (Rows 1-8):
- Row 1 (RS): Knit all stitches.
- Row 2 (WS): Purl all stitches.
- Repeat Rows 1-2 three more times (total 8 rows of garter stitch border). This mirrors the bottom border and frames your finished throw.
Bind Off: Bind off loosely in knit on the RS. A loose bind-off is crucial here – if you bind off too tightly, the edge will pucker. Consider using a larger needle for binding off if needed. Weave in all ends carefully with your tapestry needle.
Blocking – The Final Magic Step
Blocking is where the Aurora Icefall Throw truly comes to life. Soak the throw in lukewarm water with a gentle wool wash for 20 minutes. Gently squeeze out excess water – never wring or twist, as this can felt the wool. Lay flat on clean towels, then gently stretch the throw to its finished dimensions of 50 inches wide x 65 inches long. Use blocking pins to open up the lace points and accentuate the waterfall effect. The lace will transform from a scrunched-up mass into a beautiful, open pattern that shimmers like ice catching light. Allow it to dry completely, which may take 24-48 hours depending on your environment.
Tips for Success
- Count your stitches regularly during lace sections – it's much easier to fix a mistake early than to rip back rows of lace.
- Use stitch markers between pattern repeats to help you keep track of where you are in the lace sequence.
- Keep a lifeline – thread a piece of waste yarn through the stitches at the end of each lace repeat. If you make a mistake, you can easily rip back to the lifeline without losing all your work.
- Take breaks – this is a large project, and working on it in manageable sessions will keep your hands comfortable and your enthusiasm high.
As you complete this throw, you'll have created not just a blanket, but a piece of art that captures the ethereal beauty of the Arctic. The Aurora Icefall Throw makes a magnificent gift for a loved one or a stunning addition to your own home. Every time you wrap yourself in it, you'll be reminded of the serene majesty of polar skies and the satisfaction of creating something truly extraordinary with your own hands. Happy knitting!