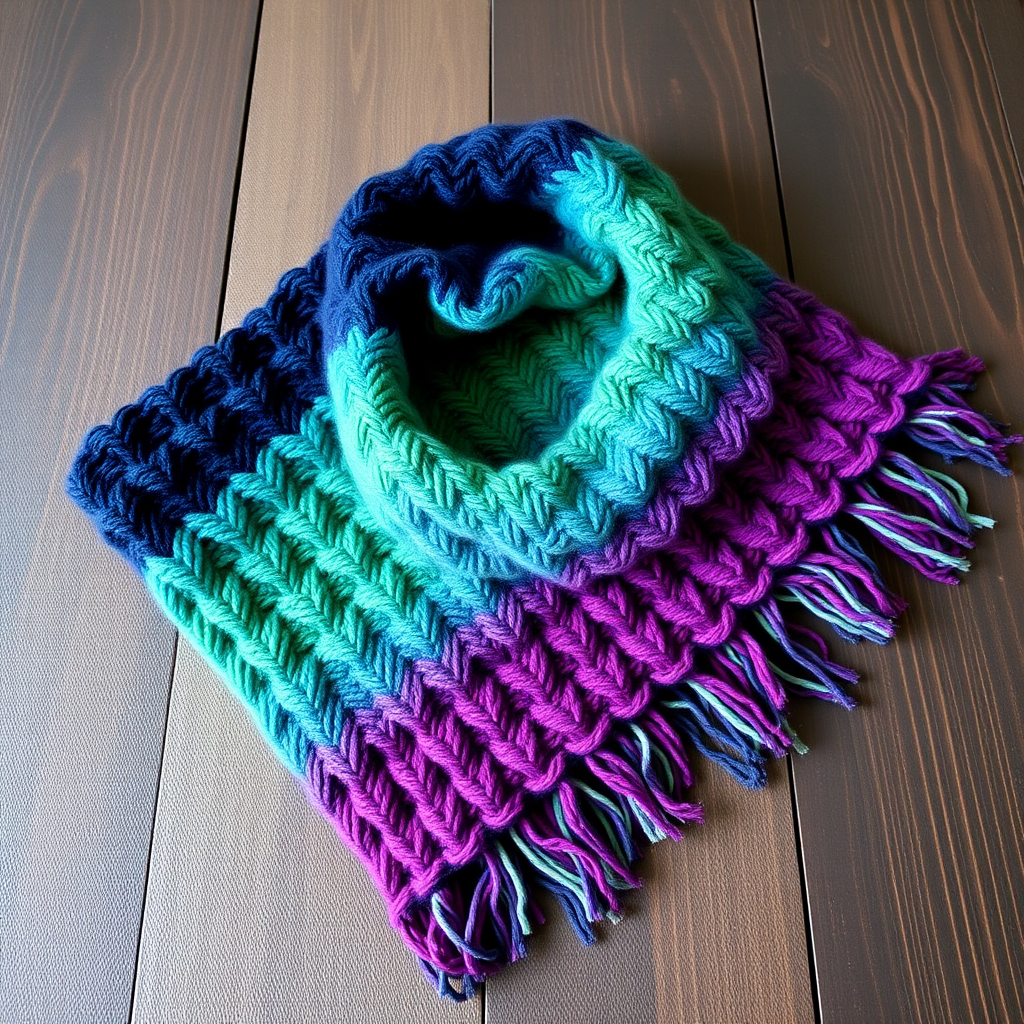
The Emberwood Fringe Scarf Free Pattern – A Knitted Moss Stitch Wrap with Woven Leaf Accents

The Emberwood Fringe Scarf: A Free Knitting Pattern for Cozy Autumn Vibes
Wrap yourself in the warmth of autumn with this richly textured scarf, featuring a deep moss stitch body and delicate woven leaf fringe. The Emberwood Fringe Scarf is a cozy, modern accessory that brings a touch of woodland charm to any outfit. Whether you're a seasoned knitter or a beginner looking for a rewarding project, this pattern is designed to be both relaxing and satisfying. The combination of burnt orange and deep forest green creates a harmonious autumnal palette that will complement any fall wardrobe.
Materials Needed
Before you begin, gather the following materials. This project is perfect for using up worsted weight yarn from your stash, and the color combination is endlessly customizable.
- Yarn: Worsted weight yarn in burnt orange (Color A) and deep forest green (Color B), approximately 400 yards of each. (A smooth, non-variegated yarn works best to show off the texture.)
- Needles: US Size 8 (5.0 mm) knitting needles. You can use straight needles or a circular needle for the body of the scarf.
- Extras: A tapestry needle for weaving in ends and finishing the fringe, plus a crochet hook (any size, typically G/6 4.0mm or H/8 5.0mm) to pull the fringe loops through the fabric.
Gauge & Abbreviations
Gauge: 18 stitches and 26 rows = 4 inches in moss stitch. (Always check your gauge to ensure your scarf matches the intended dimensions.)
Abbreviations:
- CO: Cast on
- K: Knit
- P: Purl
- St(s): Stitch(es)
- Rep: Repeat
- RS: Right side
- WS: Wrong side
Step-by-Step Instructions
This pattern is broken down into three main sections: knitting the scarf body, creating the woven leaf fringe, and finishing. Follow along carefully, and you'll have a beautiful handmade scarf in no time.
Part 1: Knitting the Scarf Body
The body of the scarf is worked in a classic moss stitch, which creates a dense, bumpy, and reversible fabric—perfect for a cozy wrap.
- Cast On: With Color A (burnt orange), CO 36 sts. Leave a 6-inch tail for weaving in later.
- Row 1 (RS): *K1, P1; rep from * to end. (You will end with a K1.)
- Row 2 (WS): *P1, K1; rep from * to end. (You will end with a P1.)
- Repeat: Continue repeating Rows 1 and 2. This creates the moss stitch pattern. Because you have an even number of stitches, the pattern will naturally alternate, creating the "seed" or "moss" texture.
- Length: Continue knitting until the scarf measures 60 inches from the cast-on edge, or your desired length. Remember that the fringe will add extra length to the overall piece.
- Bind Off: Bind off all sts in pattern. To do this, K1, P1 across the row while binding off. For example: K1, P1, then pass the first stitch over the second. Continue this pattern across the row. Cut the yarn, leaving a 6-inch tail, and pull through the last loop.
Part 2: Creating the Woven Leaf Fringe
This is where the scarf gets its unique woodland charm. The fringe is made with Color B (deep forest green) and is braided to resemble little leaves.
- Cut the Strands: Cut 24 strands of Color B, each 12 inches long. (If you want a denser fringe, you can cut more, but 24 will give you a lovely, full look.)
- Prepare Fringe Groups: Take 2 strands together and fold them in half. This creates a loop at one end.
- Attach Fringe: Insert your crochet hook through the edge stitch at the end of the scarf (the short edge). Pull the folded loop of yarn through the fabric. Then, take the loose ends of the yarn and pull them through the loop. Pull tight to secure the fringe. This is called a "lark's head" knot.
- Spacing: Repeat this process across the short edge of the scarf, spacing each fringe group about 1 inch apart. With 36 stitches, you should be able to fit approximately 9 fringe groups on each end (using 18 strands per end).
- Create the Leaf Accent: Now for the fun part! Take 4 strands from two adjacent fringe groups (2 strands from each group). Braid these 4 strands together for 2 inches. A simple 4-strand braid is easiest: cross the left strand over the middle two, then the right strand over the middle two, and repeat. Alternatively, you can simply twist them together tightly.
- Secure the Braid: Once you've braided for 2 inches, tie a tight knot at the end of the braid. This creates the "leaf" effect.
- Repeat: Repeat this braiding and knotting process for all fringe groups across both ends of the scarf.
- Trim: Once all the leaves are tied, trim the ends of the fringe evenly to create a neat, polished look. You can trim them all to the same length, or leave them slightly uneven for a more organic feel.
Part 3: Finishing Touches
These final steps will ensure your scarf looks professional and lasts for years.
- Weave in Ends: Use your tapestry needle to weave in all loose ends from the cast-on, bind-off, and any color changes. Weave them into the wrong side of the fabric, following the path of the stitches to hide them completely.
- Block the Scarf: Blocking is essential for evening out your stitches and giving the scarf a beautiful drape. Fill a sink with lukewarm water and a drop of mild soap. Submerge the scarf and gently press it down to soak. Let it sit for 15-20 minutes. Drain the water and gently squeeze out the excess (do not wring). Lay the scarf flat on a clean towel, roll it up to remove more water, then lay it flat on a dry towel or blocking mat. Gently shape it to the correct dimensions (8 inches wide by 60 inches long) and pin if necessary. Let it dry completely.
- Final Check: Once dry, give your scarf a final once-over. Ensure all fringe knots are secure and all ends are woven in. Your Emberwood Fringe Scarf is now ready to wear!
This pattern is a wonderful way to practice your moss stitch and learn a simple fringe technique. The result is a stunning, textured scarf that captures the essence of autumn. Happy knitting!