The Enchanted Forest Fern Throw: A Free Knitting Pattern for a Textured, Leafy Afghan

Bring the Woodland Indoors: The Enchanted Forest Fern Throw
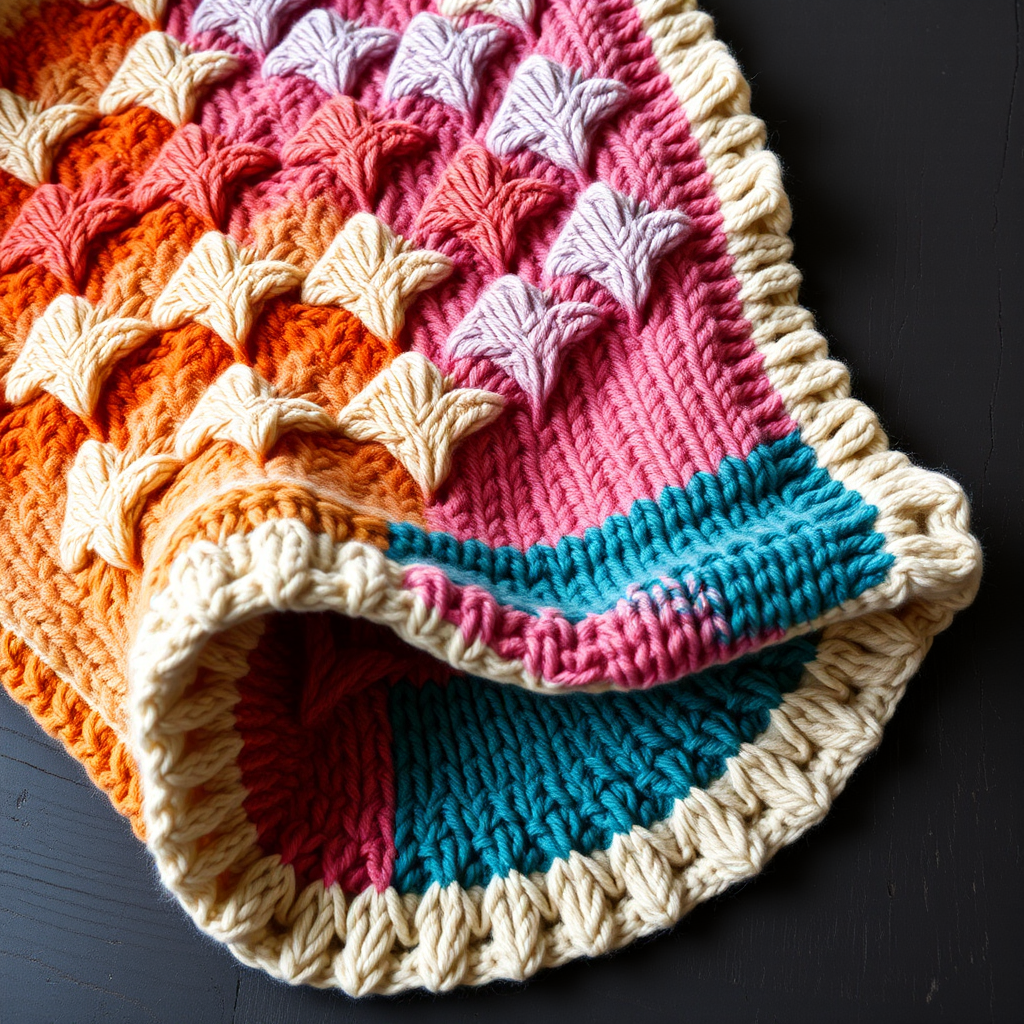
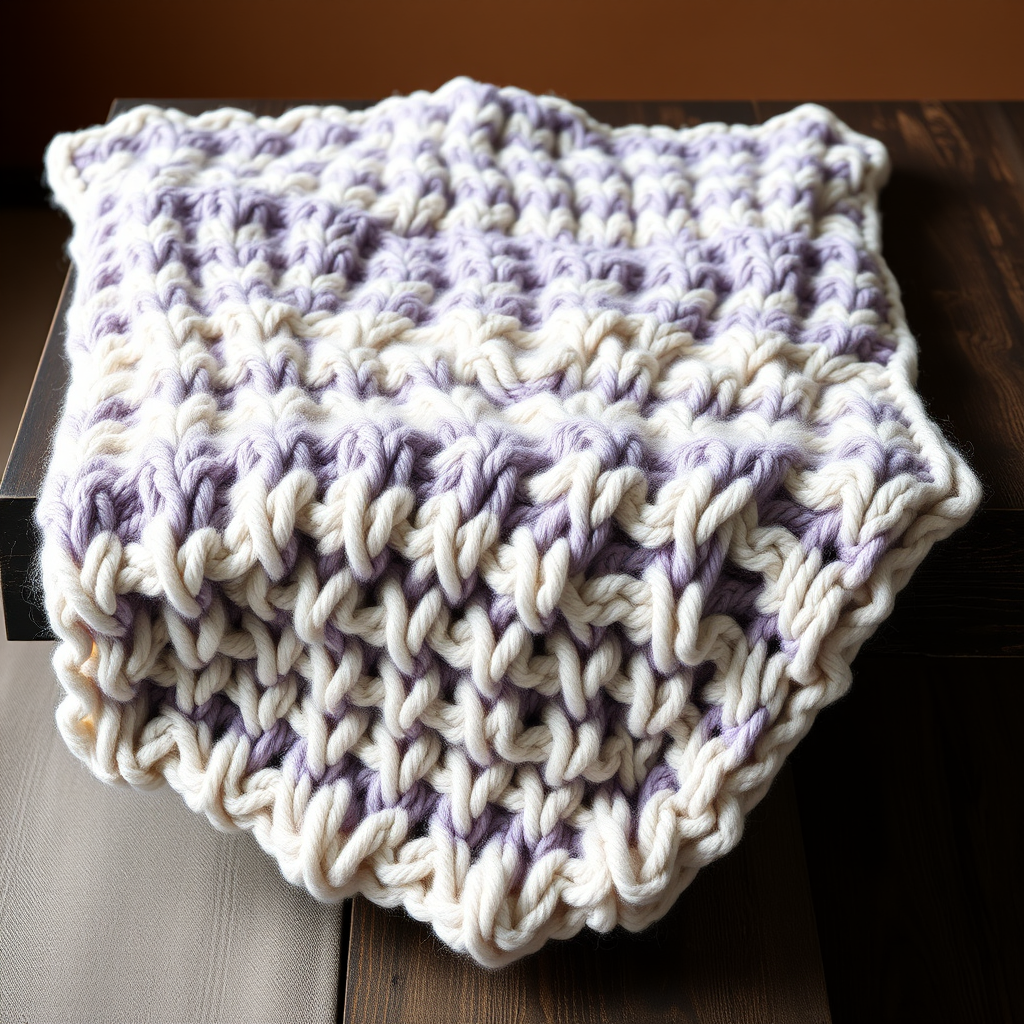
Wrap yourself in the serene beauty of a woodland floor with this deeply textured throw, featuring a unique fern-like stitch pattern. This free knitting pattern creates a cozy, heirloom-quality blanket that brings a touch of nature indoors. The combination of cables and lace mimics the delicate fronds of a fern, while the alternating stripes of deep forest green and soft sage green evoke the dappled light of a forest floor. Perfect for snuggling on the couch or adding a touch of organic elegance to your home decor, this pattern is designed to be both rewarding and achievable for a confident beginner or intermediate knitter.
Materials Needed
Before you begin, gather the following supplies to ensure a smooth knitting experience.
- Yarn: Worsted weight yarn (Category 4) in two colors:
- Main Color (MC): 1200 yards of a deep forest green.
- Contrast Color (CC): 800 yards of a soft, mossy sage green.
- Needles: US Size 8 (5.0 mm) knitting needles (or size to obtain gauge). A cable needle is helpful but not strictly required for the fern stitch.
- Notions: Tapestry needle for weaving in ends, stitch markers (optional), and blocking pins.
- Gauge: 18 stitches and 24 rows = 4 inches in stockinette stitch, after blocking. Achieving the correct gauge is essential for the final dimensions.
Step-by-Step Instructions
Pattern Notes & Abbreviations
Pattern Notes:
- The blanket is worked flat in one piece from the bottom up.
- The fern stitch pattern is a multiple of 10 stitches + 2 edge stitches.
- Slip the first stitch of every row purlwise with yarn in front for a neat, braided edge.
Abbreviations:
- k = knit
- p = purl
- yo = yarn over
- k2tog = knit two together (right-leaning decrease)
- ssk = slip, slip, knit (left-leaning decrease: slip two stitches knitwise, one at a time, then knit them together through the back loops)
- C4F = Cable 4 Front: slip 2 stitches to cable needle and hold in front, knit next 2 stitches, then knit the 2 stitches from cable needle
- C4B = Cable 4 Back: slip 2 stitches to cable needle and hold in back, knit next 2 stitches, then knit the 2 stitches from cable needle
- sl1 = slip one stitch purlwise with yarn in front
The Fern Stitch Pattern (Worked over 10 stitches + 2 edge stitches)
This 10-row repeat creates the fern motif. Repeat the stitches between the asterisks (*) across the row.
- Row 1 (RS): sl1, k1, *C4F, k2, yo, ssk, k2; repeat from * to last 2 stitches, k2.
- Row 2 (WS): sl1, p1, *p2, p2tog, yo, p1, yo, p2tog, p1; repeat from * to last 2 stitches, p2.
- Row 3: sl1, k1, *k2, C4B, yo, ssk, k2; repeat from * to last 2 stitches, k2.
- Row 4: sl1, p1, *p2, p2tog, yo, p3, yo, p2tog; repeat from * to last 2 stitches, p2.
- Row 5: sl1, k1, *k4, yo, ssk, k4; repeat from * to last 2 stitches, k2.
- Row 6: sl1, p1, *p4, p2tog, yo, p4; repeat from * to last 2 stitches, p2.
- Row 7: sl1, k1, *k3, yo, ssk, k1, yo, ssk, k1; repeat from * to last 2 stitches, k2.
- Row 8: sl1, p1, *p2, p2tog, yo, p3, p2tog, yo, p1; repeat from * to last 2 stitches, p2.
- Row 9: sl1, k1, *k2, yo, ssk, k3, yo, ssk; repeat from * to last 2 stitches, k2.
- Row 10: sl1, p1, *p1, p2tog, yo, p5, p2tog, yo; repeat from * to last 2 stitches, p2.
Getting Started: Cast On & Garter Border
- With MC, cast on 112 stitches using your preferred method (long-tail cast-on works well).
- Work in garter stitch (knit every row) for 6 rows. This creates a stable, non-curling bottom edge.
Working the Fern Stitch & Color Changes
- Begin the pattern: On the next row (RS), work: sl1, k1, then work Row 1 of the fern stitch pattern across to the last 2 stitches, k2. Continue working the 10-row fern stitch pattern, repeating it across the entire width of the blanket.
- Color changes:
- Work the first 10 rows of the fern pattern (Rows 1-10) in MC.
- Then, work the next 10 rows (Rows 1-10 again) in CC.
- Continue alternating colors every 10 rows. You will have 6 stripes of MC and 5 stripes of CC. (The blanket will measure approximately 60 inches from the cast-on edge when you finish the last CC stripe).
- Ending note: Always end after completing a WS row (Row 2, 4, 6, 8, or 10 of the pattern) before changing colors or beginning the final border.
Finishing the Blanket
- Top border: After the final CC stripe, switch back to MC. Work in garter stitch (knit every row) for 6 rows.
- Bind off: Bind off loosely in knit. A stretchy bind-off (like the "Jeny's Surprisingly Stretchy Bind-Off") is recommended to prevent the top edge from pulling in.
- Weave in ends: Use a tapestry needle to weave in all yarn tails securely on the wrong side of the blanket.
- Blocking: Block the blanket to open up the stitch pattern and even out the edges. Soak the blanket in lukewarm water with a gentle wool wash, gently squeeze out excess water (do not wring), and lay flat on a towel to dry, gently stretching it to the desired dimensions (approximately 50 inches wide and 70 inches long). Pin the edges if needed to maintain a neat rectangle.
Your Enchanted Forest Fern Throw is now complete! Enjoy the cozy, textured beauty of your handmade heirloom.