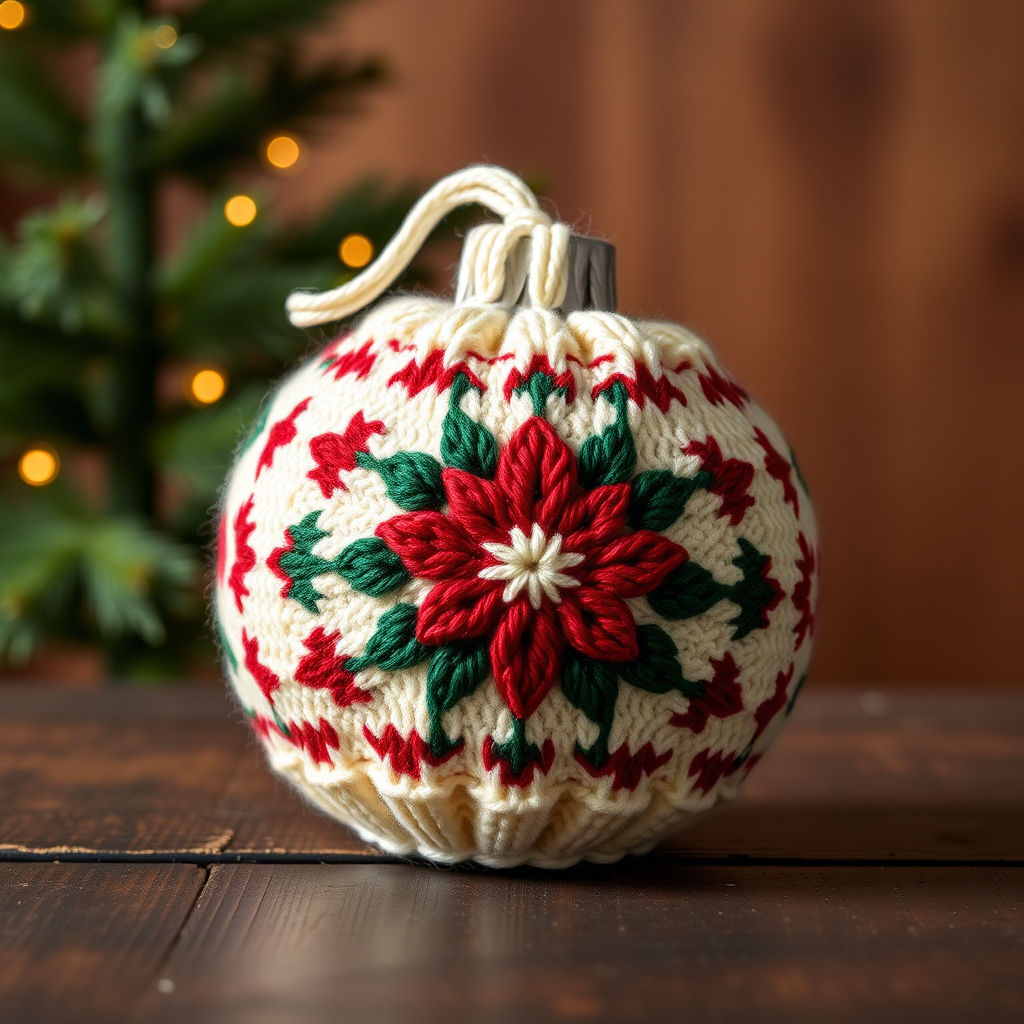
The Frosted Pinecone Ornament Cover Free Pattern – Knit a Cozy Winter Charm

The Frosted Pinecone Ornament Cover Free Pattern – Knit a Cozy Winter Charm
Wrap your holiday tree in handcrafted warmth with this textured pinecone ornament cover, knitted in soft, chunky yarn. This quick, satisfying project adds a rustic, woodland touch to any festive display, transforming simple ornament balls into cozy, handmade treasures. Whether you're a seasoned knitter looking for a fast weekend project or a beginner eager to practice new stitches, this pattern is designed to be both enjoyable and achievable. The combination of warm oatmeal and deep forest green creates a beautiful, natural aesthetic that complements any holiday décor theme.
This pattern creates a snug, textured cover that fits a standard 3-inch ornament ball. The pinecone effect is achieved with a clever combination of knit and purl stitches, plus a gathered base and top, resulting in a dimensional, scale-like texture that mimics the beauty of a real pinecone. Let's dive in and create a charming addition to your holiday collection!
Materials Needed
Before you begin, gather the following materials to ensure a smooth and enjoyable knitting experience:
- Yarn: Worsted weight yarn in two colors:
- Main Color (MC): Warm oatmeal (approximately 50 yards)
- Contrast Color (CC): Deep forest green (approximately 30 yards)
- Needles: US Size 7 (4.5 mm) knitting needles
- Notions: Tapestry needle for weaving in ends and seaming
- Optional: Crochet hook (any size) for the hanging loop
- Ornament: One standard 3-inch ornament ball (glass or plastic)
Gauge: 20 stitches and 26 rows = 4 inches in stockinette stitch. While gauge is not critical for this project, matching it will ensure your cover fits the ornament snugly. If your gauge is significantly different, adjust your needle size accordingly.
Step-by-Step Instructions
This pattern is worked flat from the bottom up, then seamed and gathered to create the ornament cover. Follow these detailed instructions carefully, and you'll have a beautiful pinecone cover in no time.
Abbreviations
- K = knit
- P = purl
- K2tog = knit two stitches together (decrease)
- P2tog = purl two stitches together (decrease)
- St(s) = stitch(es)
- MC = main color (warm oatmeal)
- CC = contrast color (deep forest green)
- RS = right side (outside of the cover)
- WS = wrong side (inside of the cover)
Base (Worked Flat)
This section creates the bottom of the cover that will be gathered to enclose the ornament.
- With MC, cast on 30 stitches using your preferred method (long-tail cast on works well).
- Row 1 (RS): Knit all stitches.
- Row 2 (WS): Purl all stitches.
- Repeat Rows 1 and 2 until the piece measures 2 inches from the cast-on edge, ending with a WS row. This creates a stockinette stitch base. Count your rows to ensure you have approximately 13 rows.
Pinecone Texture Section
This is where the magic happens! The alternating knit and purl stitches, combined with color changes, create the beautiful pinecone scale effect.
- Row 1 (RS): With MC, K2, *P3, K3; repeat from * to the last 2 stitches, K2. (You will have 4 repeats of the P3, K3 pattern between the edge stitches.)
- Row 2 (WS): With MC, P2, *K3, P3; repeat from * to the last 2 stitches, P2. (This is the reverse of Row 1, creating a ribbed texture.)
- Row 3 (RS): With CC, K2, *P3, K3; repeat from * to the last 2 stitches, K2. (Same as Row 1, but in the contrast color.)
- Row 4 (WS): With CC, P2, *K3, P3; repeat from * to the last 2 stitches, P2. (Same as Row 2, but in the contrast color.)
- Repeat Rows 1-4 until the piece measures 5 inches from the cast-on edge, ending with a WS row. This will give you approximately 3 full color repeats (each repeat is 4 rows).
Pro Tip: When changing colors, do not cut the yarn. Simply carry the unused color up the side of your work. This will make finishing much easier and reduce the number of ends to weave in.
Top Shaping
Now we'll decrease stitches to create the gathered top of the pinecone. This section narrows the cover to close around the ornament's hanger.
- Row 1 (RS): With MC, K2, *P2tog, K3; repeat from * to the last 2 stitches, K2. (You will have decreased 4 stitches, leaving 26 stitches on your needle.)
- Row 2 (WS): Purl all stitches. (26 stitches)
- Row 3 (RS): K2, *P1, K3; repeat from * to the last 2 stitches, K2. (26 stitches – this creates a slightly tighter rib pattern.)
- Row 4 (WS): P2, *K1, P3; repeat from * to the last 2 stitches, P2. (26 stitches – the reverse of Row 3.)
- Row 5 (RS): K2, *P1, K2tog; repeat from * to the last 2 stitches, K2. (You will have decreased 4 stitches, leaving 18 stitches on your needle.)
- Row 6 (WS): Purl all stitches. (18 stitches)
- Row 7 (RS): K2tog across the row. (You will have 9 stitches remaining.)
- Cut the yarn, leaving a long tail (at least 12 inches). Thread the tail through a tapestry needle, then slide the needle through all 9 remaining stitches on your knitting needle. Carefully remove the knitting needle, pull the yarn tight to gather the stitches into a small circle, and secure with a knot. Do not cut the tail yet – you'll use it for seaming.
Finishing
Now it's time to assemble your pinecone cover and give it its final shape.
- Seam the Side: With the right side facing you, use the tail from the top shaping to sew the side seam. Start from the top (the gathered end) and sew down to the beginning of the top shaping section (about 1 inch from the top). Use a mattress stitch or whip stitch for a neat, invisible seam. Leave the rest of the side open for now.
- Insert the Ornament: Carefully insert your 3-inch ornament ball into the opening at the bottom of the cover. Gently work the cover over the ball, ensuring the textured pattern is centered and the ball is fully enclosed.
- Gather the Bottom: Thread the tail from the cast-on edge through a tapestry needle. Weave the needle in and out of the cast-on stitches around the bottom edge. Pull the yarn tight to gather the bottom of the cover snugly around the ornament's base. Secure with a knot and weave in the end.
- Complete the Side Seam: Now, sew the remaining portion of the side seam (from the top shaping down to the gathered bottom). Use the same seaming technique as before. This will enclose the ornament completely.
- Weave in Ends: Weave in all remaining loose ends using your tapestry needle, being careful not to pull too tightly and distort the fabric.
Optional Hanging Loop
To easily hang your ornament on the tree, add a simple loop:
- With CC and a crochet hook, make a slip knot and chain 20 stitches.
- Slip stitch into the first chain to form a loop.
- Cut the yarn, leaving a 6-inch tail.
- Thread the tail through a tapestry needle and attach the loop securely to the top of the cover, where the stitches are gathered. Weave in the ends.
Your Frosted Pinecone Ornament Cover is complete! Admire your handiwork and enjoy the cozy, woodland charm it brings to your holiday tree. These make wonderful handmade gifts for friends and family, and they're perfect for adding a personal touch to your own festive décor. Happy knitting!