The Hearthside Herringbone Throw: A Free Knitting Pattern for a Modern, Textured Chunky Blanket
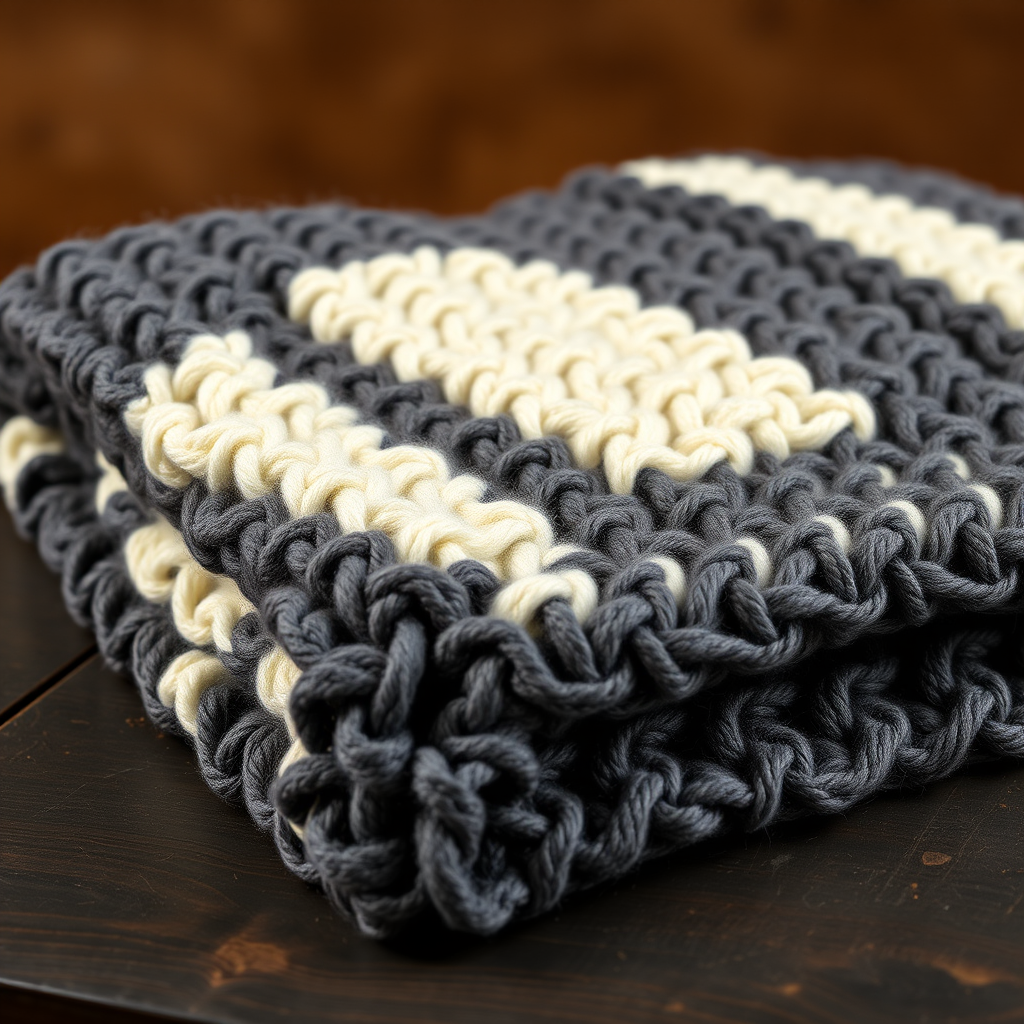
Wrap Yourself in Texture: The Hearthside Herringbone Throw
There’s something magical about a blanket that feels as good as it looks. The Hearthside Herringbone Throw is a modern, chunky blanket that combines the cozy warmth of super bulky yarn with a timeless, woven-like stitch. This free knitting pattern guides you through creating a stunning, reversible herringbone fabric that’s both stylish and incredibly satisfying to knit. Whether you’re a seasoned knitter looking for a quick, impactful project or a confident beginner ready to try something new, this throw will become a cherished piece in your home. The subtle two-tone effect (shown here in Charcoal and Fisherman) adds a sophisticated, architectural touch, but you can easily use a single color for a more uniform look. Let’s get started!
Materials Needed
Before you begin, gather the following supplies. Using the exact materials will ensure your blanket matches the gauge and drape of the original design.
- Yarn: Super Bulky weight yarn (Size 6), approximately 1200-1400 yards. Suggested: Lion Brand Wool-Ease Thick & Quick (shown in 'Charcoal' and 'Fisherman' for a two-tone effect) or a similar super bulky blend. You will need two colors: Color A (Charcoal) and Color B (Fisherman). If using one color, you’ll need 1200-1400 yards of that single color.
- Needles: US Size 15 (10 mm) circular knitting needle, 32-inch or longer cord for working flat. A circular needle is essential to hold the large number of stitches comfortably.
- Notions: Tapestry needle for weaving in ends. Scissors.
Step-by-Step Instructions
Follow these detailed instructions carefully. The Herringbone Stitch is a slipped-stitch pattern that creates a dense, woven fabric. It is reversible and looks the same on both sides. The throw is worked flat in two colors to create a subtle, modern stripe effect. Gauge is critical: 8 stitches and 12 rows = 4 inches in Herringbone Stitch. If your gauge is off, your blanket will be a different size.
Pattern Notes & Abbreviations
- Sl1 wyif: Slip 1 stitch purlwise with yarn in front. This means you insert the right needle into the next stitch as if to purl, but instead of wrapping the yarn, you simply slide the stitch from the left needle to the right needle, keeping the working yarn at the front of the work (between you and the needle).
- K: Knit
- P: Purl
- Rep: Repeat
- St(s): Stitch(es)
- CO: Cast on
- WS: Wrong side
- RS: Right side
Getting Started: Cast On
With Color A, cast on 80 stitches using your preferred method (long-tail cast on works well). Ensure your cast on is not too tight, as the slipped stitches need some give. You will be working back and forth in rows.
Row-by-Row Instructions
Row 1 (RS): K1, *Sl1 wyif, K1; rep from * to last st, K1. Explanation: Knit the first stitch. Then, slip the next stitch purlwise with yarn in front, then knit the next stitch. Repeat this (slip, knit) across the row until you have one stitch left. Knit that last stitch.
Row 2 (WS): K1, *K1, Sl1 wyif; rep from * to last st, K1. Explanation: Knit the first stitch. Then, knit the next stitch, then slip the following stitch purlwise with yarn in front. Repeat this (knit, slip) across the row until you have one stitch left. Knit that last stitch.
Switch to Color B. Cut Color A, leaving a 6-inch tail, and join Color B.
Row 3: K1, *K1, Sl1 wyif; rep from * to last st, K1. Note: This row is identical to Row 2, but worked with Color B.
Row 4: K1, *Sl1 wyif, K1; rep from * to last st, K1. Note: This row is identical to Row 1, but worked with Color B.
Switch to Color A. Cut Color B, leaving a 6-inch tail, and join Color A.
Row 5: K1, *Sl1 wyif, K1; rep from * to last st, K1. This is the same as Row 1.
Row 6: K1, *K1, Sl1 wyif; rep from * to last st, K1. This is the same as Row 2.
Continuing the Pattern
Repeat Rows 3-6 for the pattern, alternating colors every 2 rows. This means you will work 2 rows with Color B (Rows 3 and 4), then 2 rows with Color A (Rows 5 and 6), then 2 rows with Color B, and so on. Continue this sequence until the piece measures approximately 60 inches from the cast-on edge, ending after a Row 6 repeat (with Color A). This ensures the color sequence is consistent at both ends.
Finishing the Blanket
Bind Off: Bind off loosely in pattern. To do this, knit the knits and slip the slips as they appear. For example, if the next stitch is a knit stitch, knit it, then pass the previous stitch over it. If the next stitch is a slipped stitch (which will look like a loose strand), slip it purlwise with yarn in front, then pass the previous stitch over it. Continue this across the row. This ensures the edge matches the fabric’s texture and remains stretchy.
Weave in Ends: Using a tapestry needle, weave in all yarn tails securely on the wrong side of the work. Trim any excess yarn.
Blocking: Block gently by steaming or lightly wetting and laying flat to dry. Be careful not to flatten the texture—just relax the stitches and even out the edges. Do not press with an iron. Once dry, your Hearthside Herringbone Throw is ready to enjoy!


