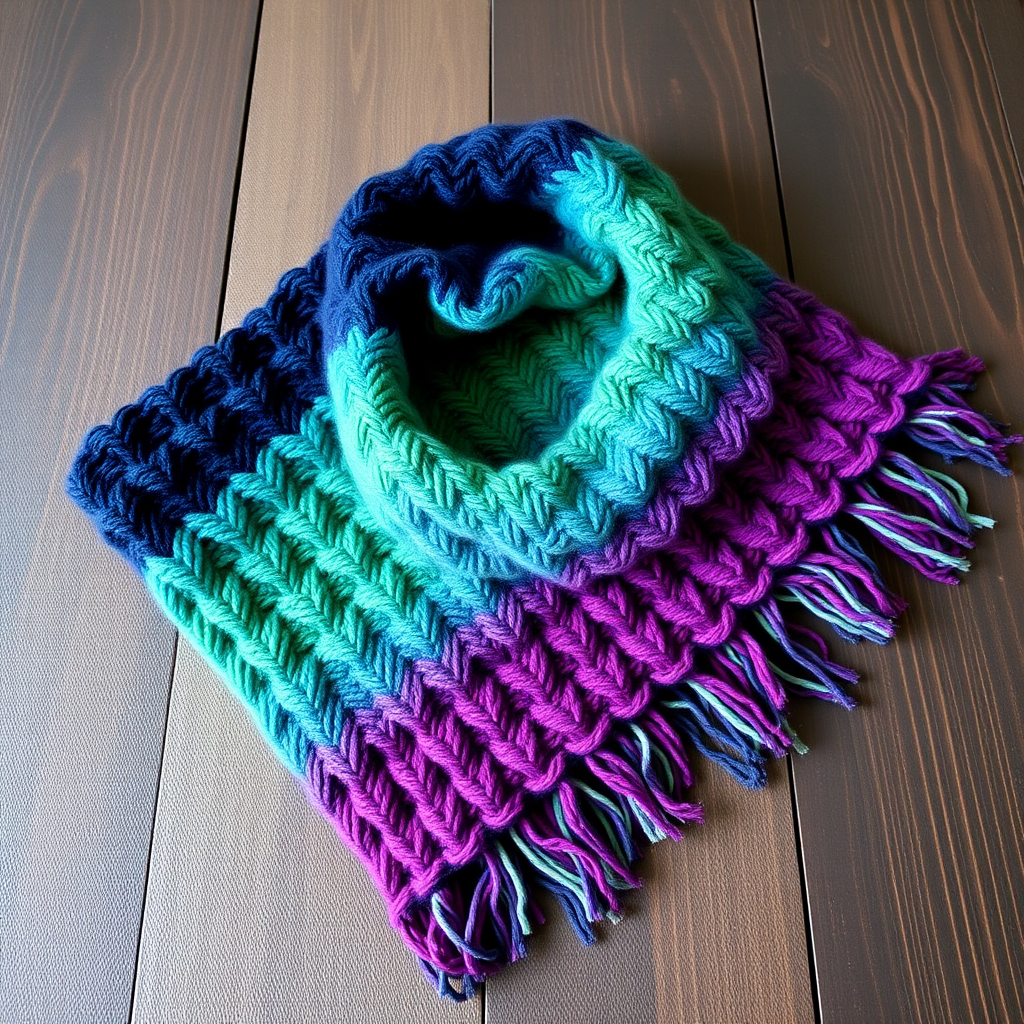
The Mischievous Mitts Scarf: A Free Knitting Pattern for a Playful, Textured Wrap

Wrap Yourself in Whimsy: The Mischievous Mitts Scarf
Get ready to knit a conversation starter! The Mischievous Mitts Scarf is a delightfully playful project that combines classic cable techniques with a whimsical, modern twist. This cozy wrap features a rich, textured body of forest green cables, from which dozens of bright lime green "Grinch legs" dangle and sway. Perfect for adding a touch of humor to your winter wardrobe or creating a unique handmade gift, this pattern is designed to be both engaging and achievable for knitters ready to try something new. The clever use of dropped stitches and picked-up panels creates a truly one-of-a-kind accessory that is as fun to make as it is to wear.
Materials Needed
Before you begin, gather the following supplies to ensure a smooth and enjoyable knitting experience.
- Yarn: Worsted weight yarn in two colors.
- Main Color (MC): Forest Green – approximately 350 yards (320 meters)
- Contrast Color (CC): Bright Lime Green – approximately 100 yards (91 meters)
- Needles: US 8 (5 mm) knitting needles. A cable needle is also required.
- Notions: Stitch markers (helpful for marking leg sections), tapestry needle for weaving in ends, scissors.
- Gauge: 18 stitches and 24 rows = 4 inches (10 cm) in Stockinette stitch. Always check your gauge for best results.
Step-by-Step Instructions
This pattern is worked flat from end to end. The "Grinch legs" are created by working a series of dropped stitches that are then picked up and knit in the contrast color. Stitch markers are highly recommended to mark the leg sections.
Abbreviations
- CO: Cast on
- K: Knit
- P: Purl
- C4F: Cable 4 Front (slip 2 stitches to cable needle, hold in front, k2, k2 from cable needle)
- C4B: Cable 4 Back (slip 2 stitches to cable needle, hold in back, k2, k2 from cable needle)
- M1: Make one (increase)
- K2tog: Knit two together
- SSK: Slip, slip, knit (decrease)
- St(s): Stitch(es)
- RS: Right side
- WS: Wrong side
Scarf Body (Make 2 identical pieces)
Note: You will knit two identical scarf panels. These will be joined later by the legs. With MC, CO 30 sts.
Row 1 (RS): K4, P2, K6, P2, K6, P2, K4, P2, K2.
Row 2 (WS): K2, P2, K4, P2, K6, P2, K6, P2, K4.
Row 3: K4, P2, C4F, C4B, P2, C4F, C4B, P2, K4, P2, K2.
Row 4: K2, P2, K4, P2, K6, P2, K6, P2, K4.
Row 5: K4, P2, K6, P2, K6, P2, K4, P2, K2.
Row 6: K2, P2, K4, P2, K6, P2, K6, P2, K4.
Row 7: K4, P2, C4B, C4F, P2, C4B, C4F, P2, K4, P2, K2.
Row 8: K2, P2, K4, P2, K6, P2, K6, P2, K4.
Repeat Rows 1-8 until piece measures approximately 60 inches (152 cm) from cast-on edge, ending with a WS row. Bind off loosely in pattern. Repeat for the second piece.
Grinch Legs (Make 10-12 per scarf panel)
Note: You will create a series of legs along the length of each scarf panel. With RS facing, pick up and knit 1 stitch from the center of each cable panel (the 6-stitch sections) along the entire length of the scarf. You will have a series of picked-up stitches spaced about 2 inches (5 cm) apart. Each leg is worked individually.
Row 1 (RS): K1, M1, K to last stitch, M1, K1. (3 sts)
Row 2 (WS): Purl.
Row 3: K1, M1, K1, M1, K1. (5 sts)
Row 4: Purl.
Row 5: K1, M1, K3, M1, K1. (7 sts)
Row 6: Purl.
Row 7: K1, M1, K5, M1, K1. (9 sts)
Row 8: Purl.
Row 9: K1, M1, K7, M1, K1. (11 sts)
Row 10: Purl.
Row 11: K1, SSK, K5, K2tog, K1. (9 sts)
Row 12: Purl.
Row 13: K1, SSK, K3, K2tog, K1. (7 sts)
Row 14: Purl.
Row 15: K1, SSK, K1, K2tog, K1. (5 sts)
Row 16: Purl.
Row 17: K1, SSK, K2tog, K1. (3 sts)
Row 18: Purl.
Row 19: K1, K2tog, K1. (2 sts)
Row 20: P2tog. (1 st)
Cut yarn, pull through last stitch. Weave in ends.
Repeat for each picked-up stitch, creating a row of dangling 'legs' along the scarf.
Finishing
With CC, create a small pompom for the tip of each leg (optional). Sew pompoms to the ends of the legs. Weave in all ends. Block gently to shape. To wear, simply drape the scarf around your neck, allowing the mischievous legs to dangle freely.