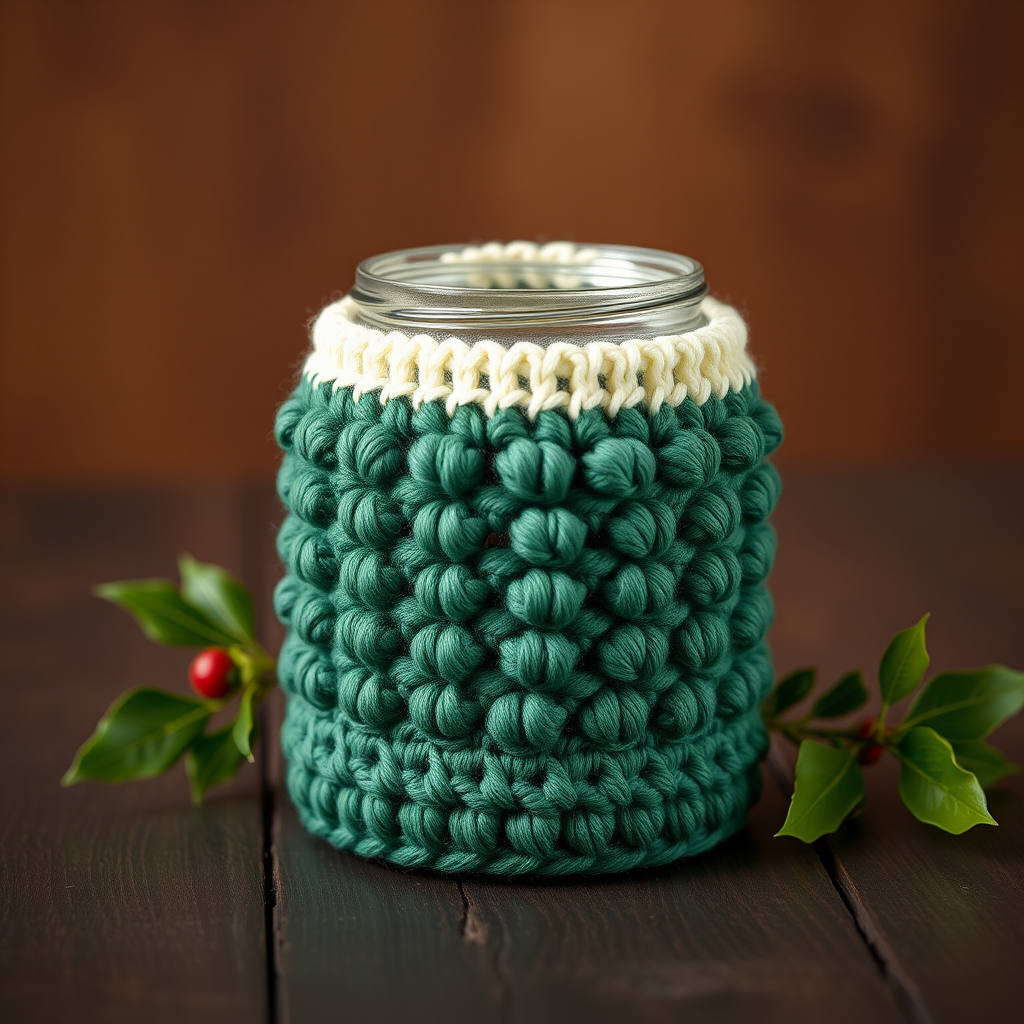
The Starlit Spruce Tree: A Free Crochet Pattern for a Modern, Textured Christmas Tree

Introducing the Starlit Spruce Tree: A Modern Crochet Masterpiece
Move over, basic green triangles! This crochet Christmas tree features a stunning, textured spiral of star stitches that creates a modern, sculptural look. It's a quick, satisfying project that uses minimal yarn and makes a gorgeous, handmade centerpiece or gift. The Starlit Spruce Tree is the perfect project for crocheters looking to add a touch of contemporary elegance to their holiday decor. With its rich forest green body and a bright gold or copper star topper, this tree is sure to become a cherished heirloom.
Materials Needed
Before you begin, gather the following supplies. Gauge is not critical for this project, but a consistent tension will ensure a neat shape. The star stitch pattern should be firm but not tight.
- Yarn: Worsted weight (#4) cotton or acrylic yarn in two colors:
- Main Color (MC): Deep forest green (approx 100 yards)
- Contrast Color (CC): Bright gold or copper (approx 20 yards)
- Hook: Size G (4.0 mm) crochet hook
- Other: Yarn needle, scissors, stitch markers (optional)
Step-by-Step Instructions
This tree is worked in a continuous spiral from the top down. Do not join rounds unless specified.
Abbreviations (US terms)
- ch: chain
- sc: single crochet
- st(s): stitch(es)
- sl st: slip stitch
- MC: Main Color (green)
- CC: Contrast Color (gold)
Special Stitch: Star Stitch (worked over 2 stitches)
- Insert hook into the first stitch, yarn over, pull up a loop (2 loops on hook).
- Insert hook into the next stitch, yarn over, pull up a loop (3 loops on hook).
- Yarn over, pull through all 3 loops on hook. Ch 1 to close the star. This ch-1 counts as the 'eye' of the star.
Pattern
Round 1 (with MC): Make a magic ring. Ch 1, work 6 sc into the ring. Pull tight to close. (6 sts)
Round 2: Work 2 sc in each st around. (12 sts)
Round 3: *Work a Star Stitch over the next 2 sts, ch 1 (this is the eye).* Repeat from * to * around. You will have 6 Star Stitches and 6 ch-1 spaces. (12 sts total, but the structure is different)
Round 4: *Work 2 sc in the next ch-1 space (the eye of the star), then work 1 sc in the next Star Stitch.* Repeat from * to * around. (18 sc)
Round 5: *Work a Star Stitch over the next 2 sts, ch 1.* Repeat from * to * around. (9 Star Stitches, 9 ch-1 spaces)
Round 6: *Work 2 sc in the next ch-1 space, then work 1 sc in the next Star Stitch.* Repeat from * to * around. (27 sc)
Round 7: *Work a Star Stitch over the next 2 sts, ch 1.* Repeat from * to * around. (13 Star Stitches, 13 ch-1 spaces - you will have 1 sc left over at the end of the round. Simply work a sc in that last st, then continue to the next round.)
Round 8: *Work 2 sc in the next ch-1 space, then work 1 sc in the next Star Stitch.* Repeat from * to * around. (39 sc)
Round 9: *Work a Star Stitch over the next 2 sts, ch 1.* Repeat from * to * around. (19 Star Stitches, 19 ch-1 spaces - you will have 1 sc left over. Work a sc in that last st.)
Round 10: *Work 2 sc in the next ch-1 space, then work 1 sc in the next Star Stitch.* Repeat from * to * around. (57 sc)
Round 11: *Work a Star Stitch over the next 2 sts, ch 1.* Repeat from * to * around. (28 Star Stitches, 28 ch-1 spaces - you will have 1 sc left over. Work a sc in that last st.)
Round 12: *Work 2 sc in the next ch-1 space, then work 1 sc in the next Star Stitch.* Repeat from * to * around. (84 sc)
Round 13: *Work a Star Stitch over the next 2 sts, ch 1.* Repeat from * to * around. (42 Star Stitches, 42 ch-1 spaces)
Round 14: *Work 2 sc in the next ch-1 space, then work 1 sc in the next Star Stitch.* Repeat from * to * around. (126 sc)
Round 15: *Work a Star Stitch over the next 2 sts, ch 1.* Repeat from * to * around. (63 Star Stitches, 63 ch-1 spaces)
Round 16: *Work 2 sc in the next ch-1 space, then work 1 sc in the next Star Stitch.* Repeat from * to * around. (189 sc)
Round 17: *Work a Star Stitch over the next 2 sts, ch 1.* Repeat from * to * around. (94 Star Stitches, 94 ch-1 spaces - you will have 1 sc left over. Work a sc in that last st.)
Round 18: *Work 2 sc in the next ch-1 space, then work 1 sc in the next Star Stitch.* Repeat from * to * around. (282 sc)
Round 19: *Work a Star Stitch over the next 2 sts, ch 1.* Repeat from * to * around. (141 Star Stitches, 141 ch-1 spaces)
Round 20: *Work 2 sc in the next ch-1 space, then work 1 sc in the next Star Stitch.* Repeat from * to * around. (423 sc)
Round 21: *Work a Star Stitch over the next 2 sts, ch 1.* Repeat from * to * around. (211 Star Stitches, 211 ch-1 spaces - you will have 1 sc left over. Work a sc in that last st.)
Round 22: *Work 2 sc in the next ch-1 space, then work 1 sc in the next Star Stitch.* Repeat from * to * around. (633 sc)
Finishing: Sl st into the next st. Fasten off MC, leaving a long tail for sewing. Weave in the end.
Star Topper (with CC)
- Make a magic ring. Ch 1, work 10 sc into the ring. Sl st to the first sc to join. (10 sc)
- Ch 1, *sc in next st, ch 3, sl st in the same st (this forms a point).* Repeat from * to * around. You will have 5 points. Sl st to the first sc to join. Fasten off, leaving a long tail for sewing.
- Sew the star to the top of the tree. Weave in all ends.
Optional Base
To make the tree stand upright, you can create a small base by crocheting a flat circle in MC (e.g., 6 sc in a magic ring, increase to 12, 18, 24, etc. until it's the desired width) and sewing it to the bottom of the tree.
Your Starlit Spruce Tree is now complete! Display it proudly as a modern, textured centerpiece or give it as a thoughtful handmade gift. Happy crocheting!