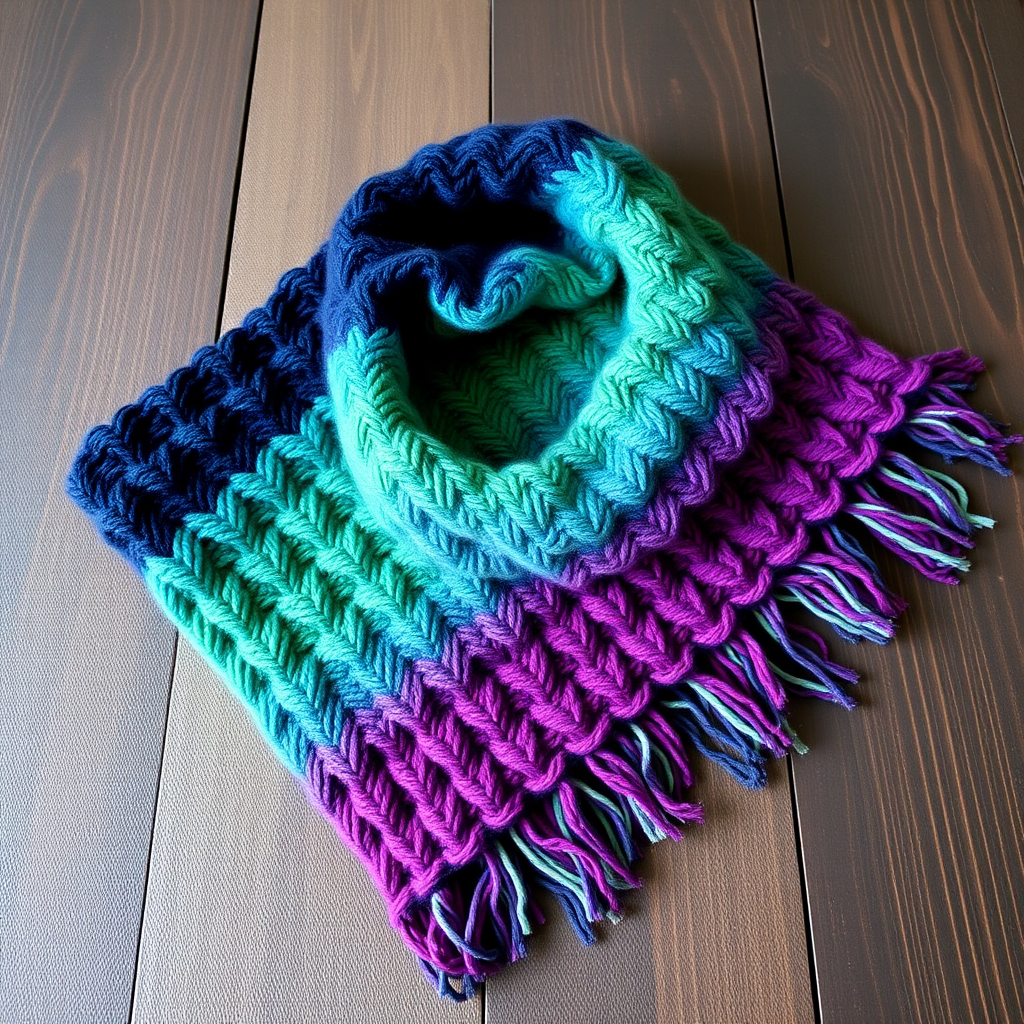
The Sun-Kissed Citrus Scarf: A Free Knitting Pattern for a Textured, Zesty Winter Accessory

Wrap Yourself in Sunshine: The Sun-Kissed Citrus Scarf
Imagine wrapping yourself in the vibrant, zesty energy of a sun-drenched orchard. That’s exactly the feeling you’ll get with the Sun-Kissed Citrus Scarf. This free knitting pattern combines a clever interplay of seed stitch and slipped stitches to create a uniquely textured fabric that mimics the dimpled rind of a fresh orange or lemon. The bold, asymmetrical fringe—a mix of bright orange and pale yellow—adds a modern, handcrafted touch to this cozy, oversized accessory. Perfect for intermediate beginners looking to expand their stitch repertoire, this scarf is a joyful project that will keep you warm all winter long.
Materials Needed
Before you begin, gather the following supplies. The pattern uses simple, readily available materials to create a stunning result.
- Yarn: Worsted weight yarn in two colors:
- Color A (Bright Orange): 250 yards (e.g., Lion Brand Vanna's Choice in 'Orange')
- Color B (Pale Yellow): 200 yards (e.g., Lion Brand Vanna's Choice in 'Mustard')
- Needles: US Size 8 (5.0 mm) knitting needles
- Notions: Tapestry needle for weaving ends and seaming, crochet hook (size H/5.0 mm or similar) for fringe, scissors
Gauge & Finished Size
- Gauge: 18 stitches and 24 rows = 4 inches in stockinette stitch (knit every row). Always check your gauge to ensure the correct finished size.
- Finished Dimensions: Approximately 8 inches wide by 60 inches long (excluding fringe).
Step-by-Step Instructions
This scarf is worked in two identical halves, starting from the center and working outward. This creates perfectly symmetrical, mirrored sections. The fringe is added after both halves are seamed together.
Abbreviations
- CO: Cast on
- K: Knit
- P: Purl
- Sl1 wyif: Slip 1 stitch purlwise with yarn in front (yarn held to the front of the work)
- Sl1 wyib: Slip 1 stitch purlwise with yarn in back (yarn held to the back of the work)
- Rep: Repeat
- St(s): Stitch(es)
- RS: Right side
- WS: Wrong side
Pattern Notes
- The slipped stitch pattern creates a subtle, bumpy texture that resembles citrus rind. The seed stitch borders keep the edges from curling.
- When slipping stitches, always slip them purlwise (as if to purl) unless otherwise stated. This keeps the stitch orientation correct.
- Work the first and last stitch of every row as a knit stitch to create a neat, stable edge for seaming and fringe.
First Half (Orange Section - Color A)
- Cast On: With Color A, CO 36 stitches.
- Rows 1-2 (Seed Stitch Border):
- Row 1 (RS): K1, *P1, K1; rep from * to last st, K1.
- Row 2 (WS): K1, *P1, K1; rep from * to last st, K1.
- Rows 3-14 (Pattern Repeat - 12 rows):
- Row 3: K1, *Sl1 wyif, K1; rep from * to last st, K1.
- Row 4: K1, *P1, Sl1 wyib; rep from * to last st, K1.
- Row 5: K1, *K1, Sl1 wyif; rep from * to last st, K1.
- Row 6: K1, *Sl1 wyib, P1; rep from * to last st, K1.
- Rows 7-8: Repeat Rows 1-2 (Seed stitch).
- Row 9: K1, *K1, Sl1 wyif; rep from * to last st, K1.
- Row 10: K1, *Sl1 wyib, P1; rep from * to last st, K1.
- Row 11: K1, *Sl1 wyif, K1; rep from * to last st, K1.
- Row 12: K1, *P1, Sl1 wyib; rep from * to last st, K1.
- Rows 13-14: Repeat Rows 1-2 (Seed stitch).
- Repeat the Pattern: Continue repeating Rows 3-14 until the piece measures approximately 30 inches from the cast-on edge, ending after a wrong side row (Row 2, 8, or 14).
- Bind Off: Bind off loosely in pattern (knit the knits and purl the purls as they appear). Cut yarn, leaving a 12-inch tail for seaming.
Second Half (Yellow Section - Color B)
- Cast On: With Color B, CO 36 stitches.
- Work Identically: Work exactly as for the First Half, repeating Rows 3-14 until the piece measures 30 inches from the cast-on edge. End after a wrong side row.
- Bind Off: Bind off loosely in pattern. Cut yarn, leaving a 12-inch tail for seaming.
Finishing & Assembly
- Weave in Ends: Using a tapestry needle, weave in all loose ends securely on the wrong side of the fabric. Trim any excess.
- Seam the Halves: With right sides facing each other, use a tapestry needle and the long tail from one of the bind-off edges. Using a mattress stitch or whip stitch, sew the two bind-off edges together neatly. This creates one long, continuous scarf. Weave in the seaming yarn ends.
- Add the Fringe:
- Cut 12-inch lengths of Color A and Color B. You will need approximately 40-50 strands total (20-25 of each color).
- For each fringe cluster, take 2 strands of Color A and 2 strands of Color B (4 strands total). Fold the bundle in half.
- Insert a crochet hook from the wrong side to the right side through a stitch at one short end of the scarf. Hook the folded loop of the fringe bundle and pull it partially through the fabric.
- Pull the loose ends of the fringe through the loop. Gently tighten the knot so it sits snugly against the edge.
- Space fringe clusters evenly across both short ends of the scarf, about 1 inch apart. You should have approximately 18 clusters per end.
- Trim all fringe ends to an even length (e.g., 5 inches from the knot).
Your Sun-Kissed Citrus Scarf is complete! The combination of the textured slipped stitch pattern and the vibrant, mixed fringe creates a truly unique accessory that’s as fun to make as it is to wear. Enjoy your handcrafted, zesty winter warmth!