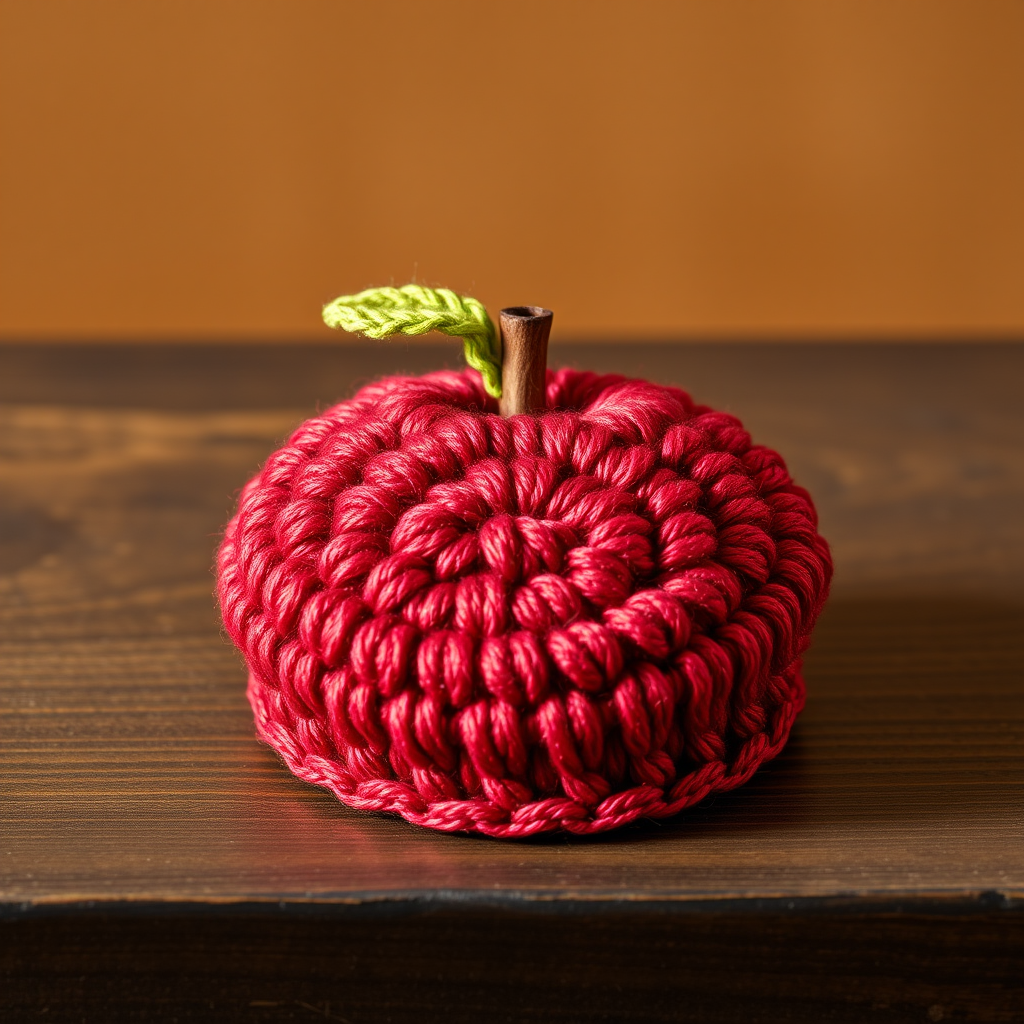
The Sundrenched Sunburst Coaster: A Free Crochet Pattern for a Textured, Two-Tone Flower Design

Bring a Ray of Sunshine to Your Table: The Sundrenched Sunburst Coaster
Are you looking for a quick, satisfying crochet project that adds a touch of handcrafted charm to your home? Look no further than the Sundrenched Sunburst Coaster. This unique pattern combines a dimensional, textured flower center with a crisp, scalloped edge, creating a sturdy, absorbent, and beautiful home accent. Using two contrasting colors of cotton yarn, you'll create a coaster that is both functional and a joy to look at. Perfect for beginners and experienced crocheters alike, this project works up in under an hour and makes a wonderful gift. Let's dive into creating your own little piece of sunshine!
Materials Needed
Before you begin, gather the following supplies. The gauge is not critical for this project, but consistency will ensure your coasters are uniform in size.
- Yarn: Worsted weight cotton yarn (e.g., Lily Sugar'n Cream or Lion Brand 24/7 Cotton) in two colors:
- Color A (Sunflower Yellow): Approximately 20 yards per coaster.
- Color B (Ivory or Cream): Approximately 20 yards per coaster.
- Hook: Size G (4.0 mm) crochet hook.
- Other: Yarn needle for weaving in ends, scissors, and a spray bottle for blocking (optional but recommended).
Step-by-Step Instructions
Important Notes: The coaster is worked in continuous rounds (spiral) for the first 4 rounds, then joined rounds for the border. Do not join at the end of rounds 1-4 unless specified. The chain 1 at the beginning of rounds does not count as a stitch unless stated otherwise.
Round 1 (Color A): The Magic Ring
Make a magic ring. Chain 1 (this does not count as a stitch). Work 8 single crochet (sc) into the ring. Pull the tail tightly to close the ring. You should have 8 sc stitches. Do not join; just continue to the next round.
Round 2 (Color A): Increase Round
Work 2 single crochet (sc) in each stitch around. This means you will make 2 sc in every stitch from the previous round. You will now have 16 sc stitches.
Round 3 (Color A): Increase Round
*Sc in the next stitch, then 2 sc in the next stitch*; repeat from * to * around. This creates a pattern of one single crochet, then an increase. You will now have 24 sc stitches.
Round 4 (Color A): Increase Round
*Sc in the next 2 stitches, then 2 sc in the next stitch*; repeat from * to * around. This creates a pattern of two single crochets, then an increase. You will now have 32 sc stitches. Fasten off Color A, leaving a 6-inch tail. Weave in this end securely using your yarn needle.
Round 5 (Color B): The Textured Ridge
Join Color B with a slip stitch (sl st) in any stitch from Round 4. Chain 3 (this counts as your first double crochet, dc). Work 1 double crochet (dc) in the same stitch where you joined. *Skip the next stitch, then work 2 double crochet (dc) in the next stitch*; repeat from * to * around. You will have 32 double crochet stitches total, arranged in 16 pairs. Join with a slip stitch (sl st) to the top of the beginning chain 3. This round creates a beautiful, raised ridge that separates the two colors.
Round 6 (Color B): Even Round
Chain 1 (this does not count as a stitch). *Single crochet (sc) in the next 2 stitches, then 2 single crochet (sc) in the next stitch*; repeat from * to * around. This increases the stitch count to 42 sc. Join with a slip stitch (sl st) to the first single crochet of the round.
Round 7 (Color B): Scalloped Edge
Chain 1. *Skip the next stitch, then work 5 double crochet (dc) in the next stitch, skip the next stitch, then slip stitch (sl st) in the next stitch*; repeat from * to * around. You will end the round with a slip stitch (sl st) in the last stitch. Fasten off Color B, leaving a 6-inch tail. Weave in all ends securely using your yarn needle.
Finishing Touches
To give your coaster a professional, polished look, block it lightly. Spritz the coaster with water until damp but not soaking wet. Gently shape it into a perfect circle, paying special attention to the scalloped edge to ensure each petal is even. Pin it in place on a blocking mat or towel and allow it to dry completely. This step helps the stitches relax and the scallops to lie flat. Once dry, your Sundrenched Sunburst Coaster is ready to use or gift!