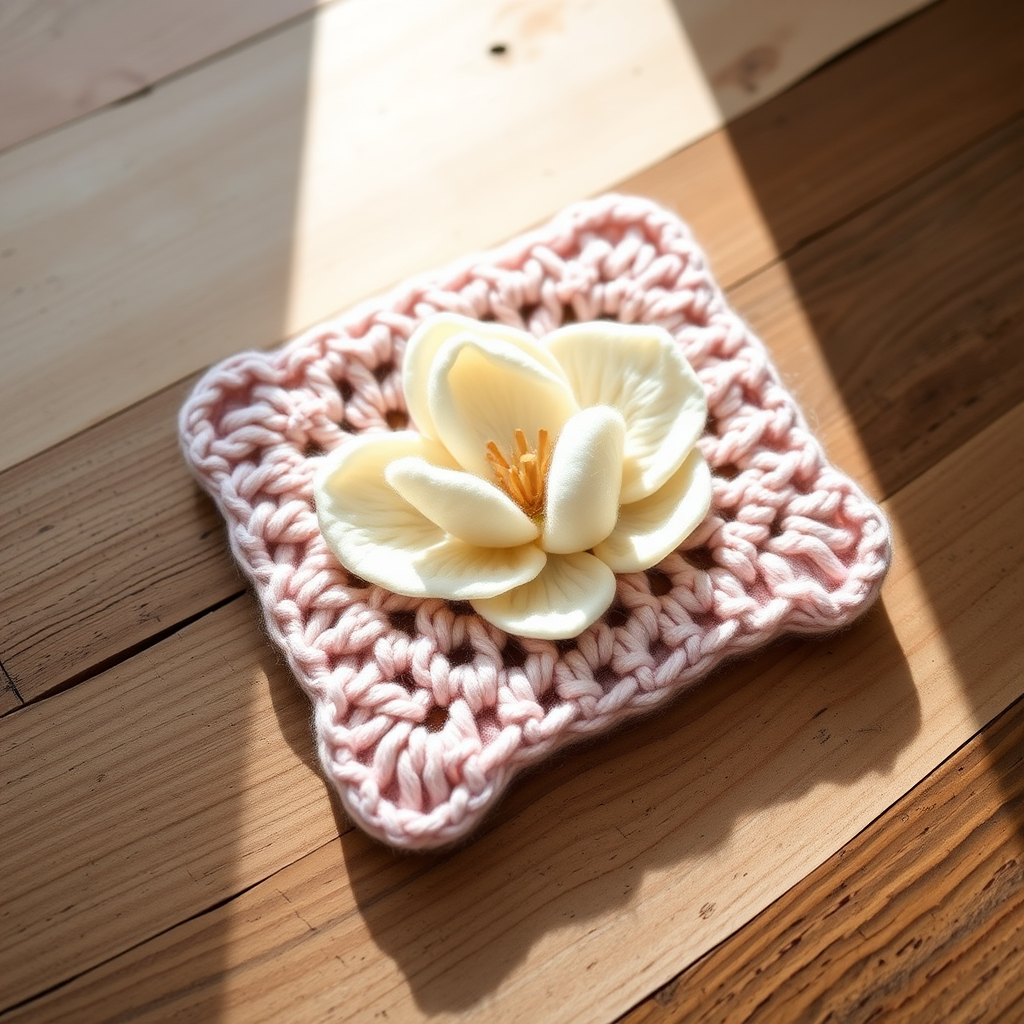
The Verdant Moss Stitch Coaster Set Free Pattern – A Knitted Forest Floor Duo with Textured Leaf Accents

The Verdant Moss Stitch Coaster Set: A Free Knitting Pattern for Nature-Inspired Home Decor
Bring the quiet calm of a woodland floor to your table with this pair of knitted coasters, worked in a lush moss stitch that mimics clusters of soft greenery. Each coaster features a delicate leaf-shaped accent, making them a charming, nature-inspired addition to any cozy corner. This free pattern is perfect for beginners and experienced knitters alike, offering a satisfying project that combines simple stitches with a beautiful, textured finish.
Why You'll Love This Pattern
This moss stitch coaster set is more than just a practical accessory—it's a small piece of art for your home. The dense, bumpy texture of the moss stitch is not only visually appealing but also highly absorbent, making these coasters perfect for protecting your furniture from condensation. The leaf accent adds a whimsical, organic touch that sets this pattern apart from ordinary coasters. Plus, with just a few basic stitches, you can create a stunning set that makes a thoughtful handmade gift.
Materials Needed
Before you begin, gather the following materials. This project is budget-friendly and uses readily available supplies.
- Yarn: Worsted weight cotton yarn in two shades:
- Forest Green (MC) – approximately 50 yards
- Sage (CC) – approximately 50 yards
- Needles: US 6 (4.0 mm) knitting needles
- Notions: Tapestry needle for weaving in ends and sewing the leaf, scissors
- Gauge: 20 stitches and 28 rows = 4 inches in moss stitch (blocked). Gauge is important for achieving the correct size, so be sure to check your tension.
Pattern Overview
This pattern creates two identical square coasters, each measuring approximately 4.5 x 4.5 inches after blocking. The moss stitch is a simple two-row repeat that creates a bumpy, organic texture perfect for absorbing condensation. The leaf accent is worked separately and then sewn onto the corner of each coaster, adding a delightful dimensional detail.
Step-by-Step Instructions
Coaster 1 (Main Coaster)
Using your Forest Green (MC) yarn, cast on 24 stitches.
Row 1 (RS): *K1, P1; repeat from * to end.
Row 2 (WS): *P1, K1; repeat from * to end.
Repeat Rows 1 and 2 until the piece measures approximately 4 inches from the cast-on edge, ending with a wrong-side row. You should have a square shape. The moss stitch will naturally create a dense, textured fabric that looks like tiny clusters of leaves.
Leaf Accent (Worked Separately)
Using your Sage (CC) yarn, cast on 3 stitches. This leaf is created by increasing at the center, then decreasing to form a pointed shape.
Row 1 (RS): K1, yo, k1, yo, k1 (5 stitches)
Row 2 (WS): Purl all stitches.
Row 3: K2, yo, k1, yo, k2 (7 stitches)
Row 4: Purl all stitches.
Row 5: K3, yo, k1, yo, k3 (9 stitches)
Row 6: Purl all stitches.
Row 7: K4, yo, k1, yo, k4 (11 stitches)
Row 8: Purl all stitches.
Row 9: K5, yo, k1, yo, k5 (13 stitches)
Row 10: Purl all stitches.
Row 11: K6, yo, k1, yo, k6 (15 stitches)
Row 12: Purl all stitches.
Row 13: K7, yo, k1, yo, k7 (17 stitches)
Row 14: Purl all stitches.
Now shape the leaf point by decreasing on each side of the center stitch:
Row 15: K1, ssk, k to last 3 stitches, k2tog, k1 (15 stitches)
Row 16: Purl all stitches.
Row 17: K1, ssk, k to last 3 stitches, k2tog, k1 (13 stitches)
Row 18: Purl all stitches.
Row 19: K1, ssk, k to last 3 stitches, k2tog, k1 (11 stitches)
Row 20: Purl all stitches.
Row 21: K1, ssk, k to last 3 stitches, k2tog, k1 (9 stitches)
Row 22: Purl all stitches.
Row 23: K1, ssk, k to last 3 stitches, k2tog, k1 (7 stitches)
Row 24: Purl all stitches.
Row 25: K1, ssk, k to last 3 stitches, k2tog, k1 (5 stitches)
Row 26: Purl all stitches.
Row 27: K1, ssk, k2tog, k1 (3 stitches)
Row 28: Purl all stitches.
Row 29: Ssk, k1 (2 stitches)
Row 30: K2tog (1 stitch). Cut yarn and pull through the last loop to secure.
Pro Tip: The yarn overs in the increase rows create small holes that add to the leaf's delicate, organic appearance. The decreases form a subtle central vein, giving the leaf a realistic, botanical look.
Finishing
Weave in all ends on both the main coaster and the leaf using your tapestry needle. Position the leaf diagonally across one corner of the coaster, with the point of the leaf extending slightly beyond the edge. This creates a lovely, dynamic visual effect. Sew the leaf in place using a tapestry needle and matching CC yarn, stitching along the center vein of the leaf to secure it flat. This will also reinforce the leaf's shape.
Repeat the entire process to create a second coaster, or make a set of four for a complete table setting. These coasters also make wonderful gifts when paired with a favorite mug or a box of artisan tea.
Blocking
Wet block the coasters by soaking them in lukewarm water for about 10 minutes. Gently squeeze out excess moisture—do not wring or twist, as this can distort the stitches. Lay them flat to dry on a clean towel, shaping them into perfect squares. Blocking will even out the moss stitch, relax the yarn, and give the coasters a polished, professional look. The cotton yarn will also become softer and more absorbent after blocking.
Tips for Perfect Results
- Check your gauge: If your gauge is off, your coasters may be too large or too small. Take a few minutes to knit a swatch before starting.
- Use cotton yarn: Cotton is ideal for coasters because it's absorbent, durable, and washes well. Acrylic yarn won't absorb moisture as effectively.
- Keep tension even: The moss stitch looks best when your tension is consistent. If you find your edges are uneven, try using a needle one size smaller for the first and last stitch of each row.
- Blocking is essential: Don't skip this step! Blocking transforms the coasters from good to great, ensuring they lie flat and look professionally finished.
Creative Variations
Once you've mastered this pattern, feel free to experiment. Try using different color combinations to match your home decor—think warm terracotta and cream, or soft blues and grays. You could also make a larger version to use as a trivet for hot dishes, or add a simple border in a contrasting color for extra visual interest. The possibilities are endless!
We hope you enjoy knitting these verdant coasters as much as we enjoyed creating the pattern. They're a wonderful way to bring a touch of nature indoors and add a handmade, cozy feel to your home. Happy knitting!