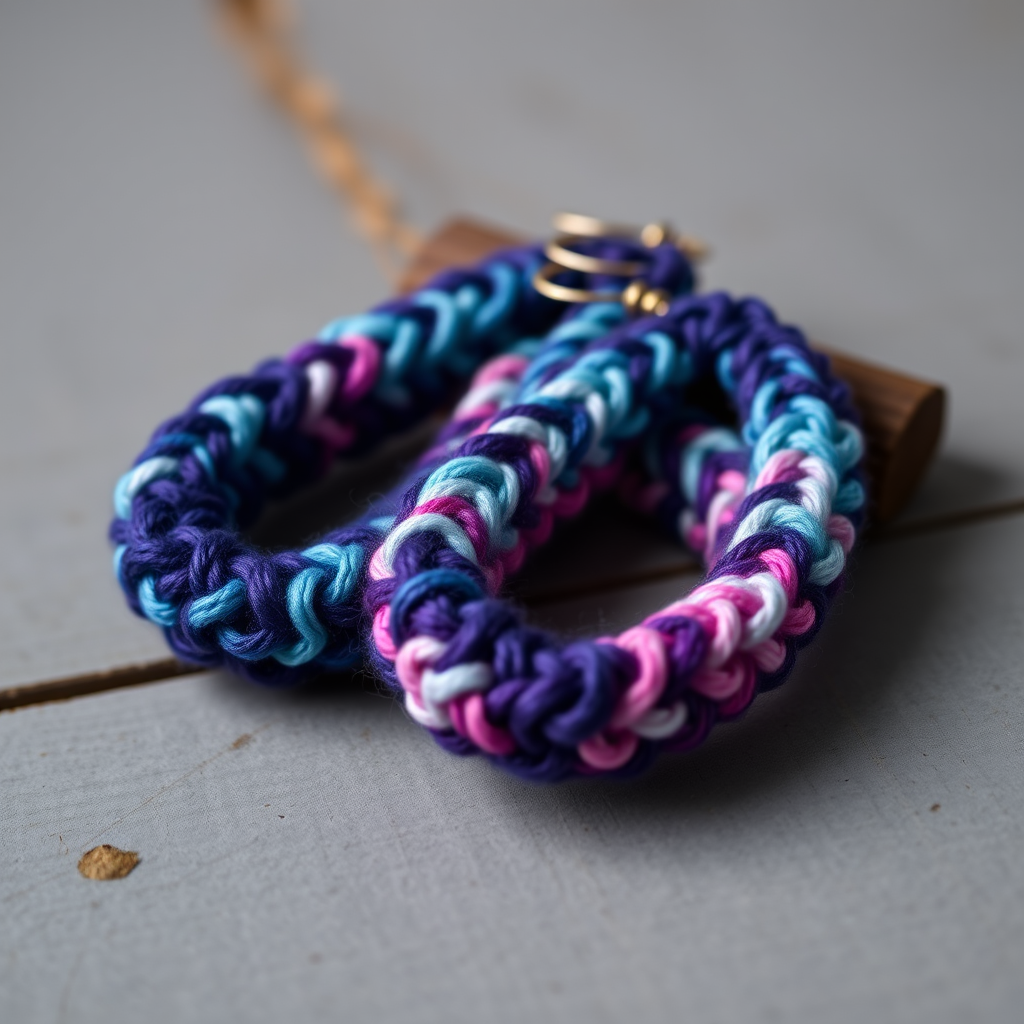
The Whispering Willow Charm Bracelet: A Free Knitting Pattern for a Textured, Botanical Wristlet

Introducing the Whispering Willow Charm Bracelet
Bring a touch of nature to your wrist with this delicate, botanical-inspired knitted bracelet. The Whispering Willow Charm Bracelet combines simple knitting techniques with earthy yarns to create a textured band adorned with tiny hand-knitted leaves and beads. This free pattern is perfect for crafters looking to create a unique, handmade accessory that feels both whimsical and elegant. The soft sage green band features a subtle eyelet pattern, while creamy white leaves and wooden beads add organic charm. Whether you're new to knitting jewelry or an experienced maker, this project is a delightful way to use small amounts of fingering weight yarn.
Materials Needed
To create your own Whispering Willow Charm Bracelet, gather the following supplies:
- Yarn: Fingering weight cotton or linen blend yarn in two colors:
- Main Color (MC) – Sage Green (approximately 20 yards)
- Contrast Color (CC) – Cream or Soft White (approximately 20 yards)
- Needles: US Size 1 (2.25 mm) double-pointed needles (DPNs) or a small circular needle for magic loop
- Notions: Tapestry needle for weaving ends, small wooden or glass beads (optional), one small button (approximately ½ inch) for closure
- Gauge: 32 stitches and 40 rows = 4 inches in stockinette stitch. Gauge is not critical for this project, but a tight fabric is desired for structure.
Step-by-Step Instructions
Bracelet Band (Make 1)
With Main Color (MC), cast on 6 stitches using the long-tail cast on method. This creates a firm, stretchy edge for the bracelet.
Row 1 (Right Side): Knit all 6 stitches.
Row 2 (Wrong Side): Purl all 6 stitches.
Row 3: K1, k2tog (knit two together), yarn over (yo), k2tog, k1. You will now have 5 stitches on your needle.
Row 4: Purl all 5 stitches.
Row 5: K1, yo, k2tog, yo, k2tog, k1. You will now have 6 stitches on your needle.
Row 6: Purl all 6 stitches.
Repeat Rows 1 through 6 until the band measures approximately 6.5 inches from the cast-on edge, or until it reaches your desired wrist size minus 1 inch for the button closure. The pattern creates a lovely textured fabric with small eyelets (holes) that will be used for the button loop.
Bind off loosely in pattern (knit the knit stitches and purl the purl stitches as they appear). Cut yarn, leaving a 6-inch tail, and pull through the last stitch. Weave in all ends using a tapestry needle, securing them on the wrong side of the band.
Knitted Leaf Charms (Make 3 to 5)
With Contrast Color (CC), cast on 3 stitches using the long-tail or knitted cast on.
Row 1 (Right Side): Knit all 3 stitches.
Row 2: K1, yo (yarn over), k1, yo, k1. You will now have 5 stitches.
Row 3: Knit all 5 stitches.
Row 4: K2, yo, k1, yo, k2. You will now have 7 stitches.
Row 5: Knit all 7 stitches.
Row 6: K2, ssk (slip, slip, knit – a left-leaning decrease), k1, k2tog (knit two together – a right-leaning decrease), k2. You will now have 5 stitches.
Row 7: Knit all 5 stitches.
Row 8: K1, ssk, k1, k2tog, k1. You will now have 3 stitches.
Row 9: Knit all 3 stitches.
Row 10: Slip 1 stitch purlwise, k2tog, then pass the slipped stitch over the k2tog stitch (this is a centered double decrease). Cut yarn, leaving a 4-inch tail, and pull through the remaining stitch to secure.
Weave in the cast-on tail and the final tail on the wrong side of each leaf. Gently shape each leaf by pinching the center vein (created by the increases) between your fingers.
Assembly
Step 1 – Attach Leaves: Arrange the knitted leaves along the bracelet band. Using a tapestry needle and a short length of CC yarn (about 8 inches), sew each leaf securely to the band at its base (the cast-on edge). Position them evenly spaced or clustered as you prefer. For a natural look, alternate leaf directions slightly.
Step 2 – Add Beads (Optional): For extra charm, thread small wooden or glass beads onto the band between the leaves. To do this, use a tapestry needle with a short length of MC yarn, pass it through the bead, then through the band, and secure with a small knot on the wrong side. Repeat for each bead.
Step 3 – Create Closure: Sew a small button to one end of the band using matching MC yarn. Position it about ¼ inch from the edge. On the opposite end, use the existing eyelets (from the yarn overs in the pattern) as buttonholes. If you need a larger loop, create one by chaining 3-4 stitches with a crochet hook or by sewing a small loop of yarn in place. Test the fit by buttoning the bracelet around your wrist.
Step 4 – Final Touches: Weave in all remaining ends using a tapestry needle, ensuring they are hidden on the wrong side. Block the bracelet gently by spritzing with water and shaping it flat. Allow to dry completely. The leaves may be lightly steamed to hold their shape.
Your Whispering Willow Charm Bracelet is now ready to wear or gift. The soft, botanical design pairs beautifully with casual or bohemian outfits, and each leaf charm adds a unique handmade touch.