Tide Table Checkerboard Wall Hanging Free Crochet Pattern

Tide Table Checkerboard Wall Hanging — Free Crochet Pattern
Introduction
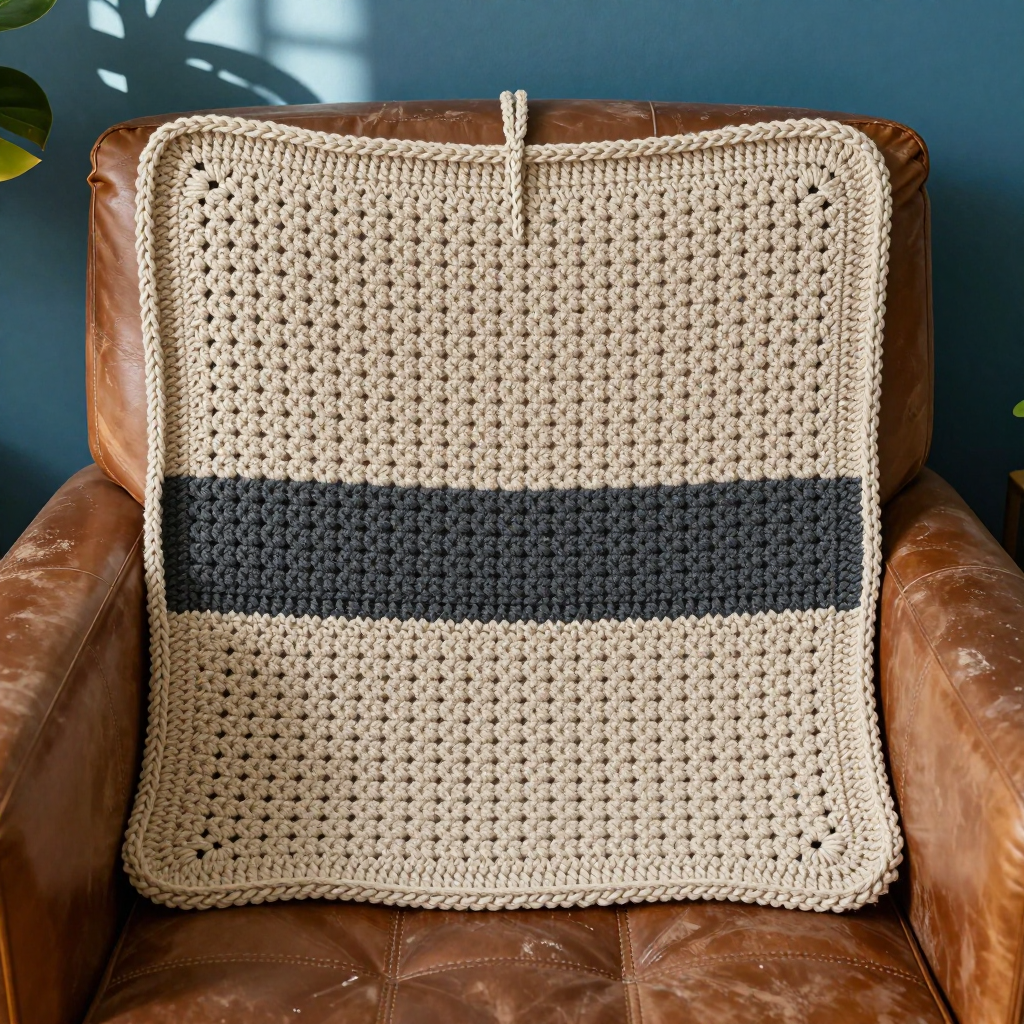
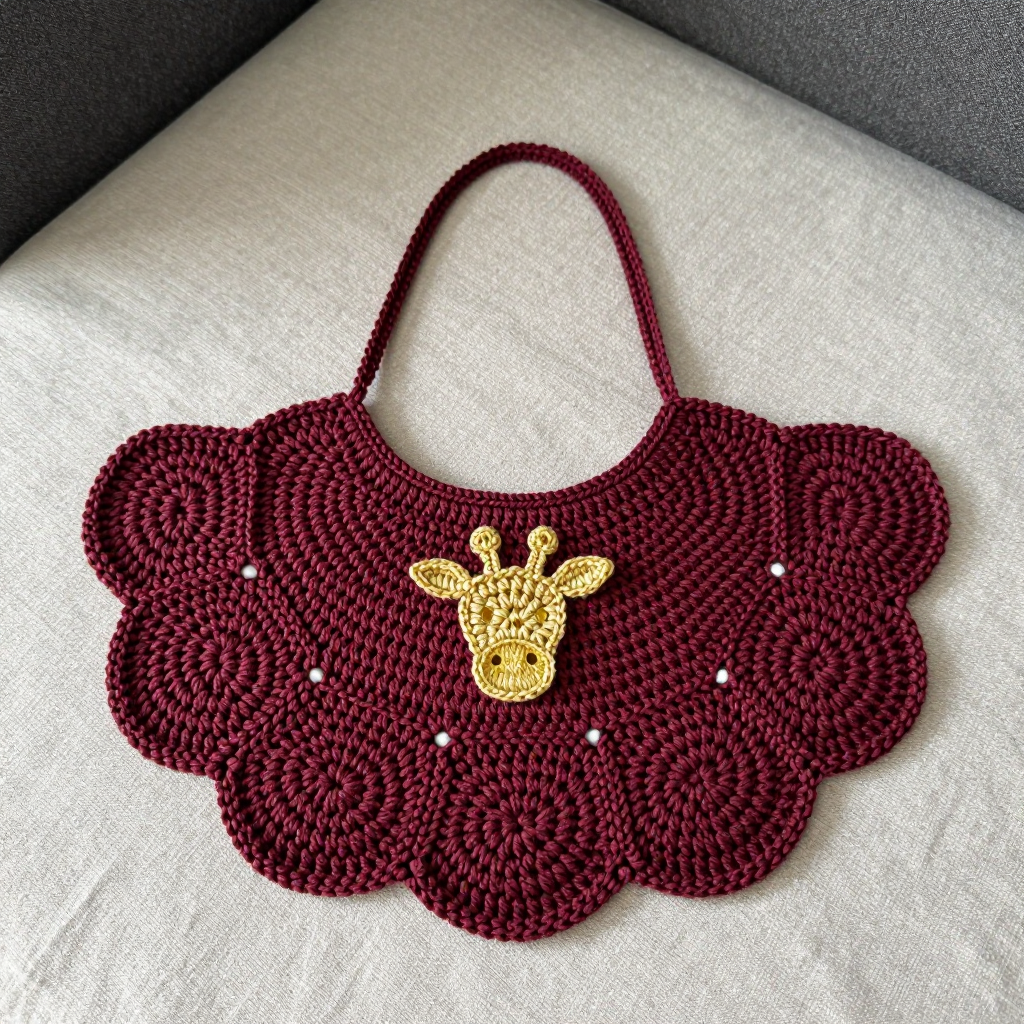
If you have never held a crochet hook before, this is the project I would hand you first. The Tide Table Checkerboard Wall Hanging is a flat, rectangular piece of crocheted fabric worked entirely in single crochet — one simple stitch, over and over — while you swap between two ocean blues to build a bold checkerboard. There are no curves, no shaping, no sleeves, and nothing to sew together at the end, which makes it a wonderfully forgiving first colorwork project. When it is finished you will have a dense, matte, slightly fuzzy wool hanging about 20 inches wide and 28 inches tall, with deep navy squares alternating against soft celadon blue, framed by a neat navy border and topped with a small hanging loop. It looks like something from a quiet coastal cottage, and it feels sturdy and warm in the hand — the kind of piece people assume took far more experience than it did.
Materials Needed
- Yarn: Bulky weight (category 5) wool yarn, approximately 220 yd (200 m) total — 130 yd (120 m) navy and 90 yd (82 m) celadon blue. Wool gives the crisp, matte, slightly fuzzy look shown; a wool-blend bulky will also work.
- Crochet hook: Size J/10 (6.0 mm), or whatever size gets you the gauge below. If you are brand new, buy two — one in 6.0 mm and one in 6.5 mm — so you can adjust.
- Stitch markers: At least 4. These are small plastic clips or safety pins you clip onto a stitch so you can find it again.
- Tapestry needle: A large, blunt-tipped needle with an eye big enough for bulky yarn, used for weaving in ends.
- Scissors for cutting yarn.
- Measuring tape for checking gauge and final size.
- Blocking supplies: Rust-proof pins and a towel or blocking mat.
- Finished size: 20 in (51 cm) wide x 28 in (71 cm) tall, not counting the hanging loop.
Abbreviations and Beginner Glossary
Every term below is used in this pattern. Read them once before you begin — nothing here assumes you have crocheted before.
- ch — chain: Make a loop of yarn on your hook (a slip knot), then wrap yarn over the hook and pull it through the loop already on the hook. That is one chain. A row of chains is your foundation, like the first row of bricks.
- sc — single crochet: Insert your hook into the next stitch, wrap yarn over the hook, pull it up through the stitch (you now have 2 loops on the hook), wrap yarn over again, and pull it through both loops. One single crochet made.
- sl st — slip stitch: Insert your hook into the stitch, wrap yarn over, and pull it straight through both the stitch and the loop on your hook in one motion. It makes a nearly invisible joining stitch.
- st(s) — stitch(es): One completed unit of crochet, or several of them.
- A — navy (Color A).
- B — celadon blue (Color B).
- RS — right side: The front face of the fabric, the side that will hang facing out.
- Turn: Flip your work over like a page so you can work back across the row you just made.
- Fasten off: Cut the yarn a few inches from the work, pull the tail all the way through the last loop, and tug gently to lock it.
- Tapestry crochet: Working with two colors at once, carrying the unused color along the top of the previous row and crocheting over it so it hides inside the fabric. You only ever use one color at a time.
- Change color: On the very last stitch before a new color begins, complete the final yarn-over of that stitch with the new color. The new color is now on your hook, ready for the next stitch.
- Carry: Let the unused color rest along the top edge of the row you are working into, and crochet over it so it is trapped inside the stitch.
- 3 sc in corner: Work three single crochets into the same corner stitch, which lets the fabric turn the corner without puckering.
- Join with sl st: After working all the way around, slip stitch into the first stitch of the round to close the circle.
- Weave in ends: Thread a yarn tail onto the tapestry needle and run it back and forth through the fabric so it disappears.
Gauge
Gauge: 12 sc x 13 rows = 4 in (10 cm) in tapestry crochet with bulky wool on a 6.0 mm hook.
Gauge simply means how big your stitches come out. If your stitches are bigger than mine, your hanging will be wider and taller than 20 x 28 inches and you may run short of yarn; if they are smaller, it will come out cramped. That is why we check first.
How to make a gauge swatch: With navy, chain 18. Single crochet in the second chain from the hook and in each chain across (17 sc). Work 15 rows of single crochet, turning at the end of each row. Lay the swatch flat, do not stretch it, and measure a 4-inch section across the middle. Count the stitches in that 4 inches — you want 12. Count the rows in 4 inches vertically — you want 13. If you have more stitches than 12, your tension is tight: try the 6.5 mm hook. If you have fewer, go down to 5.5 mm. Your swatch also doubles as practice for the real thing.
Beginner Tips Before You Start
- Count your stitches at the end of every single row. Every row of the main panel has exactly 40 stitches. Losing or adding one is the most common beginner mistake, and counting takes ten seconds.
- Use stitch markers to mark your color blocks. Place a marker every 10 stitches across your foundation chain. Those markers are your checkerboard grid — when you reach a marker, you change color.
- Do not pull the carried yarn tight. The unused color should lie loosely along the top of the row. If you tug it, the panel will pucker and pull narrower in the middle.
- Keep your tension relaxed and even. Beginners tend to grip hard, which makes tight, stiff stitches. Hold the hook like a pencil, not a hammer.
- Change color on the last yarn-over, not after. Finish the final stitch of the old block with the new color. This keeps the block edges crisp and square.
- Work in good light and stop when you are tired. Tapestry crochet is simple but repetitive; mistakes happen when you are distracted.
Step-by-Step Instructions
How the Checkerboard Works
The panel is 40 stitches wide and 70 rows tall. Each checkerboard block is 10 stitches wide and 10 rows tall, giving a grid of 4 blocks across and 7 blocks tall. Read the color sequence below left to right: each letter is one 10-stitch block within that row.
Color Sequence:
Rows 1–10: A, B, A, B
Rows 11–20: B, A, B, A
Rows 21–30: A, B, A, B
Rows 31–40: B, A, B, A
Rows 41–50: A, B, A, B
Rows 51–60: B, A, B, A
Rows 61–70: A, B, A, B
Main Panel
Foundation: With A (navy), ch 41.
Row 1 (RS): Sc in the 2nd ch from the hook and in each ch across, changing to B at the last stitch. (40 sc) Turn.
Rows 2–10: Work 40 sc following the color sequence for Rows 1–10 (A, B, A, B), carrying the unused color along the top of the previous row and changing color on the last yarn-over of the stitch before each new block. (40 sc) Turn at the end of each row.
Rows 11–20: Work 40 sc following the sequence B, A, B, A. (40 sc) Turn.
Rows 21–30: Work 40 sc following the sequence A, B, A, B. (40 sc) Turn.
Rows 31–40: Work 40 sc following the sequence B, A, B, A. (40 sc) Turn.
Rows 41–50: Work 40 sc following the sequence A, B, A, B. (40 sc) Turn.
Rows 51–60: Work 40 sc following the sequence B, A, B, A. (40 sc) Turn.
Rows 61–70: Work 40 sc following the sequence A, B, A, B. (40 sc) Do not turn after Row 70. Fasten off.
Check before moving on: your panel should measure about 13 in (33 cm) wide and 21.5 in (55 cm) tall at this point — the border adds the rest. You should be able to count 7 rows of blocks and 4 columns of blocks.
Border
The border is worked in the round around the outside edge of the finished panel, in navy only.
Round 1: With RS facing, join A with a sl st in any corner. Ch 1, then work sc evenly around the entire perimeter — one sc in the end of each row along the sides, and one sc in each stitch along the top and bottom edges — working 3 sc in each corner. Join with sl st to the first sc. (Approx. 176 sc)
Round 2: Ch 1, sc in each sc around, working 3 sc in each corner. Join with sl st to the first sc. (Approx. 184 sc) Fasten off.
Hanging Loop
Loop: With A, join yarn with a sl st at the top center of the panel. Ch 12, then sl st back into the same stitch to form a loop. Fasten off, leaving a 6-inch tail.
Assembly and Finishing
Weave in ends. Thread each yarn tail onto the tapestry needle. Run the needle through the back of the fabric for about 2 inches, passing under several stitches, then reverse direction and run back another inch. Trim the tail close to the fabric. Never knot your ends — knots work loose and show through.
Check the loop. Use the 6-inch tail from the hanging loop to reinforce the join: sew through the base of the loop two or three times with the tapestry needle, then weave the tail in as above.
Block the hanging. Lay the piece face down on a towel or blocking mat. Mist it lightly with cool water until damp but not soaking. Pin each corner square, measuring to confirm 20 in wide by 28 in tall, and pin along the edges at 2-inch intervals so the border lies flat. Leave it to dry completely — usually 24 hours — before removing the pins.
Hang it. Slip a dowel, a driftwood branch, or a small curtain rod through the loop, or hang the loop directly on a nail. Keep it out of direct sun so the blues stay rich.
Pro Tips and Variations
- Change the palette. Swap celadon for cream and navy for charcoal for a softer, neutral checkerboard, or try rust and oatmeal for a warm autumn version. Keep one color dark and one light so the checkerboard still reads clearly.
- Resize it. Each block is 10 stitches by 10 rows, so the math is easy. For a smaller hanging, work 3 blocks wide (30 sts, ch 31) and 5 blocks tall (50 rows). For a wider one, add blocks in pairs so the checkerboard stays balanced.
- Substitute yarn. A bulky acrylic or acrylic-wool blend works well and is often cheaper for a first try. Match the gauge and check that your total yardage is at least 220 yd.
- Add a fringe or tassels. Cut 6-inch lengths of navy, fold them in half, and pull the fold through a border stitch along the bottom edge to make a simple fringe — a lovely finishing touch for a coastal look.