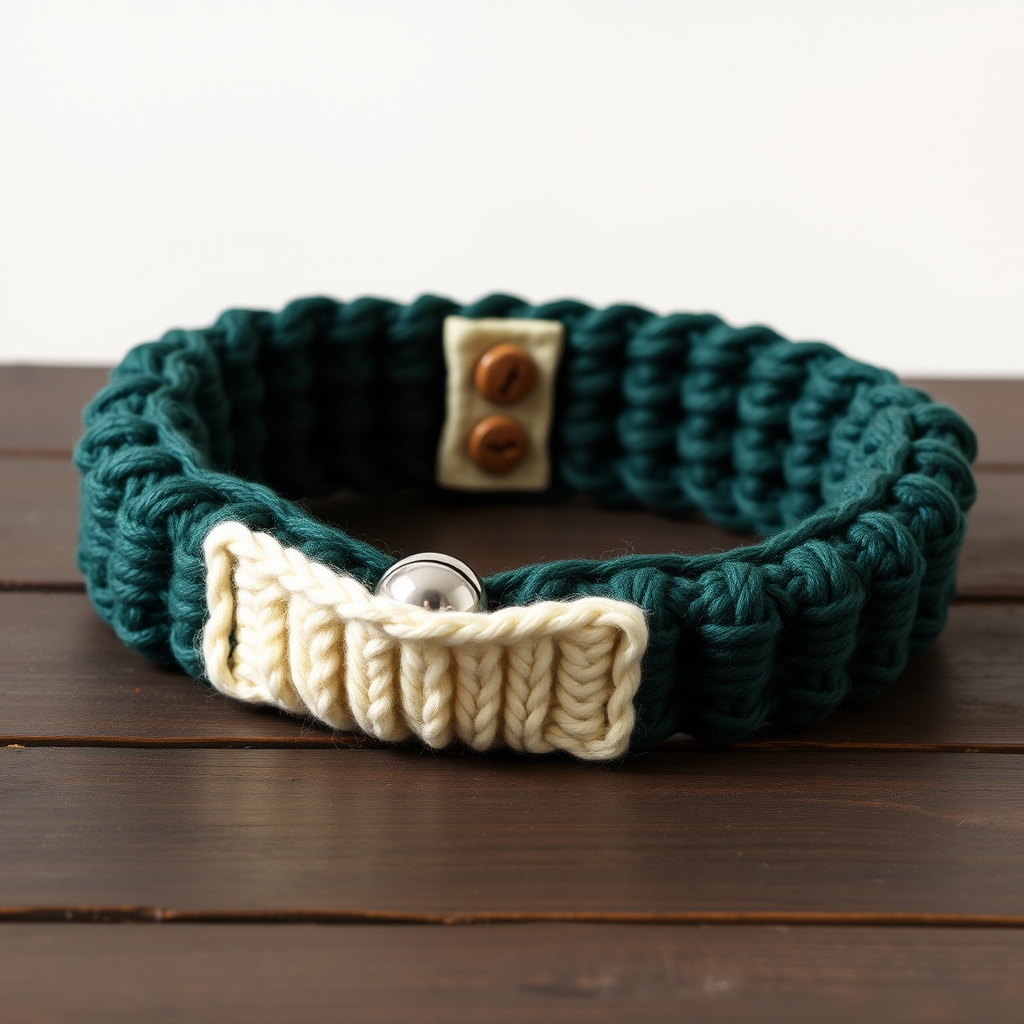
Urban Trails Crossbody Doggy Bag Free Knitting Pattern

Carry Your Pup’s Essentials in Style: The Urban Trails Crossbody Doggy Bag
Are you a city dweller with a furry best friend? Tired of bulky pockets or juggling a leash, phone, and poop bags? Meet the Urban Trails Crossbody Doggy Bag—a modern, textured knitting pattern that’s as chic as it is practical. This free pattern uses chunky worsted weight yarn to create a cozy, durable bag with a sophisticated oatmeal-and-charcoal stripe motif. The long, leather-look i-cord strap makes it perfect for hands-free adventures, whether you're heading to the dog park or strolling through weekend markets. Best of all, this project is beginner-friendly, using simple knit and purl stitches to achieve a high-end, handcrafted look.
In this guide, I’ll walk you through every step—from gathering your materials to seaming the final piece. By the end, you’ll have a beautiful, functional accessory that proves practicality and style can go paw-in-paw.
Materials Needed
Before you cast on, gather these supplies. The pattern calls for a soft, cotton-blend worsted weight yarn that holds its shape and washes well—perfect for everyday use.
- Yarn: Worsted weight cotton blend yarn in Oatmeal (MC - Main Color), approx. 250g / 500 yards
- Yarn (Contrast): Worsted weight cotton blend yarn in Charcoal (CC), approx. 100g / 200 yards
- Needles: US 7 (4.5mm) knitting needles (straight or circular for flat knitting)
- Notions: Tapestry needle for seaming and weaving in ends
- Optional: Fabric for lining (approx. 12” x 14”), sewing needle and thread
Gauge: 20 stitches and 26 rows = 4 inches in stockinette stitch. Always knit a swatch first to ensure your bag comes out the right size!
Step-by-Step Instructions
This bag is knit flat in two panels (front and back) and seamed together. The strap is a simple i-cord. Follow along carefully, and you’ll have a professional-looking bag in no time.
Front Panel (Make 1)
The front panel features the signature striped texture. We’ll start with a solid base, then add the contrasting stripes.
- Cast On: With MC, cast on 40 stitches.
- Base Section:
- Row 1 (RS): Knit all stitches.
- Row 2 (WS): Purl all stitches.
- Repeat Rows 1-2 until the piece measures 6 inches from the cast-on edge, ending with a WS row.
- Begin Texture Pattern (Stripes):
Now we’ll introduce the Charcoal (CC) yarn. Do not cut the MC yarn; just carry it up the side of the work.
- Row 1 (RS): With MC, knit all.
- Row 2 (WS): With MC, purl all.
- Row 3 (RS): With CC, knit all.
- Row 4 (WS): With CC, purl all.
- Row 5 (RS): With MC, knit all.
- Row 6 (WS): With MC, purl all.
- Row 7 (RS): With CC, knit all.
- Row 8 (WS): With CC, purl all.
Repeat Rows 1-8 for 4 more inches. Your piece should now measure approximately 10 inches from the cast-on edge.
- Shape Top Flap:
We’ll now decrease stitches to create the curved flap that folds over the bag.
- Row 1 (RS): K2tog (knit two together), knit to the last 2 stitches, K2tog. (You will have 38 stitches).
- Row 2 (WS): Purl all stitches.
- Repeat Rows 1-2 until 20 stitches remain on your needle.
- Bind Off: Bind off all stitches loosely (use a larger needle or a loose bind-off method to keep the edge stretchy).
Back Panel (Make 1)
The back panel is simpler—it’s knit entirely in stockinette stitch with the Main Color (MC).
- Cast On: With MC, cast on 40 stitches.
- Work Stockinette:
- Row 1 (RS): Knit all.
- Row 2 (WS): Purl all.
- Repeat Rows 1-2 until the piece measures 10 inches from the cast-on edge, ending with a WS row.
- Shape Top Flap: Repeat the exact same decrease rows as the Front Panel (Rows 1-2 until 20 stitches remain).
- Bind Off: Bind off all stitches loosely.
Strap (Make 1)
The strap is a classic i-cord—a sturdy, round cord that’s perfect for a crossbody bag.
- Cast On: With MC, cast on 4 stitches onto a double-pointed needle (or a regular needle if you’re comfortable sliding them).
- Work I-Cord:
- Knit 4 stitches.
- Do not turn your work. Slide the stitches to the other end of the needle.
- Knit 4 stitches again.
- Repeat this sliding-and-knitting process until the cord measures 40 inches long.
- Bind Off: Bind off all stitches. Weave in the end securely.
Assembly
Now for the fun part—putting it all together!
- Seam the Panels: Place the Front and Back panels together with Right Sides facing each other. Using a tapestry needle and MC yarn, sew the side seams and the bottom seam together. Leave the top edge (the flap area) open.
- Turn Right Side Out: Carefully turn the bag right side out through the top opening. Use a blunt needle or your fingers to push out the corners gently.
- Attach the Strap: Using a tapestry needle and yarn, securely sew the ends of the i-cord strap to the inside top corners of the bag. Make sure to sew through both layers of the knitted fabric for strength. Reinforce with a few extra stitches.
- Weave in Ends: Weave in all loose yarn ends on the inside of the bag using your tapestry needle.
Optional Lining (For Extra Durability)
If you want to protect your belongings (or prevent small items from slipping through the knit), add a simple fabric lining.
- Cut a piece of fabric to match the interior dimensions of the bag (roughly 10” wide x 12” tall, plus seam allowance).
- Sew the fabric into a bag shape (right sides together), leaving the top open.
- Place the fabric lining inside the knitted bag.
- Fold the top edge of the fabric over and hand-stitch it to the inside of the knitted bag, just below the flap.
And there you have it—your very own Urban Trails Crossbody Doggy Bag! This pattern is a joy to knit, and the result is a sturdy, stylish accessory that will turn heads at the park. The chunky texture and neutral tones make it a versatile piece that complements any outfit. Happy knitting, and enjoy your urban adventures with your furry co-pilot!