Velvet Ember Mini Heart Free Pattern – A Crocheted Pocket Charm
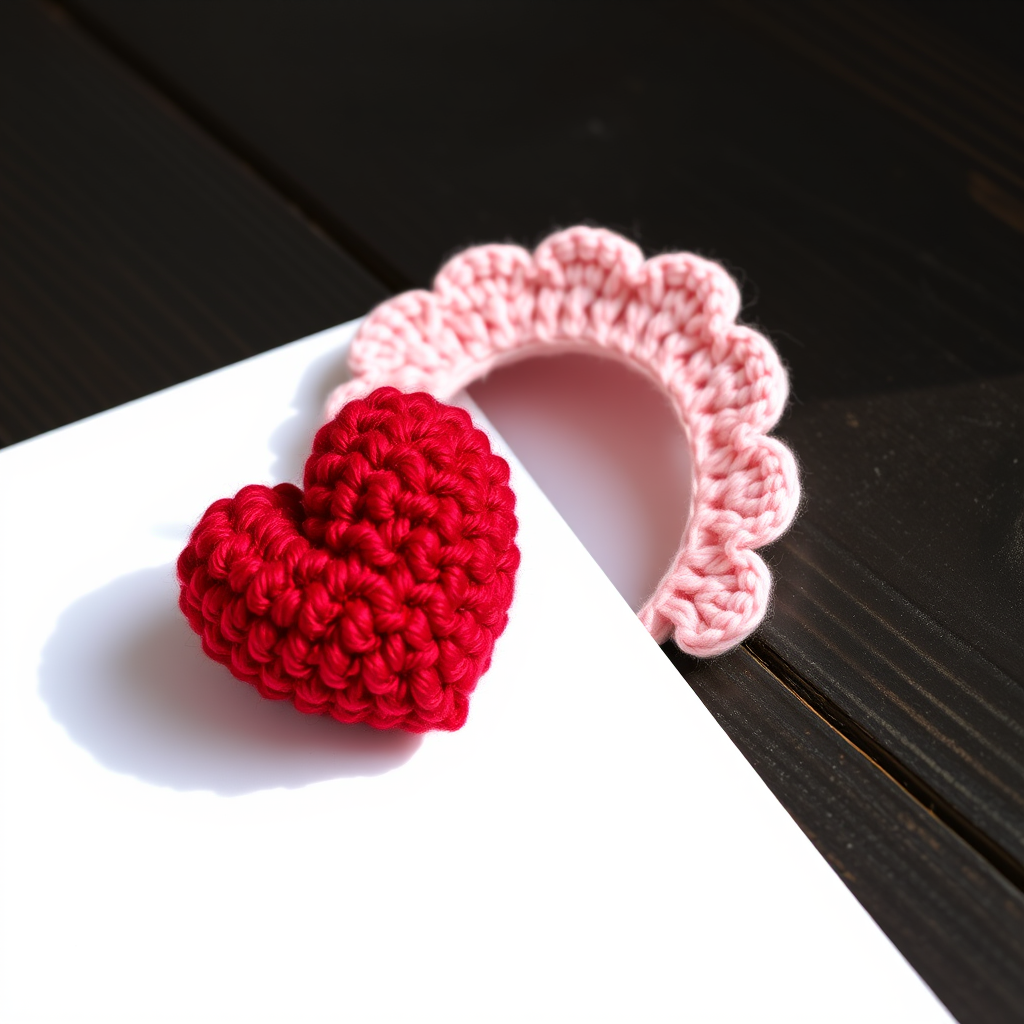
Introducing the Velvet Ember Mini Heart: A Plush Crochet Pocket Charm
There's something undeniably special about a handmade heart. It's a tangible expression of care, a tiny vessel of warmth that can be gifted, worn, or simply kept close. Today, I'm thrilled to share a pattern that elevates this classic motif into something truly luxurious: the Velvet Ember Mini Heart. This isn't just any crochet heart; it's a plush, three-dimensional keepsake crafted from sumptuous velvet yarn, finished with a delicate, contrasting scalloped edge that adds a touch of lace-like elegance.
This project is a joy from start to finish. The thick, squishy texture of the velvet yarn works up quickly, and the simple stitch pattern makes it an ideal weekend project. Whether you're looking for a heartfelt gift for a loved one, a charming addition to your own space, or a quick, satisfying make to use up some special yarn, this mini heart is the perfect choice. It's beginner-friendly, yet the result looks and feels incredibly polished and high-end.
Materials Needed: Gathering Your Plush Essentials
Before we begin, let's gather our materials. The beauty of this project lies in its simplicity—you only need a few key items to create this plush treasure.
- Yarn: Bernat Velvet (100% polyester, 300g/315m) in two colors:
- 'Crimson' for the main heart body
- 'Blush' for the delicate scalloped edge
- Crochet Hook: 5.5 mm hook (US I-9). This larger hook size is essential for creating a soft, drapey fabric that showcases the velvet's plushness.
- Stitch Marker: To help you keep track of your rounds, as this pattern is worked in a continuous spiral.
- Polyester Fiberfill: For stuffing your heart to achieve that perfectly squishy, dimensional feel.
- Yarn Needle: For weaving in ends and sewing the two pieces together.
- Scissors: For cutting your yarn.
Gauge: 4 single crochet (sc) x 4 rows = 4 cm (1.5 inches). While gauge isn't critical for a plush toy, it's a good reference to ensure your heart is the intended size. If your heart is coming out too small or too large, try adjusting your hook size.
Step-by-Step Instructions: Crafting Your Velvet Heart
This pattern is worked in continuous rounds (spiral) unless otherwise noted. Using a stitch marker at the beginning of each round is crucial for keeping your stitch count accurate. We will be making two identical heart pieces and then joining them together to create the plush, three-dimensional shape.
Heart Body (Make 2 Pieces)
Round 1: With Crimson yarn, make a magic ring. Work 6 single crochet (sc) into the ring. Pull the tail to close the ring tightly. (6 stitches)
Round 2: Work 2 sc into each stitch around. This is an increase round. (12 stitches)
Round 3: *Sc in the next stitch, 2 sc in the next stitch*; repeat from * to * around. This creates a pattern of one single, then one increase. (18 stitches)
Round 4: *Sc in the next 2 stitches, 2 sc in the next stitch*; repeat from * to * around. (24 stitches)
Round 5: *Sc in the next 3 stitches, 2 sc in the next stitch*; repeat from * to * around. (30 stitches)
Round 6: *Sc in the next 4 stitches, 2 sc in the next stitch*; repeat from * to * around. (36 stitches)
Rounds 7-9: Sc in each stitch around for three rounds. No increases, just working even to create the height of the heart. (36 stitches)
Round 10: *Sc in the next 4 stitches, sc2tog (single crochet 2 together)*; repeat from * to * around. This begins the shaping of the top of the heart. (30 stitches)
Round 11: *Sc in the next 3 stitches, sc2tog*; repeat from * to * around. (24 stitches)
Round 12: *Sc in the next 2 stitches, sc2tog*; repeat from * to * around. (18 stitches)
For the first piece: Fasten off, leaving a long tail (about 20 cm / 8 inches) for sewing. Stuff the piece firmly with polyester fiberfill. The velvet yarn is forgiving, so don't be shy—stuff it until it's nice and plump.
For the second piece: Do not fasten off after Round 12. You will continue directly to the joining round.
Joining the Two Pieces
Now for the magic moment where your two flat-ish pieces become a puffy, dimensional heart.
Joining Round: Place the two pieces together with their wrong sides facing each other (the right sides should be facing out). The piece with the yarn still attached will be on top. Working through both layers of the fabric, single crochet in each stitch around (18 stitches). When you reach the bottom center point of the heart, work 3 sc into the center stitch. This cluster of increases will create a beautifully rounded, slightly pointed tip at the bottom of the heart. Continue sc through both layers for the rest of the round. Fasten off and weave in your ends securely.
Adding the Scalloped Edge (Optional but Adds Charm)
This is where the 'Blush' yarn comes in to transform your heart from cute to utterly exquisite. This delicate border frames the heart beautifully.
Round 1: With the Blush yarn, join with a slip stitch (sl st) at the top center of the heart. *Skip 1 stitch, work 5 double crochet (dc) into the next stitch, skip 1 stitch, sl st into the next stitch*; repeat from * to * around the entire edge of the heart. The 5 dc cluster creates the scallop, and the slip stitch anchors it. Fasten off and weave in your ends.
Finishing Touches
Your Velvet Ember Mini Heart is almost complete! To finish, you have a couple of options:
- For a hanging ornament: Cut a length of Crimson yarn (about 15 cm / 6 inches), fold it in half, and use your yarn needle to pull the loop through the top center of the heart. Thread the ends through the loop and pull tight to create a small hanging loop.
- For a pocket charm: Simply leave it as is—it's the perfect size to tuck into a pocket or bag.
If you'd like a crisper shape, you can gently steam block your heart. Hold a steam iron just above the surface (without touching the velvet directly) to relax the fibers and set the shape. Allow it to cool completely before handling.
And there you have it—your very own plush, luxurious Velvet Ember Mini Heart. This pattern is a wonderful way to practice working in the round, increasing and decreasing, and creating a professional-looking finish. The result is a stunning, tactile keepsake that's sure to be cherished. Happy crocheting!


