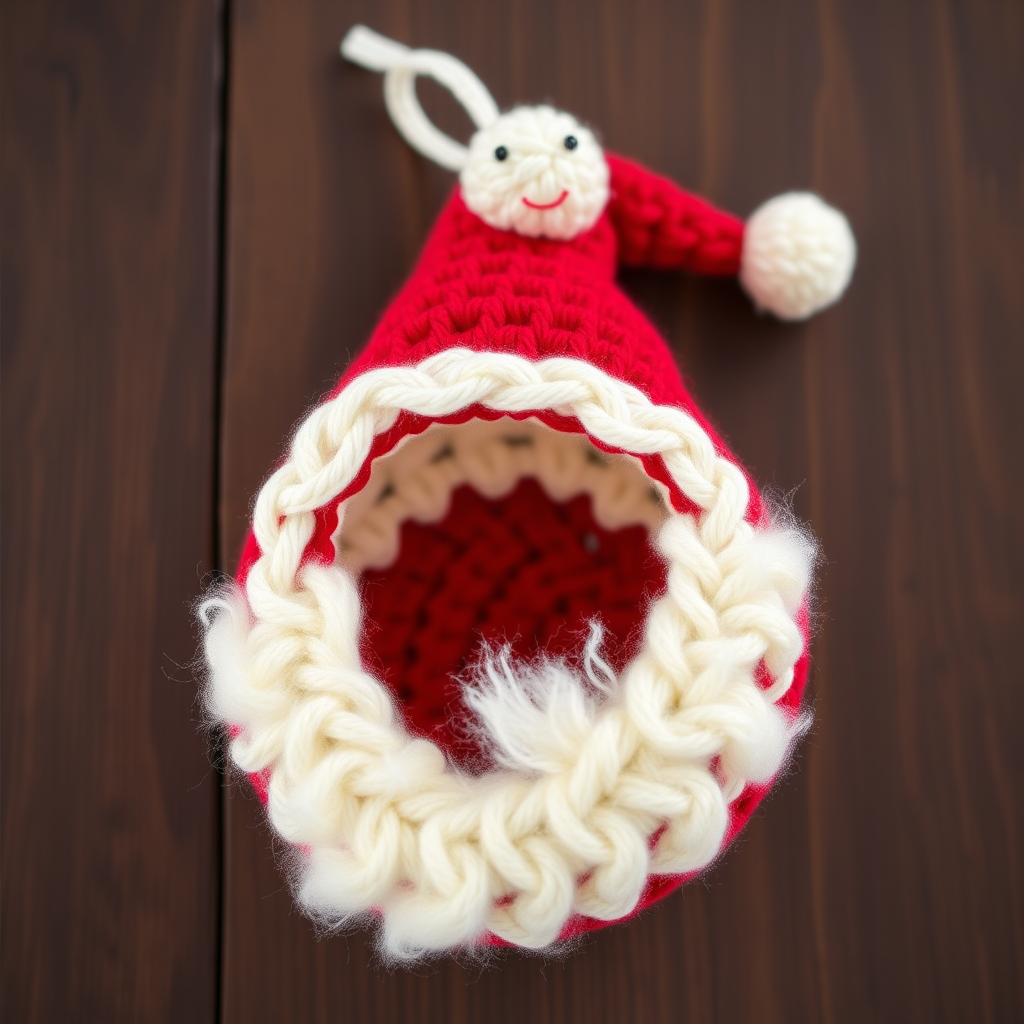
Whimsical Wreath Bauble Free Pattern – A Festive Crochet Ornament

Whimsical Wreath Bauble Free Pattern – A Festive Crochet Ornament
Add a touch of handmade charm to your holiday tree with this delightful crochet wreath bauble. Its textured bobbles and cheerful colors make it a joy to create and display. This pattern is perfect for beginners and experienced crocheters alike, and the finished ornament will become a cherished part of your holiday decorations for years to come. With its plump, round shape and festive red and green color scheme, this whimsical wreath bauble brings a cozy, traditional holiday vibe to any space.
Materials Needed
Before you begin, gather the following materials. All items are readily available at craft stores or online.
- Yarn: Worsted weight yarn in four colors:
- Red (A) – for berries and bow
- Green (B) – for the wreath base
- White (C) – optional, for snowflake accents
- Gold (D) – for French knots and decorative details
- Crochet Hook: 3.5mm (E) crochet hook
- Yarn needle for weaving in ends and sewing pieces together
- Polyester fiberfill stuffing for a plump, soft finish
- Small ribbon (optional) for hanging loop
- Stitch marker to keep track of rounds
- Scissors
Gauge: Not critical for this project; aim for a tight tension to prevent stuffing show-through. If your stitches are loose, use a smaller hook.
Abbreviations
- MR: magic ring
- sc: single crochet
- inc: increase (2 sc in same stitch)
- dec: decrease (sc 2 together)
- bobble: work 4 dc together in same stitch
- sl st: slip stitch
- ch: chain
Step-by-Step Instructions
Wreath Base (make 2)
Using Green (B), make a magic ring. Work in continuous rounds, using a stitch marker to track your rounds.
- Round 1: 6 sc in MR. (6)
- Round 2: inc in each stitch around. (12)
- Round 3: (sc in next st, inc) around. (18)
- Round 4: (sc in next 2 sts, inc) around. (24)
- Round 5: (sc in next 3 sts, inc) around. (30)
- Round 6: (sc in next 4 sts, inc) around. (36)
- Round 7: (sc in next 5 sts, inc) around. (42)
- Round 8: (sc in next 6 sts, inc) around. (48)
- Round 9: (sc in next 7 sts, inc) around. (54)
- Round 10: (sc in next 8 sts, inc) around. (60)
- Round 11: sc in each stitch around. (60)
- Round 12: (sc in next 8 sts, dec) around. (54)
- Round 13: (sc in next 7 sts, dec) around. (48)
- Round 14: (sc in next 6 sts, dec) around. (42)
- Round 15: (sc in next 5 sts, dec) around. (36)
- Round 16: (sc in next 4 sts, dec) around. (30)
- Round 17: (sc in next 3 sts, dec) around. (24)
- Round 18: (sc in next 2 sts, dec) around. (18)
Stuff firmly with fiberfill. The wreath should be plump but not overly stretched.
- Round 19: (sc in next st, dec) around. (12)
- Round 20: dec around. (6)
Fasten off, leaving a long tail. Thread the tail through a yarn needle, weave through the front loops of the remaining 6 stitches, pull tight to close the hole, and secure. Weave in the end. Repeat to make a second wreath base.
Berry Bobbles (make 6)
Using Red (A), make a magic ring.
- Round 1: 6 sc in MR. (6)
- Round 2: inc in each stitch around. (12)
- Round 3: sc in each stitch around. (12)
- Round 4: dec around. (6)
Fasten off, leaving a long tail. Stuff lightly with a tiny amount of fiberfill. Use the tail to sew the berry onto the wreath base later.
Bow
Using Red (A), chain 20.
- Row 1: sc in 2nd ch from hook and in each ch across. (19)
Fasten off, leaving a long tail. Wrap the tail around the center of the strip to form a bow shape, and secure with a few stitches on the back. Set aside.
Assembly
- Join the wreath bases: Using Green (B) and a yarn needle, sew the two wreath bases together around the edges using a whip stitch. Leave a small opening (about 2 inches) for stuffing.
- Stuff the wreath: Insert additional fiberfill through the opening to make the wreath plump and round. Do not overstuff; you want it soft and squeezable.
- Close the opening: Continue the whip stitch to close the opening completely. Weave in the end securely.
- Attach the berries: Using the tails left on the berry bobbles, sew them evenly around the wreath. Space them about 10 stitches apart. There should be 6 berries total, evenly distributed around the circle. Weave in all ends.
- Attach the bow: Position the bow at the top of the wreath (opposite where you want the hanging loop). Using the tail from the bow, sew it securely to the wreath. Make sure it's centered and firmly attached.
- Add gold details: Using Gold (D) yarn and a yarn needle, embroider small French knots or lazy daisy stitches between the berries. This adds a subtle sparkle and festive detail. To make a French knot: bring the needle up through the wreath, wrap the yarn around the needle 2-3 times, then insert the needle back down close to where it came up, pulling gently to form a knot.
- Add hanging loop: Cut a piece of ribbon (or green yarn) about 6 inches long. Fold it in half and sew the ends to the top of the wreath, just behind the bow. Make sure it's securely attached so the ornament can hang safely.
Your whimsical wreath bauble is complete! Admire your handiwork and hang it on your tree, give it as a gift, or use it to add a festive touch to gifts and packages.
Tips for Success
- Keep tension consistent: This ensures your wreath is round and even. If your tension varies, the shape may become distorted.
- Use a stitch marker: Since you're working in continuous rounds, a marker is essential to avoid losing your place.
- Stuff gradually: Add stuffing a little at a time to achieve the perfect plumpness without lumps.
- Customize colors: Feel free to experiment with different color combinations – white and silver for a winter wonderland theme, or traditional red and green for classic Christmas cheer.
This pattern is a wonderful way to use up scrap yarn and create beautiful, handmade decorations. Happy crocheting, and enjoy your festive creation!