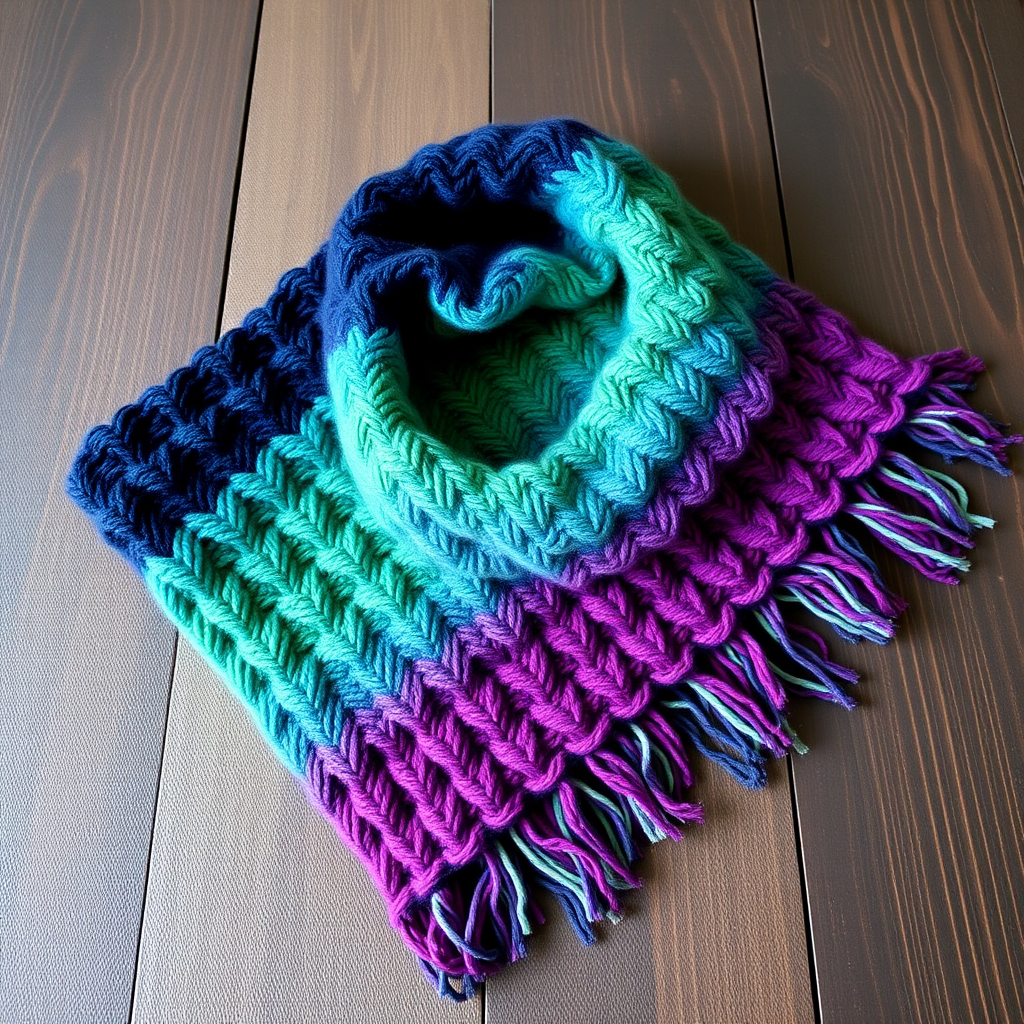
Whispering Dunes Desert Wrap Free Pattern – A Breezy Knit Scarf

Whispering Dunes Desert Wrap Free Pattern – A Breezy Knit Scarf
Imagine the serene, shifting sands of a desert landscape captured in a hand-knit scarf. The Whispering Dunes Desert Wrap does exactly that, using a unique blend of garter ridges and delicate eyelet lace to create a texture that is both airy and beautifully structured. Knit in soft, heathered worsted-weight yarns, this scarf drapes gracefully and offers a breathable, lightweight feel—perfect for those crisp transitional weather days when you need just a little extra warmth without bulk.
This free knitting pattern is designed with beginners in mind but offers enough visual interest to keep more experienced knitters engaged. The rhythmic two-row repeat is easy to memorize, and the color changes mimic the natural layers of desert sand, creating a stunning gradient effect. Whether you're looking for a mindful project or a statement accessory, this wrap delivers on every level.
Materials Needed
Before you begin, gather the following supplies. All materials are readily available at your local yarn shop or online.
Yarn
- Worsted weight yarn in three colors:
- Sand (A): Approx. 350 yards (heathered beige)
- Dune (B): Approx. 250 yards (muted terracotta)
- Oasis (C): Approx. 200 yards (soft sage green)
Needles & Notions
- US Size 8 (5 mm) knitting needles – straight or circular (if using circular, work flat)
- Tapestry needle for weaving in ends
- Crochet hook (size H/8 or similar) for adding fringe (optional)
- Scissors
- Blocking mats and pins (recommended for best results)
Gauge
18 stitches and 24 rows = 4 inches in garter stitch (blocked). Gauge is not critical for this project, but matching it will ensure the finished dimensions are as described.
Step-by-Step Instructions
This scarf is worked flat in one piece, using a simple two-row repeat that creates a beautiful interplay of solid garter ridges and open lace panels. The color changes mimic the layers of desert sand. Follow along carefully, and you'll have a stunning wrap in no time.
Abbreviations
- K = knit
- P = purl
- K2tog = knit two stitches together (decrease)
- YO = yarn over (increase, creates a hole)
- Sl1 = slip one stitch purlwise (insert needle as if to purl, but just transfer the stitch)
- psso = pass slipped stitch over (a decrease)
Pattern Notes
- The finished scarf measures 10 inches wide and 70 inches long (before fringe).
- Selvedge edge: Always slip the first stitch of each row purlwise to create a neat, braided edge. This is a key detail for a professional finish.
- Color sequence: Work 10 rows in Color A, then 10 rows in Color B, then 10 rows in Color C. Repeat this sequence throughout the entire scarf.
- The lace pattern is created on wrong-side rows (Rows 2 and 5). All right-side rows are simple knit rows.
Getting Started: Cast On
With Color A, cast on 45 stitches loosely. A long-tail cast-on works beautifully here. Ensure your cast-on is not too tight, as this edge will be visible and should match the drape of the rest of the scarf.
Row-by-Row Instructions
Row 1 (Right Side): Sl1, K across to the last stitch, K the last stitch. (This is a standard knit row. The slipped first stitch creates the braided edge.)
Row 2 (Wrong Side): Sl1, K2, *YO, K2tog, K3; repeat from * to the last 3 stitches, YO, K2tog, K1, K the last stitch. (This creates the first row of lace holes.)
Row 3 (Right Side): Sl1, K across all stitches.
Row 4 (Wrong Side): Sl1, K across all stitches.
Row 5 (Right Side): Sl1, K2, *K2tog, YO, K3; repeat from * to the last 3 stitches, K2tog, YO, K1, K the last stitch. (This offsets the lace holes, creating a staggered, organic pattern.)
Row 6 (Wrong Side): Sl1, K across all stitches.
Row 7 (Right Side): Sl1, K across all stitches.
Row 8 (Wrong Side): Sl1, K across all stitches.
Row 9 (Right Side): Sl1, K across all stitches.
Row 10 (Wrong Side): Sl1, K across all stitches.
Repeating the Pattern
Repeat Rows 1-10, changing colors every 10 rows. After completing Row 10, switch to the next color in the sequence (A → B → C → A → B → C...). Continue this pattern until the scarf measures approximately 68 inches from the cast-on edge, ending with a complete color block (i.e., finish on Row 10 of a color sequence).
Binding Off
Bind off loosely on a right-side row. To ensure a stretchy edge that matches the cast-on, use a suspended bind-off or simply bind off with a needle one size larger. Cut the yarn, leaving a 6-inch tail, and pull through the last loop.
Finishing Touches
Weave in all ends using a tapestry needle. Take your time to weave in securely, following the path of the yarn to keep the fabric smooth.
Blocking: This step is essential for opening up the lace and evening out the edges. Soak the scarf in lukewarm water with a drop of mild soap for 15-20 minutes. Gently squeeze out excess water (do not wring). Lay flat on a towel, roll up to remove more water, then pin to the desired dimensions on blocking mats. Allow to dry completely.
Adding Fringe (Optional but Recommended)
Fringe adds a beautiful, finished look and echoes the desert theme. Here's how to do it:
- Cut 12-inch lengths of yarn in all three colors. You'll need about 15-20 groups for each end.
- For each fringe group, take 3 strands (one of each color) and fold them in half.
- Using a crochet hook, pull the folded loop through the edge stitch at the short end of the scarf.
- Pull the loose ends through the loop and tighten gently to secure.
- Add fringe along both short ends, spacing them about 1 inch apart.
Final Thoughts
Your Whispering Dunes Desert Wrap is now complete! The combination of garter ridges and eyelet lace creates a fabric that is both tactile and visually intriguing. The heathered color transitions evoke the quiet beauty of desert dunes at sunrise—serene, organic, and timeless.
This pattern is perfect for gifting, and once you've mastered the repeat, it becomes a wonderfully meditative project. Wear it draped over your shoulders on a cool evening, or wrap it snugly for extra warmth. However you choose to style it, this scarf is sure to become a treasured piece in your handmade wardrobe.
Happy knitting!