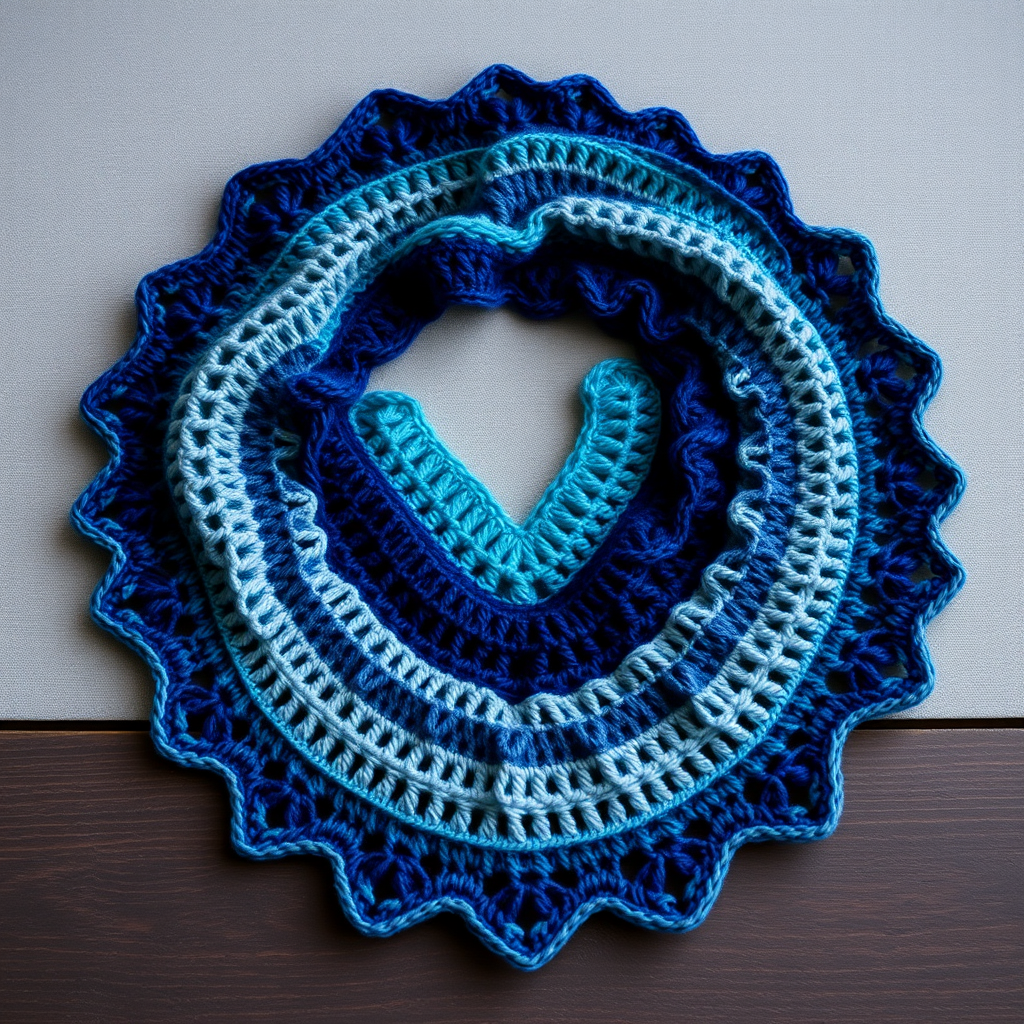
Whispering Pines Chunky Crochet Scarf Free Pattern – A Forest Floor Wrap

Whispering Pines Chunky Crochet Scarf – A Forest Floor Wrap
Wrap yourself in the quiet beauty of a pine forest with this deeply textured, chunky crochet scarf. The alternating moss and shell stitches create a lush, organic drape that feels like a cozy woodland escape. Designed for beginners and experienced crocheters alike, this pattern uses super bulky yarn and a large hook, so it works up quickly—perfect for a weekend project. The earthy color palette of deep forest green and warm oatmeal beige evokes a misty forest floor, making this scarf a stunning addition to your fall and winter wardrobe.
Materials Needed
Before you begin, gather the following supplies. All items are readily available at craft stores or online.
- Yarn: Bernat Blanket Yarn (or any super bulky weight 6 yarn) in Forest Green (Color A) and Oatmeal (Color B) – 2 skeins each
- Hook: 10 mm (N/P-15) crochet hook
- Gauge: 8 stitches x 6 rows = 4 inches in moss stitch (sc, ch1, sk1 pattern)
- Extras: Yarn needle for weaving in ends, scissors for trimming fringe
Finished Dimensions & Special Stitches
Finished Size: Approximately 8 inches wide x 70 inches long (excluding fringe). This creates a long, rectangular wrap with a soft, drapey feel.
Special Stitches
- Moss Stitch (MS): *Sc in next ch-sp, ch 1, skip next st; repeat from *
- Shell Stitch (SS): *5 dc in same ch-sp or st; skip next st; repeat from *
Step-by-Step Instructions
Follow these detailed instructions carefully. The pattern alternates between moss stitch sections and shell stitch sections, creating a beautiful textured stripe effect. Take your time with the first few rows to establish the rhythm.
Foundation Row
With Color A (Forest Green), chain 25 loosely. This loose foundation ensures the bottom edge doesn't pucker.
Row 1: First Moss Stitch Row
Sc in the 2nd ch from hook. *Ch 1, skip next ch, sc in next ch; repeat from * across the row. Turn. You should have 12 sc and 12 ch-1 spaces.
Row 2: Continue Moss Stitch
Ch 1, sc in first sc. *Ch 1, skip the ch-1 space, sc in next sc; repeat from * across. Turn. (12 sc, 12 ch-1 sps). This establishes the moss stitch pattern.
Row 3: First Shell Stitch Row
Ch 3 (this counts as your first dc), skip the first sc. *Work a Shell Stitch (5 dc) in the next ch-1 space, skip the next sc; repeat from * across the row, ending with a dc in the last sc. Turn. You should have 6 shells total.
Row 4: Transition Back to Moss Stitch
Ch 1, sc in the first dc. *Ch 1, skip the next dc, sc in the next dc; repeat from * across, ending with a sc in the top of the ch-3 from the previous row. Turn. (12 sc, 12 ch-1 sps).
Rows 5-6: Moss Stitch Section
Repeat Row 2 twice. This creates a solid moss stitch band above the shell row.
Row 7: Second Shell Stitch Row
Repeat Row 3. This adds another shell band, giving you the alternating texture.
Rows 8-9: Moss Stitch Section
Repeat Row 2 twice. Complete the first color block with a moss stitch section.
Color Change
At the end of Row 9, fasten off Color A and join Color B (Oatmeal). Weave in the ends or leave them for the fringe later.
Rows 10-15: Color B Stripe Pattern
Repeat Rows 3-9 using Color B. This creates a 6-row stripe pattern: 2 rows moss, 1 row shell, 2 rows moss, 1 row shell. This is your repeating unit.
Continue the Pattern
Repeat the 6-row stripe pattern (Rows 10-15) alternating colors every 6 rows. Continue until the scarf measures approximately 70 inches or your desired length. Always end with a moss stitch section (2 rows) in the current color to maintain symmetry.
Final Row
With the current color, ch 1, sc in each sc and ch-1 space across the row. Fasten off and weave in all loose ends with your yarn needle.
Adding the Fringe
Cut 12-inch lengths of both colors. For each fringe, fold 3 strands in half. Insert your hook through the end stitch of the scarf, pull the folded loop through, and pull the ends through the loop. Tighten gently. Add fringe evenly across both short ends, alternating colors for a playful forest look. Trim the fringe to an even length.
Tips for Success
- Keep Tension Even: With chunky yarn, it's easy to pull too tightly. Relax your grip and let the yarn flow through your fingers.
- Count Your Stitches: After each row, count to ensure you have 12 sc and 12 ch-1 spaces. This prevents accidental increases or decreases.
- Blocking (Optional): If your edges curl, gently steam block the finished scarf to lay it flat.
This Whispering Pines scarf is more than just an accessory—it's a wearable piece of nature. The plush, textured stitches and earthy tones make it a thoughtful handmade gift or a treat for yourself. Enjoy your cozy woodland escape!