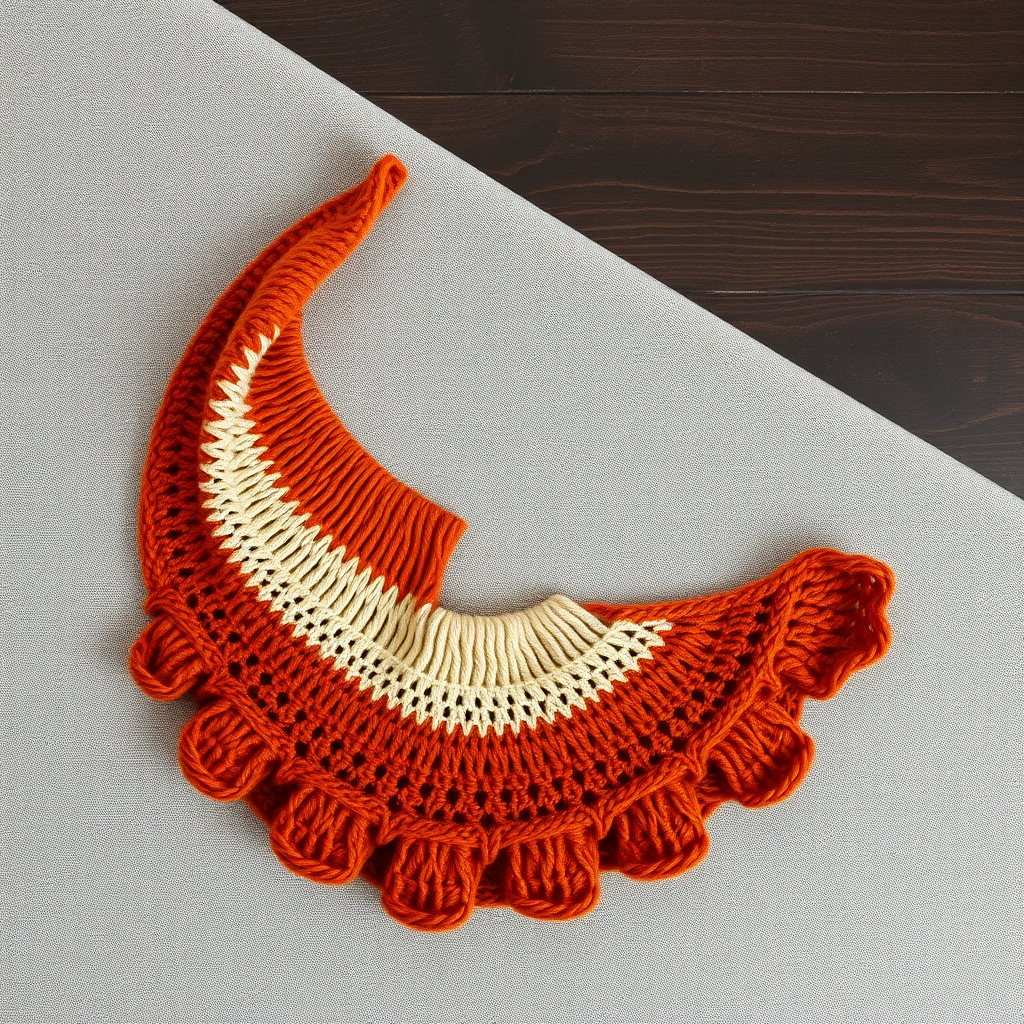
Alpine Aurora Wrap Free Knitting Pattern

Alpine Aurora Wrap: A Free Knitting Pattern for a Stunning Gradient Shawl
Wrap yourself in the breathtaking colors of the northern lights with this stunning, textured knit shawl. The Alpine Aurora Wrap combines a cozy, chunky yarn with a unique slipped-stitch pattern that creates a mesmerizing, gradient effect. This free knitting pattern is perfect for intermediate beginners who want to create a statement piece that's both stylish and functional. The thick, plush fabric drapes elegantly over your shoulders, making it the ultimate cozy companion for chilly evenings, winter commutes, or simply curling up with a good book.
What makes this wrap truly special is its clever use of color transitions. By blending three complementary shades—deep teal, midnight blue, and soft lavender—you'll create a fabric that mimics the ethereal beauty of the aurora borealis. The slipped stitches add a subtle woven texture that catches the light beautifully, while the chunky yarn ensures your project works up quickly. Whether you're making it for yourself or as a heartfelt handmade gift, this wrap is sure to become a cherished favorite.
Materials Needed
Before you begin, gather the following materials to ensure a smooth and enjoyable knitting experience:
- Yarn: Super Bulky weight yarn in 3 colors:
- Color A: Deep teal (approximately 120g)
- Color B: Midnight blue (approximately 115g)
- Color C: Soft lavender (approximately 115g)
- Needle: US 11 (8.0 mm) circular knitting needle, 32 inches or longer (to accommodate the large number of stitches)
- Notions: Tapestry needle for weaving in ends, scissors, stitch markers (optional but helpful)
- Gauge: 10 stitches and 14 rows = 4 inches in stockinette stitch (knit one row, purl one row). Always knit a gauge swatch to ensure your finished wrap matches the intended dimensions.
Finished Dimensions: Approximately 60 inches wide and 20 inches tall (a long, rectangular wrap that drapes beautifully over the shoulders).
Step-by-Step Instructions
Important Note: This pattern is worked flat, back and forth on a circular needle to accommodate the large number of stitches. The slipped stitches create a beautiful woven texture and help the color transitions blend seamlessly. Take your time with the color changes—they're the magic behind the gradient effect!
Abbreviations
- CO: Cast on
- K: Knit
- P: Purl
- Sl: Slip stitch purlwise (insert needle as if to purl, but just transfer the stitch to the right needle without working it)
- K2tog: Knit two stitches together (decrease)
- RS: Right side (the front of the work)
- WS: Wrong side (the back of the work)
Section 1: Color A (Deep Teal)
This section establishes the base of your wrap with a rich, deep teal color. The slipped stitch pattern begins here, creating the foundation for the textured fabric.
- Row 1 (RS): With Color A, CO 80 stitches using a long-tail cast-on method. This gives a nice, stretchy edge.
- Row 2 (WS): Knit all stitches. (This creates a garter stitch edge that prevents curling.)
- Row 3 (RS): Knit all stitches.
- Row 4 (WS): Purl all stitches.
- Row 5 (RS): K1, *Sl 1, K1; repeat from * to last stitch, K1. (You'll end with a knit stitch on each edge.)
- Row 6 (WS): Purl all stitches.
- Row 7 (RS): Knit all stitches.
- Row 8 (WS): Purl all stitches.
- Repeat Rows 5-8 two more times (for a total of 3 repeats of the slipped stitch pattern). This creates a beautiful, textured section that's approximately 6 inches deep.
Pro Tip: When slipping stitches, always slip them purlwise (as if to purl) with the yarn in the back (on RS rows). This keeps the slipped stitch relaxed and prevents tightness.
Section 2: Color Transition (Teal to Midnight Blue)
This is where the magic begins! You'll now introduce Color B (midnight blue) to start the gradient effect. The first row of this section uses the slipped stitch pattern with the new color, which helps blend the two shades seamlessly.
- Row 1 (RS): With Color B, K1, *Sl 1, K1; repeat from * to last stitch, K1. (Don't cut Color A yet—you'll weave it in later.)
- Row 2 (WS): Purl all stitches.
- Row 3 (RS): Knit all stitches.
- Row 4 (WS): Purl all stitches.
- Repeat Rows 1-4 two more times (for a total of 3 repeats). This transition section is shorter than the main color sections, creating a gradual shift between colors.
Pro Tip: When changing colors, leave a tail of about 6 inches to weave in later. Don't tie knots—just start knitting with the new color and weave in the ends at the end.
Section 3: Color B (Midnight Blue)
Now you're fully into the midnight blue section, the heart of the aurora effect. This deep, rich color evokes the night sky and provides a stunning contrast to the teal and lavender.
- Row 1 (RS): K1, *Sl 1, K1; repeat from * to last stitch, K1.
- Row 2 (WS): Purl all stitches.
- Row 3 (RS): Knit all stitches.
- Row 4 (WS): Purl all stitches.
- Repeat Rows 1-4 three more times (for a total of 4 repeats). This section is slightly longer, giving the midnight blue prominence in the center of the wrap.
Section 4: Color Transition (Midnight Blue to Soft Lavender)
Time for the second color transition! You'll now introduce Color C (soft lavender), which will lighten the wrap and complete the aurora effect. The lavender adds a dreamy, ethereal quality that perfectly captures the northern lights.
- Row 1 (RS): With Color C, K1, *Sl 1, K1; repeat from * to last stitch, K1.
- Row 2 (WS): Purl all stitches.
- Row 3 (RS): Knit all stitches.
- Row 4 (WS): Purl all stitches.
- Repeat Rows 1-4 two more times (for a total of 3 repeats).
Section 5: Color C (Soft Lavender)
The final color section! The soft lavender brings a sense of calm and serenity to the wrap, perfectly balancing the deeper tones. This section mirrors Section 3 in length, creating symmetry in your design.
- Row 1 (RS): K1, *Sl 1, K1; repeat from * to last stitch, K1.
- Row 2 (WS): Purl all stitches.
- Row 3 (RS): Knit all stitches.
- Row 4 (WS): Purl all stitches.
- Repeat Rows 1-4 three more times (for a total of 4 repeats).
Edging
Now it's time to finish your wrap with a neat, decorative edge. This simple decrease row creates a subtle scalloped effect that frames the wrap beautifully.
- Row 1 (RS): With Color C, K1, *K2tog, K1; repeat from * to last stitch, K1. (You'll decrease from 80 stitches to 54 stitches.)
- Row 2 (WS): Knit all stitches. (This creates a garter stitch ridge.)
- Row 3 (RS): Knit all stitches.
- Bind off loosely knitwise: Knit the first stitch, then knit the next stitch. Use the left needle to lift the first stitch over the second and off the needle. Continue this across the row. Tip: To ensure a stretchy bind-off, use a needle one size larger or bind off loosely.
Finishing
The final steps are crucial for a professional-looking finish. Take your time with these to ensure your wrap looks polished and beautiful.
- Weave in all ends securely: Thread your tapestry needle with the yarn tail and weave it through the purl bumps on the wrong side of the work. Weave in at least 2-3 inches to ensure it stays secure. Trim any excess yarn.
- Block the shawl gently: Fill a basin with lukewarm water and a small amount of wool wash. Submerge the wrap and let it soak for 15-20 minutes. Gently squeeze out excess water (don't wring or twist). Lay the wrap flat on a clean towel, roll it up to remove more water, then lay it flat on a blocking mat. Gently stretch it to the desired dimensions (60 inches wide by 20 inches tall) and pin the edges. Let it dry completely. Blocking opens up the stitch pattern and evens out the edges, giving your wrap a beautiful, professional finish.
Tips for Success
- Count your stitches: After each repeat, count your stitches to ensure you haven't accidentally added or dropped any. The pattern should maintain 80 stitches until the edging.
- Keep your tension consistent: Chunky yarn can be tricky—try to keep your tension even throughout. If you find your slipped stitches are too tight, try using a slightly larger needle for those rows.
- Use stitch markers: Place a marker every 20 stitches to help you keep track of your place in the pattern.
- Take breaks: The slipped stitch pattern is repetitive, which makes it perfect for relaxing knitting sessions. But don't knit for hours on end—take breaks to stretch your hands and neck.
Why You'll Love This Pattern
The Alpine Aurora Wrap is more than just a knitting project—it's an experience. The rhythmic slipped stitch pattern is meditative and soothing, while the gradual color transitions provide a sense of anticipation and delight. As you watch the deep teal blend into midnight blue and then into soft lavender, you'll feel like you're painting with yarn, creating your own personal aurora borealis.
This wrap is incredibly versatile. Wear it draped over your shoulders for a cozy evening out, wrap it around your neck as a luxurious scarf, or use it as a stylish throw blanket on chilly mornings. The chunky yarn makes it warm and substantial, while the gradient effect ensures it's always a conversation starter.
Whether you're an experienced knitter looking for a quick, satisfying project or a confident beginner ready to try something new, the Alpine Aurora Wrap is the perfect choice. So grab your yarn, settle into your favorite chair, and let the colors of the northern lights inspire your next masterpiece. Happy knitting!