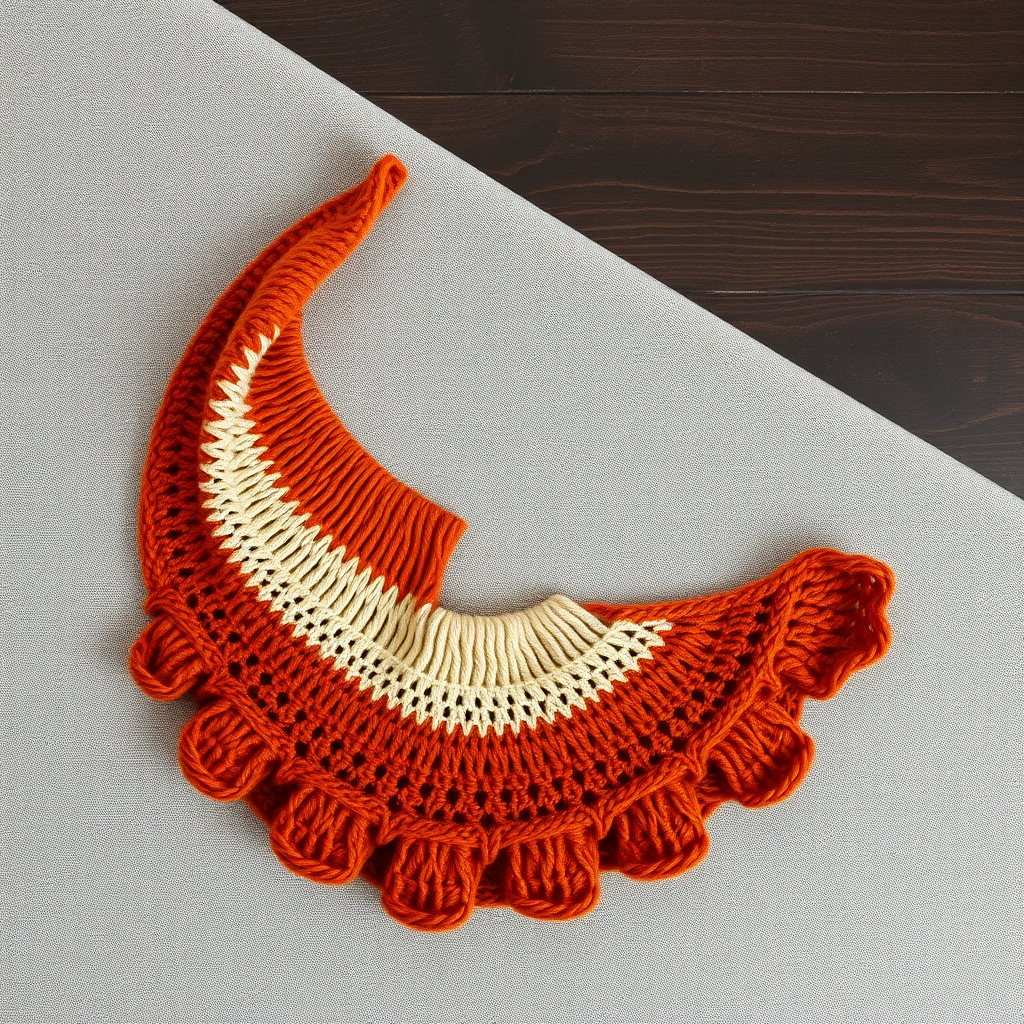
Misty Moorland Wrap Free Pattern – A Knitted Heather Haze

Misty Moorland Wrap Free Pattern – A Knitted Heather Haze
Wrap yourself in the soft hues of a misty moorland with this textured knitted shawl, featuring a gradient of heather purples and sage greens. The intricate honeycomb and garter stitch bands create a cozy, heirloom-quality accessory that will become a treasured piece in your wardrobe. This free knitting pattern is perfect for intermediate knitters looking to expand their skills while creating something truly beautiful and functional.
Whether you're curled up by the fire or taking a crisp autumn walk, this triangular wrap offers both warmth and elegance. The gradient color transitions evoke the atmospheric beauty of moorland landscapes, making this shawl as poetic as it is practical. Let's dive into this delightful knitting project!
Materials Needed
Before you begin, gather the following materials to ensure a smooth knitting experience:
- Yarn: Worsted weight yarn in 3 colors:
- Color A: Heather purple (approx 150g)
- Color B: Sage green (approx 125g)
- Color C: Misty blue-grey (approx 125g)
- Needle: US 8 (5mm) circular knitting needle with a 32-inch cable. The long cable is essential to accommodate the increasing number of stitches as the shawl grows.
- Other tools: Stitch markers (optional but helpful), tapestry needle for weaving in ends, and blocking pins/mats for finishing.
Gauge: 18 stitches and 24 rows = 4 inches in stockinette stitch. While gauge isn't critical for a shawl, maintaining consistent tension will ensure your finished piece has the intended drape and dimensions.
Step-by-Step Instructions
This shawl is worked from the top down, starting at the neck edge and increasing to form a triangular shape. The pattern combines simple increases with textured stitch patterns to create a stunning gradient piece. Follow along carefully, and you'll have a beautiful wrap in no time!
Abbreviations
- k = knit
- p = purl
- k2tog = knit two together (decrease)
- yo = yarn over (increase and creates an eyelet)
- sl = slip (slip a stitch from left to right needle without knitting)
- psso = pass slipped stitch over (decrease)
- st(s) = stitch(es)
- RS = right side (the front of the work)
- WS = wrong side (the back of the work)
Cast On and Foundation Rows
Cast on: With color A, cast on 3 stitches using your preferred method (long-tail cast on works well).
Row 1 (RS): k1, yo, k1, yo, k1 — you now have 5 stitches.
Row 2 (WS): k2, p1, k2 — the purl stitch sits in the center, creating the beginning of your center spine.
Row 3: k1, yo, k1, yo, k1, yo, k1, yo, k1 — you now have 9 stitches. Notice how we're increasing by 4 stitches every other row to create the triangular shape.
Row 4: k2, p5, k2 — the purl section grows to 5 stitches in the center.
Begin Pattern – Increase Section
Row 5 (RS): k1, yo, k1, yo, k2tog, yo, k1, yo, k2tog, yo, k1, yo, k1 — you now have 13 stitches. The k2tog and yo pairs create decorative eyelets along the edges.
Row 6: k2, p9, k2 — purl across the center section, keeping 2 knit stitches at each edge.
Row 7: k1, yo, k1, yo, k2tog, yo, k3, yo, k2tog, yo, k1, yo, k1 — you now have 17 stitches. The center section between the eyelet patterns grows by 2 stitches.
Row 8: k2, p13, k2 — purl across the center section.
Repeat rows 5-8 until you have 45 stitches, always ending with a wrong-side row. This creates a beautiful, structured increase section with delicate eyelets framing the growing center. When you reach 45 stitches, switch to color B.
Honeycomb Section (Color B)
This textured section creates a stunning honeycomb effect that adds depth and visual interest to your shawl.
Row 1 (RS): k1, yo, k1, *k2tog, yo* repeat from * to * until last 2 stitches, yo, k1, yo, k1. This row maintains your edge increases while working the honeycomb pattern across the body.
Row 2: k2, purl to last 2 stitches, k2 — keep the garter stitch edges, purl the center.
Row 3: k1, yo, k1, *yo, k2tog* repeat from * to * until last 2 stitches, yo, k1, yo, k1. Notice how the pattern alternates — this stagger creates the honeycomb effect.
Row 4: k2, purl to last 2 stitches, k2.
Repeat rows 1-4 for 3 inches, ending with a wrong-side row. The honeycomb texture will emerge beautifully as you work these rows. When complete, switch to color C.
Garter Ridge Section (Color C)
This section adds lovely ridged texture and provides a visual break between the honeycomb and lace sections.
Row 1 (RS): k1, yo, knit to last stitch, yo, k1 — increase at both edges.
Row 2: knit all stitches — garter stitch creates the ridge.
Row 3: k1, yo, knit to last stitch, yo, k1 — increase at both edges.
Row 4: knit all stitches.
Repeat rows 1-4 for 2 inches, ending with a wrong-side row. The garter ridges will create a beautiful, tactile texture that contrasts with the honeycomb section above. When complete, switch back to color A.
Lace Edge (Color A)
The final section features a delicate lace pattern that creates a beautiful, airy edge for your shawl.
Row 1 (RS): k1, yo, *k2tog, yo* repeat from * to * until last 2 stitches, yo, k1, yo, k1. This creates a lovely eyelet pattern while maintaining your edge increases.
Row 2: k2, purl to last 2 stitches, k2.
Row 3: k1, yo, *yo, k2tog* repeat from * to * until last 2 stitches, yo, k1, yo, k1. The staggered pattern creates a beautiful lace mesh.
Row 4: k2, purl to last 2 stitches, k2.
Repeat rows 1-4 until you have 125 stitches, ending with a wrong-side row. The lace edge will grow beautifully, adding an elegant finish to your shawl.
Bind Off
Bind off: Bind off loosely in pattern, knitting the yarn overs as regular stitches. This loose bind off is crucial — it ensures the lace edge can stretch and drape beautifully. If you bind off too tightly, the edge will pucker and the shawl won't lie flat.
Finishing
Weave in all ends using a tapestry needle. Take care to weave ends in along the edges or through similar-colored sections to keep them invisible.
Block the shawl gently to open up the lace and even out the stitches. Wet blocking is ideal for this project:
- Soak the shawl in lukewarm water with a gentle wool wash for 20-30 minutes.
- Gently squeeze out excess water (never wring or twist).
- Lay the shawl on a blocking mat and pin it to shape, stretching the lace edge gently to open up the pattern.
- Allow to dry completely before unpinning.
Once blocked, your Misty Moorland Wrap will showcase its beautiful gradient colors and intricate stitch patterns beautifully. The honeycomb texture, garter ridges, and delicate lace edge combine to create a truly heirloom-quality accessory.
Tips for Success
- Use stitch markers to mark the center of your work — this helps you keep track of your increases and pattern placement.
- Count your stitches regularly, especially after the increase rows, to ensure you're on track.
- Keep your edge stitches loose — the first and last few stitches should be worked loosely to prevent tight, puckered edges.
- Choose soft, drapey yarn for best results — a wool blend with some alpaca or silk will give beautiful drape and stitch definition.
- Don't be afraid to rip back if you make a mistake — this pattern is forgiving and worth getting right.
This Misty Moorland Wrap is a joy to knit and an even greater joy to wear. The gradient colors and textured patterns create a piece that looks far more complex than it actually is, making it perfect for knitters ready to move beyond basic scarves. The finished shawl makes a wonderful gift for a loved one — or a beautiful treat for yourself!
Happy knitting, and may your needles always be busy and your yarn never tangle!