Aurora Bloom Cottagecore Vest Free Pattern – Knit a Whimsical Wildflower Yoke

Aurora Bloom Cottagecore Vest Free Pattern – Knit a Whimsical Wildflower Yoke
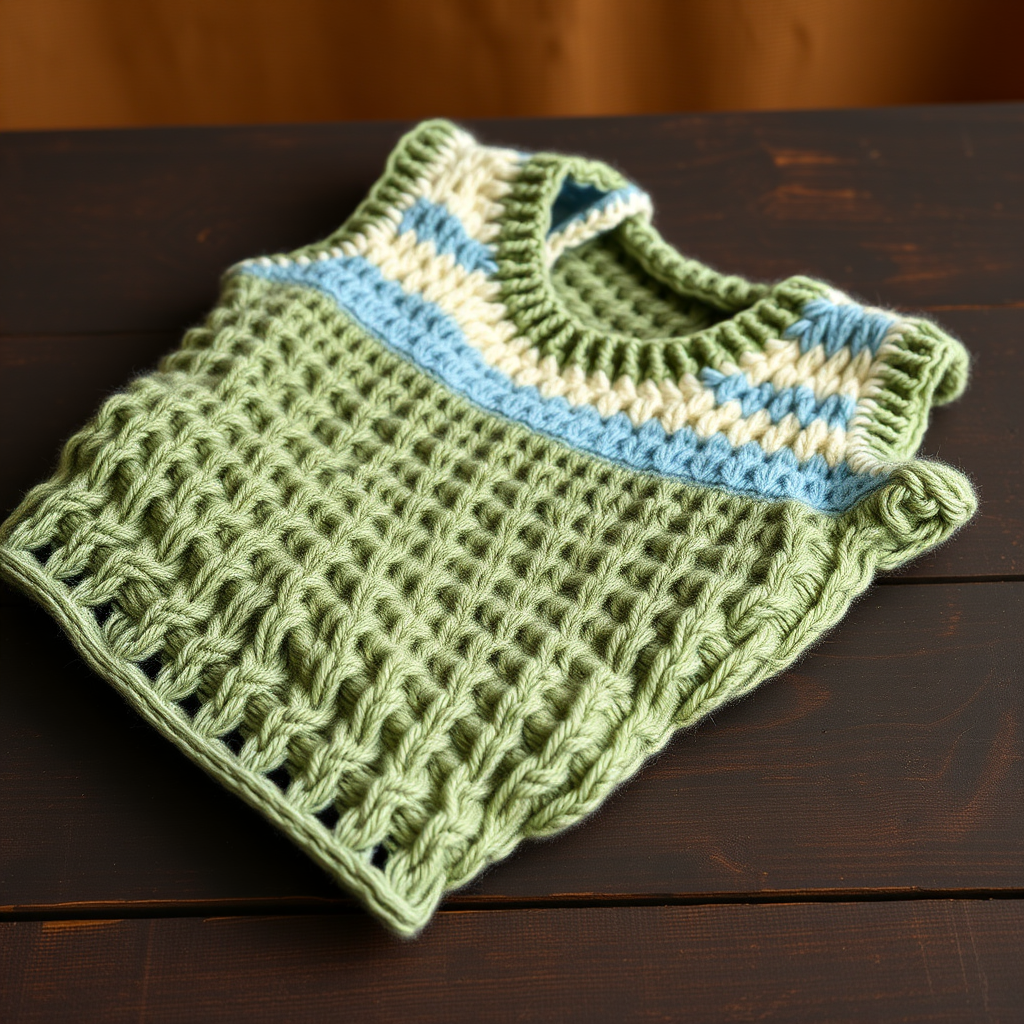
Wrap yourself in meadow magic with this airy, textured vest featuring a scalloped wildflower yoke and delicate lace panels. Knit in soft, heathered yarn, it's the perfect layering piece for breezy spring days and cozy autumn evenings. This free knitting pattern is designed for intermediate knitters but includes detailed instructions that make it accessible to confident beginners ready for a rewarding project.
The Aurora Bloom Vest is a stunning top-down knit that combines a beautifully structured yoke with an open, botanical lace body. The contrast between the solid stockinette sections and the wildflower lace panel creates a garment that feels both romantic and modern. Whether you're strolling through a farmer's market or curling up with a book, this vest will become your go-to layering piece.
Materials Needed
Before you begin, gather the following supplies to ensure a smooth knitting experience:
Yarn
- Main Color (MC): Worsted weight yarn in heathered sage green – approximately 400 (450, 500) yards
- Contrast Color (CC): Worsted weight yarn in dusty rose – approximately 150 (175, 200) yards
Tip: Choose a yarn with a slight halo (like a wool blend or alpaca mix) to achieve that cozy, handcrafted cottagecore feel. The heathered tones add depth and dimension to the lace pattern.
Needles
- US 7 (4.5 mm) circular needles, 24-inch or longer (for body)
- US 7 (4.5 mm) double-pointed needles (for yoke and sleeves)
Notions
- Stitch markers (at least 6)
- Waste yarn or stitch holders (for sleeves)
- Tapestry needle for weaving in ends
- Blocking mats and pins
Gauge
20 stitches and 26 rows = 4 inches in stockinette stitch, blocked.
Always knit a gauge swatch before starting! Block your swatch the same way you'll block the finished vest to ensure accurate measurements.
Sizes and Measurements
This pattern is written for three sizes:
- Small (S): Finished chest 36 inches
- Medium (M): Finished chest 40 inches
- Large (L): Finished chest 44 inches
The vest is designed to be cropped, ending at the natural waist. It features a deep V-neckline and no buttons, with a soft, flowing drape.
Abbreviations
- CO: Cast on
- K: Knit
- P: Purl
- K2tog: Knit two stitches together (decrease)
- SSK: Slip, slip, knit (left-leaning decrease)
- YO: Yarn over (increase)
- PM: Place marker
- SM: Slip marker
- RS: Right side
- WS: Wrong side
- St st: Stockinette stitch (knit on RS, purl on WS; in the round, knit every round)
- M1: Make one (increase – pick up the bar between stitches and knit through the back loop)
Special Stitch – Wildflower Lace Pattern
This beautiful lace pattern creates a repeating motif of small leaves and blossoms. It's worked over a multiple of 8 + 1 stitches.
Row 1 (RS): K1, *YO, K3, SSK, K2tog, K3, YO, K1; repeat from * to end.
Row 2 (WS): Purl all stitches.
Row 3: K2, *YO, K2, SSK, K2tog, K2, YO, K2; repeat from * to last stitch, K1.
Row 4: Purl all stitches.
Row 5: K3, *YO, K1, SSK, K2tog, K1, YO, K3; repeat from * to end.
Row 6: Purl all stitches.
Row 7: K4, *YO, SSK, K2tog, YO, K5; repeat from * to last 4 stitches, K4.
Row 8: Purl all stitches.
Note: When working this pattern in the round, you'll knit every round instead of purling the WS rows. The lace pattern naturally creates the scalloped, botanical effect.
Step-by-Step Instructions
Part 1: The Yoke (Worked Top-Down)
The yoke is worked in the round from the neckline down, using the contrast color (dusty rose). The increases create a beautiful, structured shape that will form the shoulders and upper chest.
Step 1: With CC and double-pointed needles, CO 88 (96, 104) stitches. Join in the round, being careful not to twist. PM at the beginning of the round.
Step 2: Knit 4 rounds plain (all knit stitches).
Step 3 – Eyelet Round: *K2tog, YO; repeat from * to end of round. This creates a delicate picot edge that will form the scalloped neckline.
Step 4: Knit 4 more rounds plain.
Step 5 – Increase Round: *K8, M1; repeat from * to end – you now have 99 (108, 117) stitches.
Step 6: Knit 4 rounds plain.
Step 7 – Increase Round: *K9, M1; repeat from * to end – 110 (120, 130) stitches.
Step 8: Knit 4 rounds plain.
Step 9 – Increase Round: *K10, M1; repeat from * to end – 121 (132, 143) stitches.
Step 10: Knit 4 rounds plain.
Step 11 – Increase Round: *K11, M1; repeat from * to end – 132 (144, 156) stitches.
Step 12: Knit 4 rounds plain.
Step 13 – Increase Round: *K12, M1; repeat from * to end – 143 (156, 169) stitches.
Step 14: Knit 4 rounds plain.
Step 15 – Increase Round: *K13, M1; repeat from * to end – 154 (168, 182) stitches.
Step 16: Knit 4 rounds plain.
Step 17 – Increase Round: *K14, M1; repeat from * to end – 165 (180, 195) stitches.
Step 18: Knit 4 rounds plain.
Step 19 – Increase Round: *K15, M1; repeat from * to end – 176 (192, 208) stitches.
Step 20: Knit 4 rounds plain.
Step 21 – Increase Round: *K16, M1; repeat from * to end – 187 (204, 221) stitches.
Step 22: Knit 4 rounds plain.
Step 23 – Increase Round: *K17, M1; repeat from * to end – 198 (216, 234) stitches.
Step 24: Knit 4 rounds plain.
Step 25 – Increase Round: *K18, M1; repeat from * to end – 209 (228, 247) stitches.
Step 26: Knit 4 rounds plain. The yoke is now complete.
Part 2: Dividing for Body and Sleeves
Now you'll separate the sleeve stitches from the body stitches. This is where the vest starts to take shape.
Step 27: Place markers as follows (do not knit yet, just place markers):
- PM after 30 (33, 36) stitches – this is the front right section
- PM after 45 (49, 53) stitches – this is the first sleeve
- PM after 60 (66, 72) stitches – this is the back
- PM after 45 (49, 53) stitches – this is the second sleeve
- PM after 29 (31, 35) stitches – this is the front left section
Step 28: Knit across the front right section (30/33/36 stitches) until you reach the first sleeve marker.
Step 29: Place the 45 (49, 53) sleeve stitches onto waste yarn or a stitch holder. Set them aside – you'll come back to them later.
Step 30: CO 6 (8, 10) new stitches for the underarm using the backward loop method or cable cast-on.
Step 31: Knit across the back section (60/66/72 stitches) until you reach the second sleeve marker.
Step 32: Place the second set of 45 (49, 53) sleeve stitches onto waste yarn.
Step 33: CO 6 (8, 10) new stitches for the second underarm.
Step 34: Knit across the front left section (29/31/35 stitches) to complete the round.
Your body now has: 132 (148, 164) stitches total. Remove the sleeve markers, keeping only the beginning-of-round marker.
Part 3: The Body
Now you'll work the main body of the vest in the round. Switch to your main color (heathered sage green) at this point.
Step 35: Knit every round in stockinette stitch (knit all stitches) until the body measures 8 (9, 10) inches from the underarm. Try it on if possible – the vest should reach your natural waist.
Part 4: Lace Panel Insertion
This is where the magic happens! You'll now work the Wildflower Lace Pattern to create the beautiful botanical panel.
Step 36: Begin working the Wildflower Lace Pattern in the round. Since you're working in the round, you'll knit every row of the pattern (no purling on WS rows).
Step 37: Work the lace pattern for 4 inches, or until the vest reaches your desired length. The lace will naturally open up when blocked, so don't worry if it looks a bit scrunched while knitting.
Step 38: After completing the lace panel, switch back to MC and knit 2 inches of stockinette stitch (knit every round).
Part 5: Bottom Ribbing
The ribbing gives the vest a polished, finished edge that helps it hold its shape.
Step 39: Work K1, P1 ribbing for 1 inch. This creates a stretchy, neat edge.
Step 40: Bind off loosely in pattern (knit the knit stitches, purl the purl stitches as you bind off). Be careful not to bind off too tightly – this edge needs to stretch slightly to go over your hips.
Part 6: Sleeve Edges
Now let's finish those armholes!
Step 41: Carefully transfer the sleeve stitches from waste yarn back onto your double-pointed needles or a short circular needle.
Step 42: Pick up and knit the 6 (8, 10) underarm cast-on stitches, plus 1-2 stitches at each corner to prevent gaps.
Step 43: Knit 3 rounds of stockinette stitch (knit all stitches) around the armhole.
Step 44: Bind off loosely. Repeat for the second sleeve.
Part 7: Finishing
The final steps will transform your knitting into a beautiful, professional-looking garment.
Step 45: Weave in all ends using a tapestry needle. Take your time – this makes a huge difference in the finished look.
Step 46: Block your vest to measurements. This is crucial for the lace pattern!
- Soak the vest in lukewarm water with a gentle wool wash for 15-20 minutes
- Gently squeeze out excess water (never wring!)
- Roll in a towel to remove additional moisture
- Lay flat on blocking mats and pin to the finished measurements
- Pay special attention to the lace panel – gently stretch and pin each scallop to open up the pattern
- Allow to dry completely before unpinning
Step 47: Once dry, your Aurora Bloom Cottagecore Vest is ready to wear!
Tips for Success
- Count your stitches regularly during the yoke increases – it's easy to lose track!
- Use a lifeline before starting the lace pattern. If you make a mistake, you can easily rip back to the lifeline without losing your work.
- Try on as you go – the beauty of top-down knitting is that you can test the fit at any point.
- Blocking is non-negotiable for this pattern. The lace truly comes alive after blocking.
Styling Your Aurora Bloom Vest
This versatile piece pairs beautifully with a simple white blouse and flowing skirt for a romantic cottagecore look. For cooler days, layer it over a chunky turtleneck with jeans and ankle boots. The muted sage and rose tones complement earthy palettes and add a touch of whimsy to any outfit.
We'd love to see your finished Aurora Bloom Vest! Share your photos on social media with the hashtag #AuroraBloomVest and tag us so we can admire your handiwork. Happy knitting!