Ember Dune Chunky Lace Vest Free Knitting Pattern

Ember Dune Chunky Lace Vest: A Free Knitting Pattern for a Dramatic Statement Piece
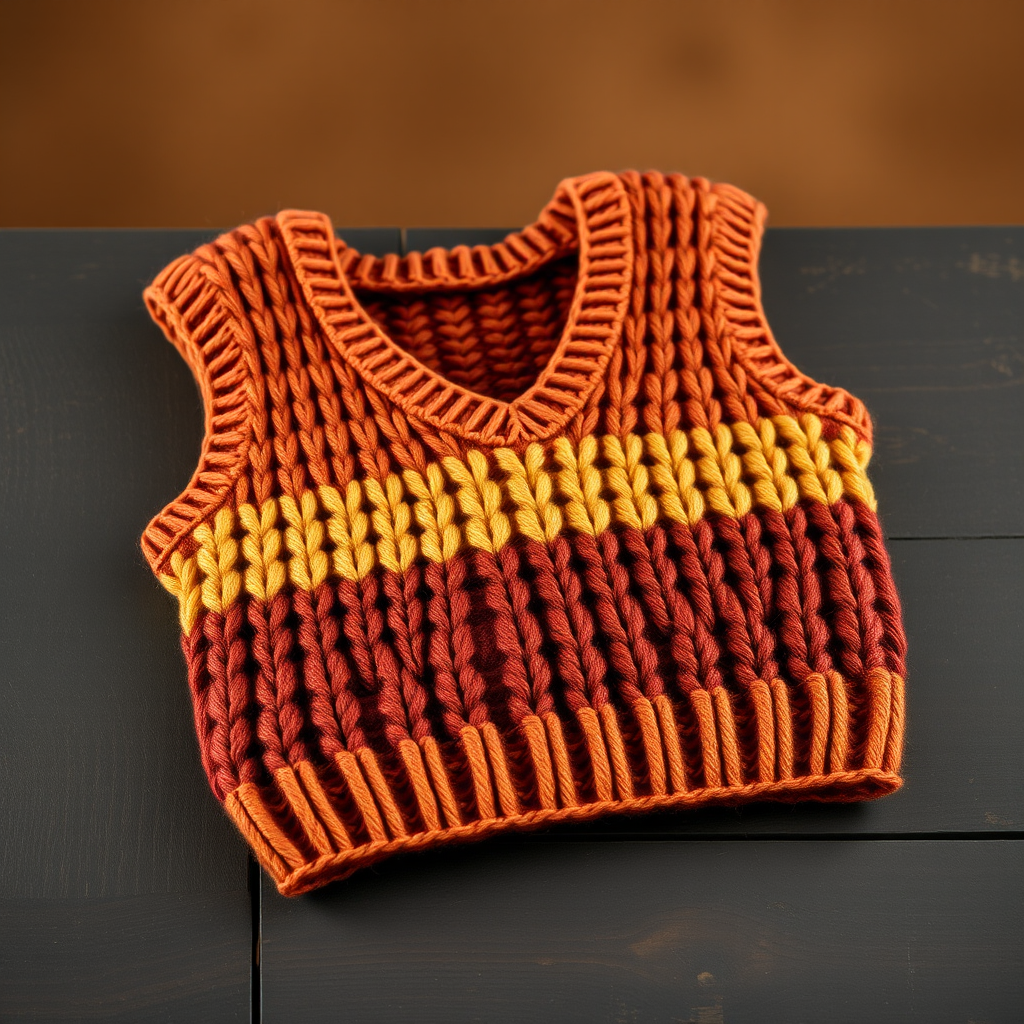
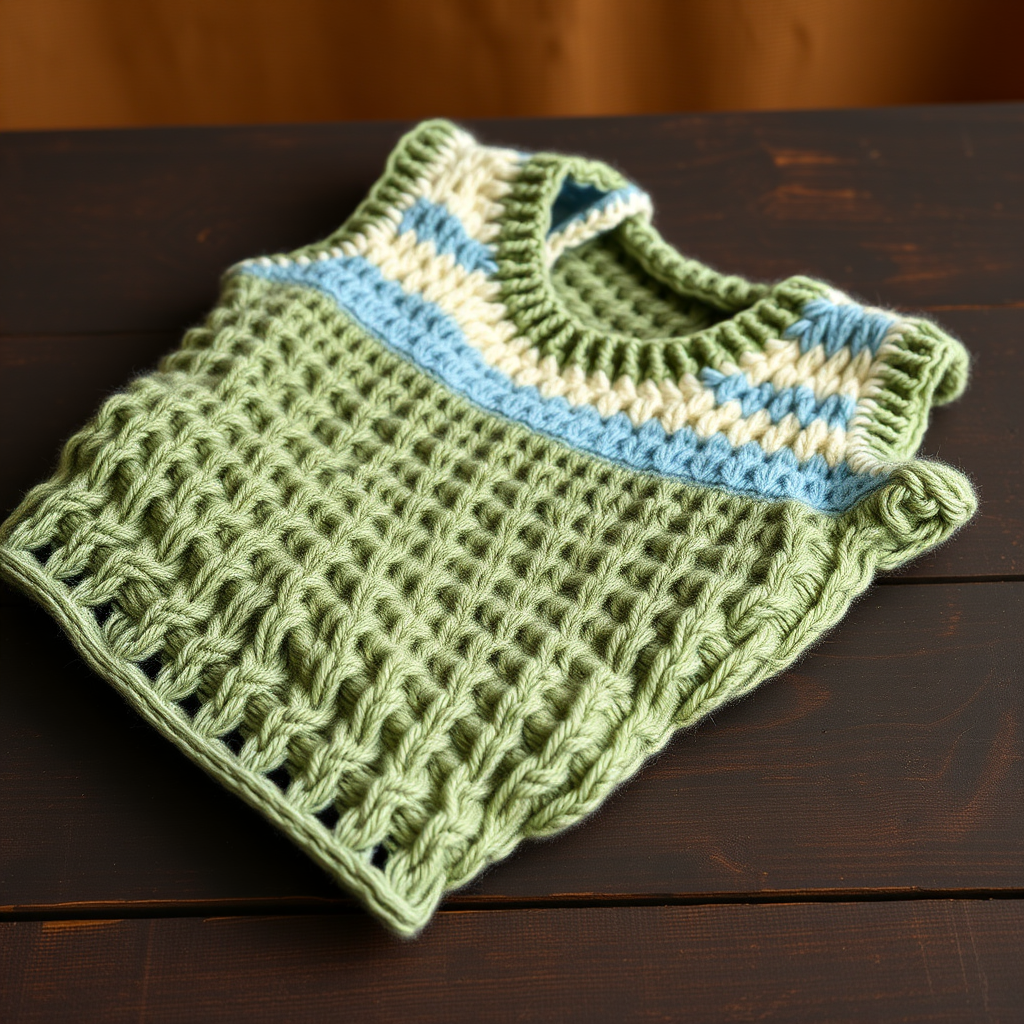
Wrap yourself in the warm, sculptural embrace of the Ember Dune Vest—a modern take on the chunky lace vest featuring a dramatic open back and flowing side panels. This quick knit uses super bulky yarn and a simple 4-row lace repeat to create a statement piece that is both cozy and elegant. Whether you're layering it over a turtleneck for fall or wearing it solo in early spring, this vest's rich gradient of burnt orange, terracotta, and deep amber will evoke the shifting dunes of a desert at sunset. Best of all, this pattern is beginner-friendly, using only knit, purl, yarn overs, and simple decreases.
Materials Needed
Before you begin, gather the following supplies. This project is designed to be quick and satisfying—perfect for a weekend knit.
- Yarn: Super Bulky Weight Yarn (Size 6), approximately 450–550 yards. Recommended: Lion Brand Wool-Ease Thick & Quick or Malabrigo Rasta in a warm gradient or solid terracotta/amber tone.
- Needles: US 13 (9 mm) 32-inch circular knitting needle (used for working back and forth flat).
- Notions: Stitch markers, tapestry needle for weaving in ends, stitch holders or waste yarn.
- Gauge: 8 stitches and 12 rows = 4 inches in stockinette stitch (after blocking). Always check your gauge to ensure proper fit.
Step-by-Step Instructions
This vest is knit flat in two panels (front and back) and seamed at the shoulders. The side seams are left open for a flowing, cape-like effect, though you can sew a few inches at the top for a more fitted silhouette. The lace pattern is a simple 4-row repeat that creates a beautiful, airy diamond texture.
Abbreviations
- CO: Cast on
- K: Knit
- P: Purl
- Yo: Yarn over
- K2tog: Knit two together (right-leaning decrease)
- SSK: Slip, slip, knit (left-leaning decrease)
- RS: Right side
- WS: Wrong side
- St(s): Stitch(es)
Lace Pattern (multiple of 4 + 2)
Work this 4-row repeat for the body of the vest. The pattern is easy to memorize after one repeat.
- Row 1 (RS): K1, *Yo, SSK, K2tog, Yo, K1; repeat from * to last st, K1.
- Row 2 (WS): Purl all stitches.
- Row 3 (RS): K2, *Yo, SSK, K2tog, Yo, K1; repeat from * to last 2 sts, K2.
- Row 4 (WS): Purl all stitches.
Note: The yarn overs create the open lace holes, while the paired decreases (SSK and K2tog) keep the stitch count consistent. Always count your stitches after each repeat to ensure accuracy.
Front Panel (Make 1)
The front panel features a classic scoop neck and is worked from the bottom up.
- Cast On: CO 50 stitches.
- Work Lace: Work in Lace Pattern for 12 inches, ending with a WS row (Row 2 or 4).
- Shape Armholes:
- Next RS row: Bind off 4 stitches, work in pattern to end. (46 sts)
- Next RS row: Bind off 3 stitches, work in pattern to end. (43 sts)
- Next RS row: K1, SSK, work in pattern to last 3 sts, K2tog, K1. (41 sts)
- Repeat this decrease row every RS row 2 more times. (37 sts)
- Work Even: Continue in pattern without decreases until armhole measures 8 inches from the bind-off edge, ending with a WS row.
- Shape Neckline:
- Next RS row: Work in pattern over first 12 sts, place remaining 25 sts on a holder. Turn.
- Left Shoulder: Decrease 1 st at neck edge (SSK on RS rows) every RS row 3 times. (9 sts)
- Work even until armhole measures 10 inches from bind-off. Bind off all 9 sts.
- Right Shoulder: Return to holder, join yarn at center, bind off center 13 sts, work in pattern to end. (12 sts)
- Work right shoulder to match, decreasing at neck edge (K2tog on RS rows) 3 times. (9 sts) Bind off.
Back Panel (Make 1)
The back panel features a dramatic deep V-neckline, creating the open-back effect.
- Cast On: CO 50 stitches.
- Work Lace: Work in Lace Pattern for 12 inches, ending with a WS row.
- Shape Armholes:
- Bind off 4 sts at beginning of next 2 rows. (42 sts)
- Bind off 3 sts at beginning of next 2 rows. (36 sts)
- Next RS row: K1, SSK, work in pattern to last 3 sts, K2tog, K1. (34 sts)
- Repeat this decrease row every RS row 2 more times. (30 sts)
- Work Even: Continue in pattern until armhole measures 10 inches from bind-off, ending with a WS row.
- Shape Neckline:
- Next RS row: Work in pattern over first 9 sts, place remaining 21 sts on a holder. Turn.
- Left Shoulder: Bind off 2 sts at neck edge on next RS row. (7 sts)
- Work even for 1 more inch. Bind off all 7 sts.
- Right Shoulder: Return to holder, join yarn at center, bind off center 12 sts, work in pattern to end. (9 sts)
- Bind off 2 sts at neck edge on next RS row. (7 sts) Bind off.
Finishing
Follow these steps to assemble your vest and give it a polished, professional finish.
- Block Pieces: Wet block both panels to the measurements specified in the pattern. Pin them out on a blocking mat and allow them to dry completely. This opens up the lace and evens out the stitches.
- Sew Shoulder Seams: Using a tapestry needle and mattress stitch, sew the shoulder seams together, matching the bound-off edges of the front and back panels.
- Edging: With RS facing, pick up and knit stitches evenly around the armholes and neckline. Work 2 rows of garter stitch (knit every row). Bind off loosely to maintain stretch.
- Weave in Ends: Use your tapestry needle to weave in all loose yarn ends securely on the WS of the fabric.
- Side Seams: Leave the side seams open for a flowing, open-sided look. For a more fitted silhouette, sew 3–4 inches at the top of each side seam, starting from the underarm.
Tips for Success
- Check your gauge: Super bulky yarn can vary greatly between brands. Knit a swatch and adjust needle size if needed to match the gauge.
- Use stitch markers: Place markers at the beginning of each lace repeat to help you keep track of your place, especially when shaping armholes.
- Blocking is key: Don't skip blocking—it transforms the lace from a crumpled mess into a beautiful, drapey fabric.
- Customize the length: The pattern calls for 12 inches before armhole shaping. Add or subtract rows here to adjust the overall length to your preference.
Your Ember Dune Vest is now complete! This versatile piece pairs beautifully with high-waisted jeans and a simple camisole, or over a long-sleeve tee for cooler days. The open back makes it a conversation starter, while the chunky lace keeps you cozy. Happy knitting!