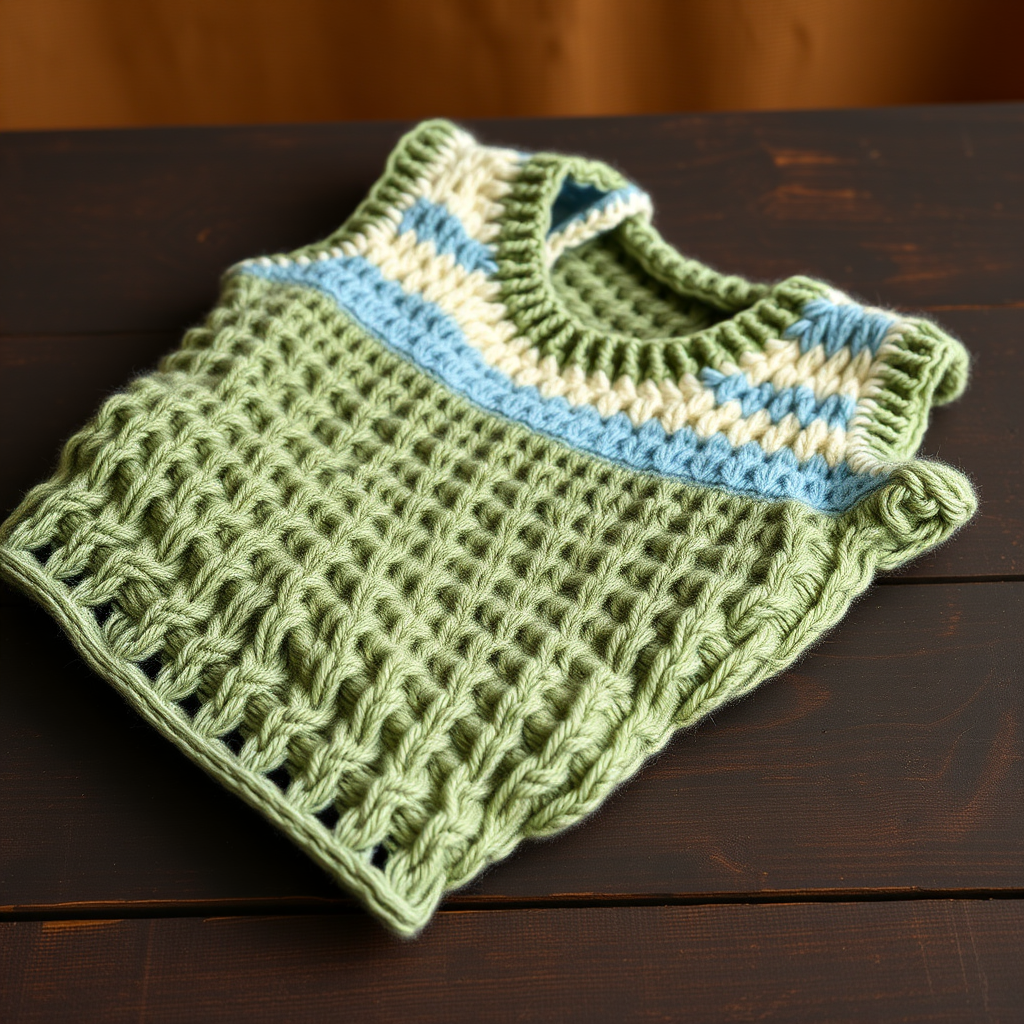
Emberfall Cascade Vest Free Pattern – Textured Knit Sweater Vest with Gradient Stripes
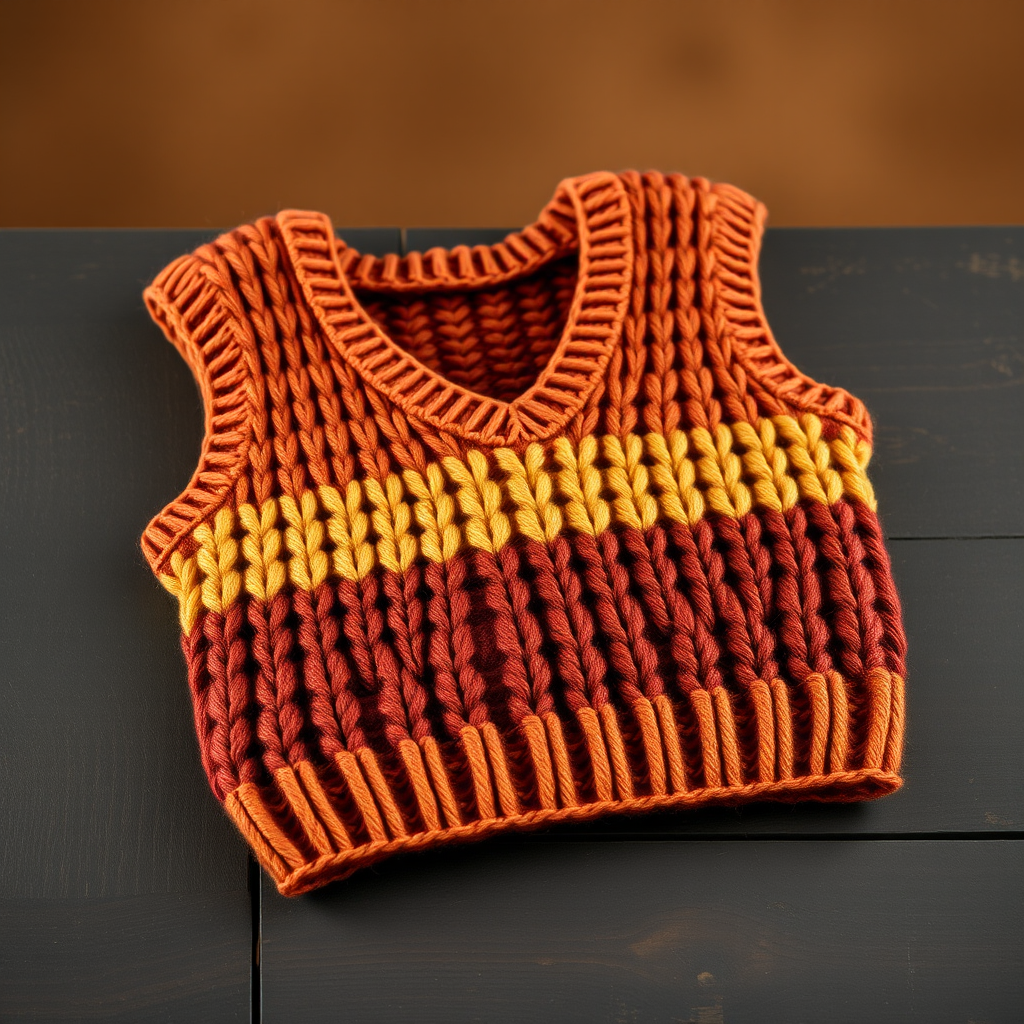
Emberfall Cascade Vest: A Free Knitting Pattern for a Stunning Textured Sweater Vest
Wrap yourself in the warm hues of a setting sun with the Emberfall Cascade Vest. This uniquely textured knit vest features a mesmerizing gradient of burnt orange, amber, and deep rose, creating a flowing, organic drape that flatters every body type. The cascading stitch pattern—a beautiful combination of yarn overs and knit-two-togethers—forms delicate eyelet waves that ripple across the fabric, reminiscent of falling leaves or a gentle stream. Whether you're a seasoned knitter looking for a satisfying project or a confident beginner ready for a challenge, this free pattern will guide you through creating a cozy, handmade wardrobe staple that's perfect for autumn layering.
This relaxed, boxy vest with drop shoulders and a classic V-neckline is as enjoyable to knit as it is to wear. The horizontal color-block gradient adds visual interest, while the ribbed edgings in deep terracotta provide a polished finish. Let's dive into the pattern and create something beautiful together.
Materials Needed
Before you begin, gather the following materials to ensure a smooth knitting experience. All yarn amounts are approximate and based on the smallest size, with adjustments noted for larger sizes.
- Yarn: Worsted weight yarn in 4 colors:
- Color A: Burnt Orange
- Color B: Amber Gold
- Color C: Dusty Rose
- Color D: Deep Terracotta
- Needles:
- US 7 (4.5 mm) circular needles, 32-inch length (for the body)
- US 7 (4.5 mm) double-pointed needles (DPNs) for armhole edging
- Notions: Stitch markers, tapestry needle for weaving in ends, scissors.
Gauge
Getting the correct gauge is crucial for achieving the right fit. Please take the time to knit a swatch before starting.
- Stockinette Stitch: 20 stitches x 28 rows = 4 inches
- Cascade Stitch Pattern: 22 stitches x 30 rows = 4 inches
Step-by-Step Instructions
This pattern is written for sizes Small (Medium, Large, XL). The finished chest measurements are 36 (40, 44, 48) inches, and the length is 22 (23, 24, 25) inches. Instructions for larger sizes are shown in parentheses.
Stitch Pattern: Cascade Stitch (multiple of 6 + 2)
This is the signature texture of the vest. It's a simple 4-row repeat that creates a beautiful, flowing wave pattern.
- Row 1 (RS): K2, *yo, k2tog, k4; rep from * to last 4 sts, yo, k2tog, k2.
- Row 2 (WS): Purl all stitches.
- Row 3: K1, *k2tog, yo, k4; rep from * to last 5 sts, k2tog, yo, k3.
- Row 4: Purl all stitches.
- Repeat Rows 1-4 for the pattern.
Back Panel
We'll start with the back panel, which is worked flat from the bottom up.
- Cast On: With Color A (burnt orange), cast on 92 (102, 112, 122) stitches using your preferred method.
- Begin Pattern: Work in the Cascade Stitch pattern as established above. Change colors in this sequence: 8 rows of Color A, 8 rows of Color B (amber gold), 8 rows of Color C (dusty rose), 8 rows of Color D (deep terracotta). Repeat this color sequence throughout the body.
- Continue: Keep working in the pattern until the piece measures 14 (15, 16, 17) inches from the cast-on edge, ending with a wrong-side row. This is where we'll begin shaping the armholes.
Shape Armholes (Back)
Now we'll create the armhole openings.
- Bind Off: At the beginning of the next 2 rows, bind off 6 (7, 8, 9) stitches. This shapes the underarm.
- Decrease: Decrease 1 stitch at each edge (beginning and end of the row) every other row 4 (5, 6, 7) times. To decrease, you can k2tog on the right side and ssk on the wrong side, or use your preferred decrease method.
- Work Even: Continue working in the pattern without further decreases until the armhole measures 8 (8, 9, 9) inches from the start of the armhole shaping.
- Bind Off: Bind off all remaining stitches loosely. Set this panel aside.
Front Panel
The front panel is worked identically to the back until we reach the neckline.
- Work as Back: Cast on and work the front panel exactly as you did for the back, including the armhole shaping. Continue working even until the armhole measures 2 inches.
Shape Neck (Front)
This is where we create the V-neckline. We'll work both sides of the neck simultaneously using two balls of yarn.
- Divide Stitches: On the next right-side row, work across the first 20 (22, 24, 26) stitches. Join a second ball of yarn, bind off the center 20 (22, 24, 26) stitches, and work to the end of the row with the new ball. You will now have two separate sections.
- Work Both Sides: Working both sides at the same time, decrease 1 stitch at each neck edge (the edge closest to the center) every row 6 times. Then, decrease 1 stitch at the neck edge every other row 4 times.
- Work Even: Continue working even on both sides until the armhole measures the same as the back panel.
- Bind Off: Bind off the remaining 10 (12, 14, 16) shoulder stitches on each side.
Finishing
Time to assemble your beautiful vest!
- Sew Shoulder Seams: Use a tapestry needle and a length of Color D yarn to sew the shoulder seams together using a mattress stitch or whip stitch.
- Sew Side Seams: Sew the side seams from the armhole down to the hem, matching the color stripes carefully.
Armhole Edging
We'll add a neat, ribbed finish to the armholes.
- Pick Up Stitches: With your double-pointed needles and Color D (deep terracotta), pick up and knit 72 (80, 88, 96) stitches evenly around the armhole opening. Place a marker for the beginning of the round.
- Work Rib: Work in a k1, p1 rib for 4 rounds.
- Bind Off: Bind off all stitches in pattern (knit the knits and purl the purls). Repeat for the other armhole.
Neck Edging
Finally, we'll finish the neckline.
- Pick Up Stitches: With your circular needle and Color D, pick up and knit 90 (96, 102, 108) stitches evenly around the entire neckline, including the V-neck shaping.
- Work Rib: Work in a k1, p1 rib for 6 rounds.
- Bind Off: Bind off all stitches in pattern.
Weave in Ends & Block
Your vest is almost complete!
- Weave in Ends: Carefully weave in all loose yarn ends with your tapestry needle, making sure they are secure and hidden within the fabric.
- Block: This is a crucial step for a professional finish. Wet block your vest by soaking it in lukewarm water with a gentle wool wash, then gently squeeze out excess water (do not wring). Lay it flat on a towel, shape it to the correct measurements, and allow it to dry completely. This will even out the stitches and enhance the drape of the cascading pattern.
Congratulations! You've completed your Emberfall Cascade Vest. This cozy, textured piece is perfect for layering over a simple tee or blouse. The gradient stripes and unique stitch pattern make it a true statement piece that you'll be proud to say you made yourself. Enjoy wearing your new handmade creation!