Aurora Borealis Ombre Wrap Free Knitting Pattern
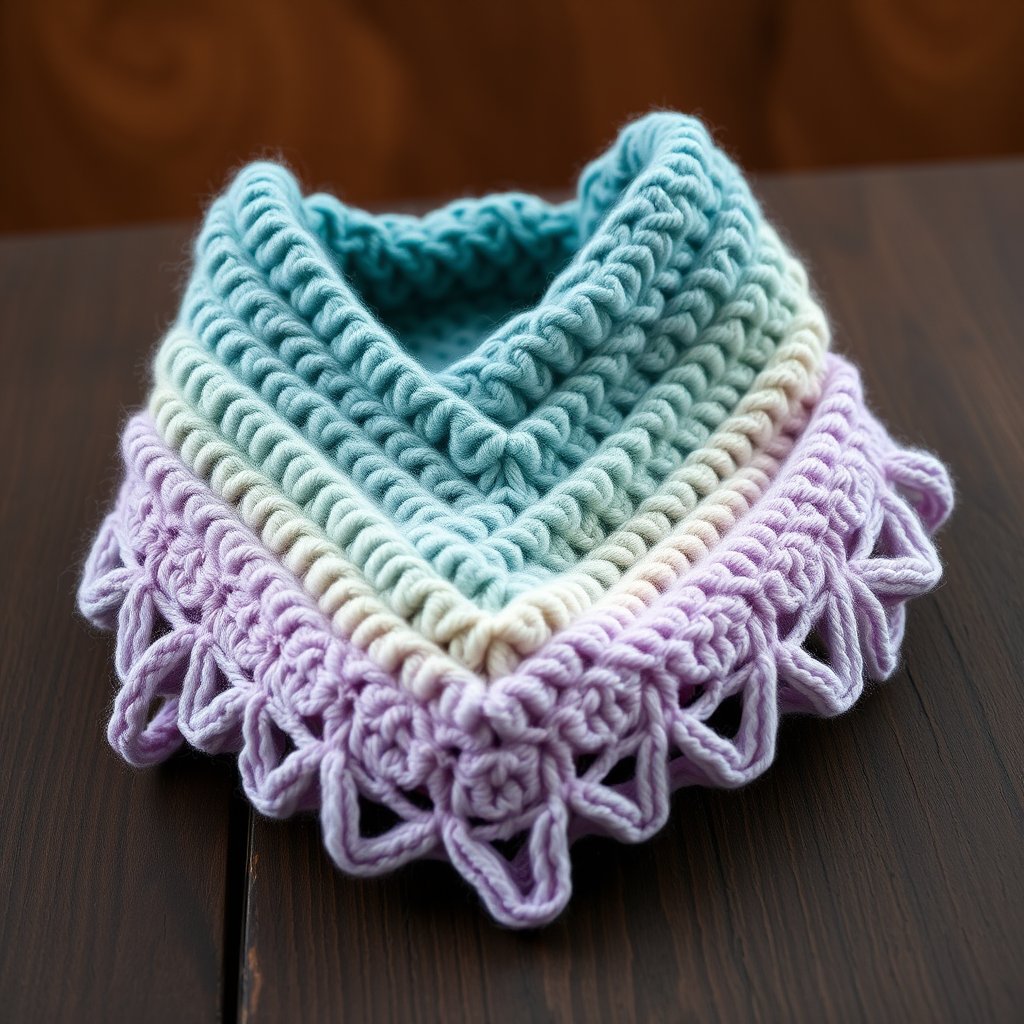
Wrap Yourself in the Northern Lights: The Aurora Borealis Ombre Wrap
Imagine draping the ethereal, shifting colors of the aurora borealis over your shoulders. With the Aurora Borealis Ombre Wrap, you can knit that dream into a cozy, wearable reality. This free knitting pattern is a perfect weekend project for adventurous beginners and seasoned makers alike. It’s worked flat from the top down, using simple increases to create a beautiful, flowing triangular shawl. The seamless color transitions—from deep teal to emerald green, soft lavender, and finally pale pink—mimic the night sky's most magical light show. The result is a soft, luxurious accessory that adds a touch of handcrafted magic to any chilly evening.
This pattern is designed to be both meditative and rewarding. With just a few basic stitches and a simple, repetitive increase row, you'll watch your wrap grow row by row, color by color. Let's dive into the details and get you started on your own piece of the sky.
Materials Needed
Before you begin your knitting journey, gather these simple supplies. The beauty of this pattern lies in its simplicity—you only need a few things to create something truly spectacular.
- Yarn: Worsted weight yarn in 4 colors, approximately 400g total. We recommend:
- Color A (Deep Teal): Approx. 100g
- Color B (Emerald Green): Approx. 100g
- Color C (Soft Lavender): Approx. 100g
- Color D (Pale Pink): Approx. 100g
- Needles: US 9 (5.5mm) circular knitting needle, 32 inches or longer. The long cable is essential to hold the increasing number of stitches comfortably.
- Other Tools: A tapestry needle for weaving in ends, and a pair of scissors.
Gauge: 18 stitches and 24 rows = 4 inches in stockinette stitch. While gauge isn't critical for a wrap, matching it will ensure you use the estimated yarn amounts and achieve the intended drape.
Step-by-Step Instructions
This wrap is a joy to knit. It’s worked flat from the top down, with increases at the edges to create the triangular shape. The color changes are simple and create a stunning ombre effect. Follow these detailed instructions, and you'll be snuggled up in your own aurora in no time.
Abbreviations
- CO: Cast on
- K: Knit
- P: Purl
- K2tog: Knit two stitches together
- YO: Yarn over
- St(s): Stitch(es)
- RS: Right side
- WS: Wrong side
Getting Started: The Foundation
We'll begin with a simple cast-on and a few short rows to establish the center spine of your wrap.
With Color A (Deep Teal): CO 3 sts.
- Row 1 (RS): K1, YO, K1, YO, K1 (5 sts)
- Row 2 (WS): K2, P1, K2
- Row 3 (RS): K2, YO, K1, YO, K2 (7 sts)
- Row 4 (WS): K2, P3, K2
- Row 5 (RS): K2, YO, K3, YO, K2 (9 sts)
- Row 6 (WS): K2, P5, K2
The Main Pattern: Increasing and Shaping
Now that the foundation is set, you'll continue in a simple, rhythmic pattern. The key is the increase row, which adds two stitches on every right-side row to create the triangle.
Continue in this pattern: Increasing 2 sts every RS row (one YO after the first 2 sts and one YO before the last 2 sts). Work the center sts in stockinette (knit on RS, purl on WS). Always knit the first and last 2 sts of every row for a neat, finished edge.
In practice, your rows will look like this:
- RS Row: K2, YO, knit to last 2 sts, YO, K2.
- WS Row: K2, purl to last 2 sts, K2.
This is the entire body of the pattern. It's simple, meditative, and creates a beautiful, clean stockinette fabric with a subtle, lace-like edge from the yarn overs.
Creating the Ombre Color Gradient
The magic of the aurora comes from the color changes. You'll work a set number of stitches with each color before switching. This creates a beautiful, gradual gradient.
- Work with Color A (Deep Teal) until you have 45 sts total (approx. 21 rows from start).
- Switch to Color B (Emerald Green). Continue the same increase pattern. Work with Color B until you have 85 sts total.
- Switch to Color C (Soft Lavender). Continue the same increase pattern. Work with Color C until you have 125 sts total.
- Switch to Color D (Pale Pink). Continue the same increase pattern. Work with Color D until you have 165 sts total.
Finishing Touches: Edging and Bind Off
Once you've reached the final stitch count, it's time to add a clean, polished edge and bind off.
Edging (optional but recommended): With Color D, work a simple garter stitch border for 4 rows (knit every row) without increases. This will create a neat, flat edge that prevents curling.
Bind Off: Bind off loosely. To ensure a stretchy edge that won't pull, you can use a larger needle to bind off or use a simple "knit two together" bind-off method.
Final Steps: Weaving and Blocking
Your wrap is almost complete! The final steps are crucial for a professional, polished finish.
- Weave in all ends: Use your tapestry needle to carefully weave in all loose yarn ends on the wrong side of the work.
- Block the wrap: This step is essential to open up the lace, enhance the drape, and even out the stitches. Gently soak the wrap in lukewarm water with a mild soap. Squeeze out excess water (do not wring). Lay the wrap flat on a towel, roll it up to remove more water, then pin it out to shape on a blocking mat. Gently stretch the edges to define the triangle shape. Allow it to dry completely before unpinning.
And there you have it—your very own Aurora Borealis Ombre Wrap. This stunning accessory is a testament to the beauty of simple stitches and thoughtful color choices. It's perfect for draping over your shoulders on a cool evening, adding a pop of color to any outfit, or gifting to someone special. Happy knitting!



