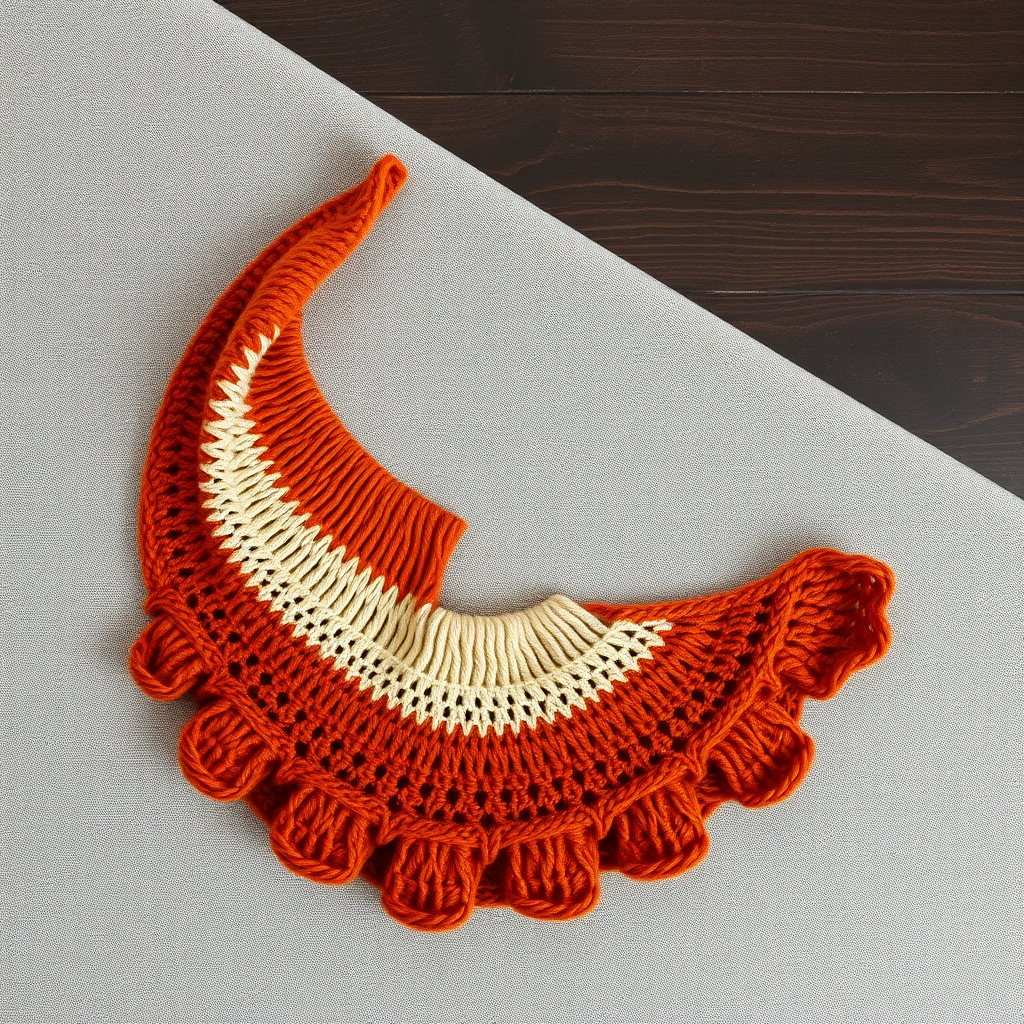
Aurora Borealis Triangle Shawl Free Pattern – Gradient Knit Wrap with Beaded Edge

Wrap Yourself in the Northern Lights: The Aurora Borealis Triangle Shawl
Imagine draping the ethereal, dancing colors of the aurora borealis over your shoulders. With the Aurora Borealis Triangle Shawl, you can turn that vision into a wearable masterpiece. This free knitting pattern is designed to be both a soothing project and a stunning statement piece. The rhythmic repetition of garter stitch creates a beautifully textured fabric, while a gradient of deep teal, emerald, and soft gold mimics the celestial light show. Finished with a delicate, iridescent beaded edge, this shawl is a modern heirloom you'll treasure for years. Best of all, it's beginner-friendly, using only basic knit stitches and simple increases to create its elegant, flowing shape.
This pattern is perfect for knitters looking to expand their skills beyond scarves and dishcloths. The construction is intuitive, and the color changes keep the project engaging without being complicated. Let's dive into creating this cozy, handmade work of art.
Materials Needed: Gathering Your Cosmic Palette
Before you begin your knitting journey, gather these simple materials. The beauty of this pattern is its simplicity—you don't need a vast array of tools, just a few quality items to create something truly special.
Yarn
- Weight: Fingering weight yarn (also known as 4-ply or sock weight).
- Colors & Quantities: You will need three colors, totaling approximately 400g (about 1400-1600 yards). For the gradient effect, choose:
- Color A (Deep Teal): Approx. 150g
- Color B (Emerald): Approx. 100g
- Color C (Soft Gold): Approx. 100g
Note: The pattern uses a symmetrical color sequence (A-B-C-B-A) to create the ombre effect. You may need slightly more of Color A for the beginning and end.
Needles & Notions
- Knitting Needle: US 6 (4.0 mm) circular knitting needle with a 32-inch (80 cm) cable. The long cable is essential to hold the many stitches as the shawl grows.
- Crochet Hook: A small crochet hook (e.g., 2.5mm or 3.0mm) is optional but highly recommended for adding the beads.
- Beads: Approximately 100-150 small, iridescent or glass beads with a hole large enough for your yarn to pass through.
- Other: Yarn needle for weaving in ends, stitch markers (optional), and blocking pins.
Gauge
20 stitches and 28 rows = 4 inches (10 cm) in garter stitch (blocked).
While gauge isn't critical for a shawl, matching it will help you achieve the intended size and drape. Always knit a swatch to ensure your fabric feels right.
Step-by-Step Instructions: Knitting Your Aurora
This shawl is worked from the top center down. You will increase stitches at the edges and at the center to form the triangle shape. Don't be intimidated—the pattern is repetitive and easy to memorize.
Abbreviations
- k = knit
- kfb = knit front and back (increase 1 stitch)
- yo = yarn over (increase 1 stitch, creates a small hole)
- k2tog = knit two together (decrease 1 stitch)
- sl = slip
- psso = pass slipped stitch over
- st(s) = stitch(es)
Getting Started: The Setup Rows
We'll begin with a simple cast-on and a few short rows to establish the center spine of your shawl.
- Cast on 3 stitches with Color A (Deep Teal).
- Row 1 (Right Side): kfb, k1, kfb. (You now have 5 stitches).
- Row 2 (Wrong Side): Knit all stitches. (5 stitches).
- Row 3 (RS): kfb, k1, yo, k1, yo, k1, kfb. (You now have 9 stitches).
- Row 4 (WS): Knit all stitches. (9 stitches).
Your foundation is set. The single stitch in the center (the 5th stitch) is your center spine. You'll always increase on either side of it.
The Body Pattern: Creating the Triangle
Now you'll repeat a simple two-row pattern. This is where the magic happens!
- Row 1 (RS - Increase Row): kfb, knit to the center stitch, yo, k1 (center stitch), yo, knit to the last stitch, kfb.
- Row 2 (WS - Plain Row): Knit all stitches.
Detailed Explanation of Row 1:
- kfb: Increase at the beginning of the row.
- Knit to center: Knit all stitches until you reach the single center stitch.
- yo, k1, yo: Yarn over, knit the center stitch, yarn over again. This creates two new stitches and a decorative eyelet line down the middle of your shawl.
- Knit to last stitch: Knit all remaining stitches until one stitch is left.
- kfb: Increase at the end of the row.
Repeat these two rows. You will notice your shawl growing symmetrically from the center outwards.
Color Changes: The Gradient Effect
To achieve the stunning aurora gradient, you'll change colors in a specific sequence. Count your rows carefully.
- Work 20 rows (10 repeats of the 2-row pattern) with Color A (Deep Teal).
- Switch to Color B (Emerald) and work 20 rows.
- Switch to Color C (Soft Gold) and work 20 rows.
- Switch back to Color B (Emerald) and work 20 rows.
- Switch back to Color A (Deep Teal) and work 20 rows.
Continue alternating in this A-B-C-B-A sequence until you have used all your yarn or the shawl reaches your desired size. A typical finished shawl is approximately 60 inches (152 cm) wide across the top. To change colors, simply start the new color at the beginning of a Right Side row, leaving a tail to weave in later.
The Beaded Edge: Adding Celestial Sparkle
This optional step adds a truly magical, heirloom-quality finish. The beads are added as you bind off, creating a delicate picot-like edge.
- Prepare your beads: Before you begin binding off, thread all your beads onto your working yarn using a small crochet hook or a beading needle. Push them down the yarn, away from your work.
- Bind off: Knit the first two stitches of the bind-off row.
- Create the picot: *Insert your crochet hook into the next stitch on the left needle, pull up a loop. Slide one bead down the yarn so it rests near the hook. Yarn over with the crochet hook and pull through both loops on the hook (this secures the bead). Repeat from * for each stitch across the row.
Simpler Alternative: If you prefer a simpler bind-off, you can just bind off all stitches loosely. Then, using a yarn needle and thread, sew beads onto the edge afterwards. However, the crochet method creates a beautiful, integrated picot edge.
Finishing Touches: Blocking Your Masterpiece
Blocking is the secret to a professional-looking shawl. It opens up the stitches, evens out the fabric, and gives the shawl its beautiful drape.
- Weave in all ends with your yarn needle.
- Soak the shawl in lukewarm water with a drop of mild wool wash for 20-30 minutes.
- Gently squeeze out the excess water. Do not wring or twist.
- Roll the shawl in a clean towel to remove more moisture.
- Pin to shape: Lay the shawl on a blocking mat. Gently stretch it to its final dimensions (about 60 inches wide). Pin the top edge and the bottom point, then pin along the sides to create a smooth, even triangle. Allow it to dry completely before unpinning.
Once dry, your Aurora Borealis Triangle Shawl is ready to wear. Drape it over your shoulders for a touch of celestial elegance, or gift it to someone special. This pattern is more than just a project; it's an experience—a calming, rhythmic journey that culminates in a breathtaking, handmade treasure. Happy knitting!