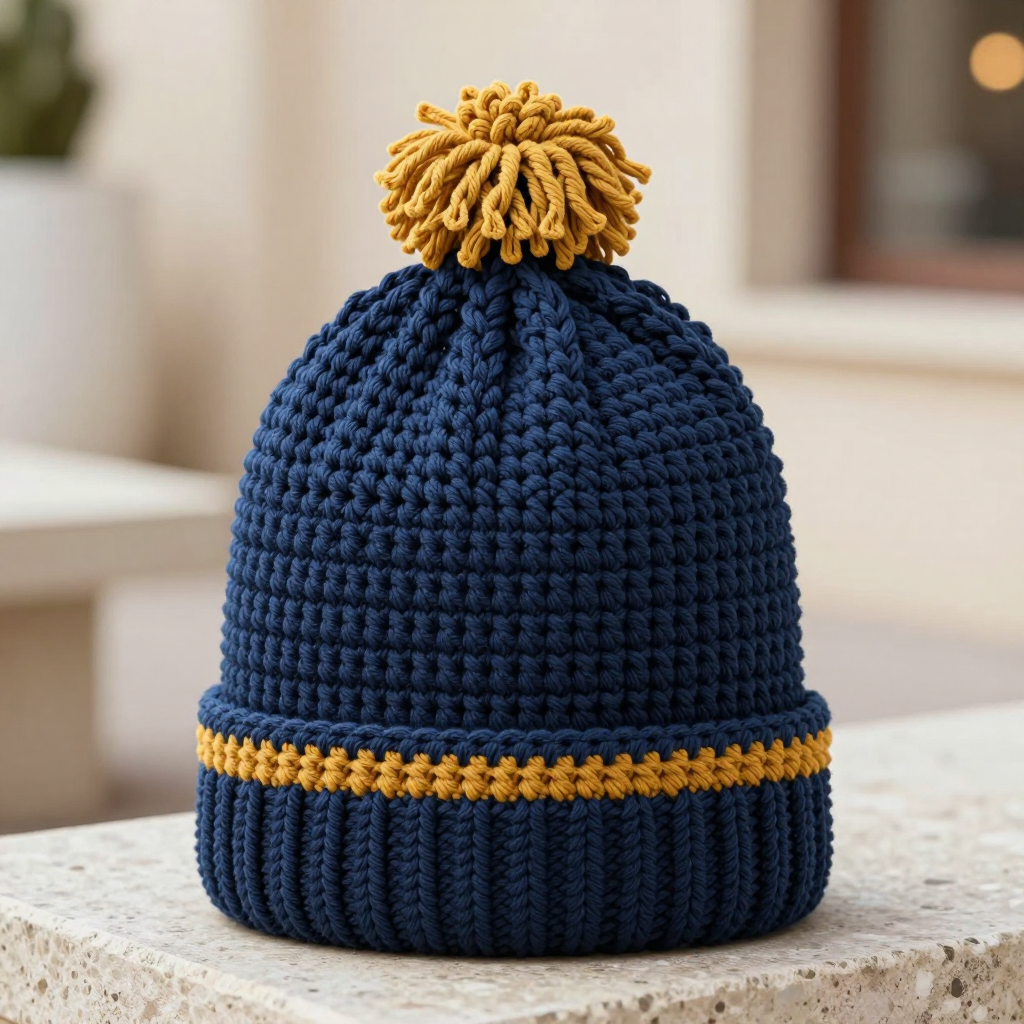
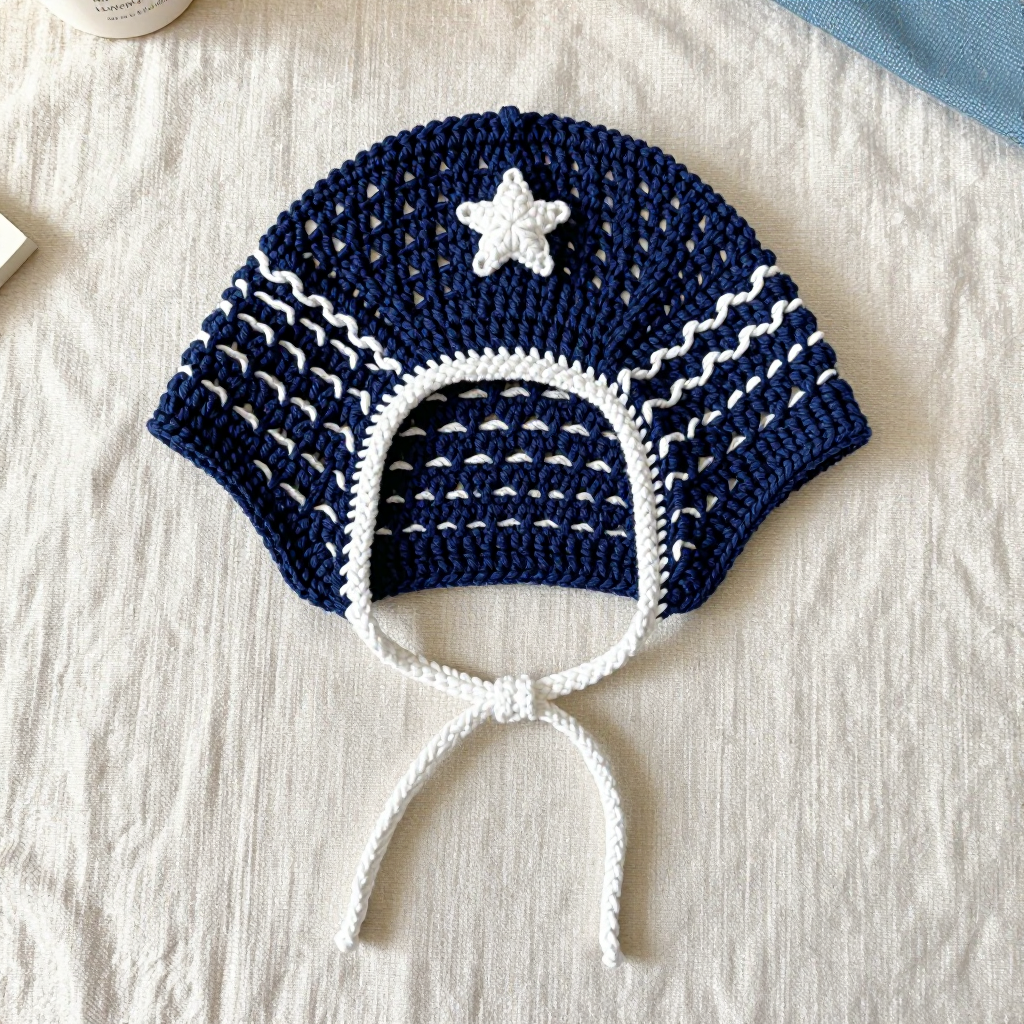
Basketweave Block Bucket Hat Free Crochet Pattern

Basketweave Block Bucket Hat — A Free Beginner-Friendly Crochet Pattern
Introduction
If you have ever wanted to make something that looks like it came straight off a streetwear shelf, this is the project for you. The Basketweave Block Bucket Hat is built from two simple shapes — a flat circle for the crown and a straight tube for the brim — so you only ever need to know a handful of stitches. What makes it special is the texture: raised "post stitch" blocks that alternate every four rounds, creating a woven basket look with a bold charcoal-and-mustard color block band. The finished hat is about 22 inches (56 cm) around and 9 inches (23 cm) tall, with a structured, slightly stiff silhouette that holds its shape on your head. It feels dense and squishy in the hand, and the raised blocks give it a satisfying bumpy grid you will want to pet. Best of all, it works up in a weekend, even if this is your very first hat.
Materials Needed
- Yarn: Worsted weight (category 4) acrylic or cotton blend, approximately 180–200 yards total.
- Color A (deep charcoal): about 100 yards
- Color B (mustard gold): about 80 yards
- Crochet hook: 5.0 mm (US H/8) — this is your main hook. Optional: a 4.5 mm (US G/7) hook if you want a tighter, firmer crown fabric.
- Stitch markers: at least 4 (to mark the start of each round and to mark block boundaries).
- Tapestry needle: a blunt-tipped needle with a large eye for weaving in yarn tails.
- Scissors: any sharp pair for cutting yarn.
- Measuring tape: for checking gauge and hat size.
- Finished size: One size fits a 22 in (56 cm) head circumference; approximately 9 in (23 cm) tall including the brim. Crown diameter is about 7 in (18 cm).
Abbreviations and Beginner Glossary
Every abbreviation used in this pattern is listed here. Read this section once before you begin — you will be glad you did.
- ch — chain. Make a loop of yarn on your hook, then pull yarn through the loop. Each one is a "chain."
- st / sts — stitch / stitches. One completed unit of crochet.
- sl st — slip stitch. Insert your hook into the stitch, yarn over, and pull that loop straight through the loop already on your hook. It makes an invisible join.
- sc — single crochet. Insert hook into stitch, yarn over, pull up a loop (2 loops on hook), yarn over, pull through both loops. (1 loop left.)
- dc — double crochet. Yarn over, insert hook into stitch, yarn over, pull up a loop (3 loops on hook), yarn over, pull through 2 loops, yarn over, pull through last 2 loops. (1 loop left.)
- fpdc — front post double crochet. Work a double crochet, but instead of going into the top of the stitch, insert your hook from front to back around the vertical "post" (the body) of the stitch below, then complete a normal double crochet. This pushes the stitch forward, creating a raised ridge.
- bpdc — back post double crochet. Same as fpdc, but insert your hook from back to front around the post of the stitch below. This pushes the stitch backward, creating a recessed ridge.
- magic ring — an adjustable loop of yarn you crochet into, then pull tight to close the center hole. If you prefer, chain 4 and join with a sl st to make a ring instead.
- yarn over (yo) — wrap the working yarn over your hook from back to front.
- join — finish a round by working a sl st into the first stitch of that round.
- rep — repeat. Do the instruction again.
- * ... ; rep from * — repeat everything between the asterisks for the rest of the round.
- rnd / rnds — round / rounds. One complete circle of crochet.
- fasten off — cut the yarn a few inches from your work, pull the tail all the way through the last loop, and tighten.
- block — a group of 4 fpdc or 4 bpdc worked side by side. This hat has 12 blocks per round.
Gauge
Gauge: 14 dc x 8 rounds = 4 inches (10 cm) in double crochet with the 5.0 mm hook. In the basketweave section: 4 post-stitch blocks (16 sts) x 6 rounds = 4 inches.
Why gauge matters: Gauge is how many stitches and rounds fit into 4 inches of your fabric. If your stitches are bigger than the pattern's, your hat will be too big and floppy. If they are smaller, the hat will be too tight. Matching gauge is the single best way to make sure your hat fits a 22-inch head.
How to make a gauge swatch: With Color A and your 5.0 mm hook, chain 22. Work 1 dc in the 3rd chain from the hook and in each chain across (20 dc). Work 8 more rows of dc (ch 2, turn, dc in each st across). Lay the swatch flat, measure 4 inches across the middle, and count the stitches. Then measure 4 inches up and count the rounds. If you have more than 14 stitches in 4 inches, your tension is tight — try the 4.5 mm hook for the crown or relax your hands. If you have fewer than 14, your tension is loose — try a 5.5 mm hook. Do not skip this step; it takes 15 minutes and saves the whole project.
Beginner Tips Before You Start
- Use stitch markers to track rounds. Place one marker in the first stitch of every round. When you reach the marker, you know the round is done. This prevents the most common beginner mistake: losing your place.
- Do not pull your yarn too tight. Beginners often tug each stitch snug, which makes the hat stiff and too small. Let the yarn rest comfortably on the hook — the post stitches especially need a little slack to sit forward and back properly.
- Count your stitches at the end of every round. The counts are written in parentheses after each round. If you are off by one or two, fix it now rather than discovering it five rounds later.
- Mark your block boundaries. In the basketweave section, place a marker every 8 stitches (after each front/back block pair) for the first few rounds. It makes the alternating pattern almost impossible to get wrong.
- Change colors cleanly. When you change from Color A to Color B, finish the last stitch of the round with Color B (pull Color B through the final two loops), then join. This hides the change neatly.
- Keep your tension even, not perfect. Slight variations in stitch size will disappear once the hat is blocked. Do not unravel over small imperfections.
Step-by-Step Instructions
Crown (Flat Circle, Color A)
With the 5.0 mm hook and Color A, make a magic ring. The crown is a flat circle that grows by 12 stitches each round. Note: the ch 2 at the start of each round does NOT count as a stitch. Join each round with a sl st to the first dc.
- Rnd 1: Ch 2, work 12 dc into the ring, join with sl st to first dc. (12 dc)
- Rnd 2: Ch 2, 2 dc in each st around, join. (24 dc)
- Rnd 3: Ch 2, *2 dc in next st, dc in next st; rep from * around, join. (36 dc)
- Rnd 4: Ch 2, *2 dc in next st, dc in next 2 sts; rep from * around, join. (48 dc)
- Rnd 5: Ch 2, *2 dc in next st, dc in next 3 sts; rep from * around, join. (60 dc)
- Rnd 6: Ch 2, *2 dc in next st, dc in next 4 sts; rep from * around, join. (72 dc)
- Rnd 7: Ch 2, *2 dc in next st, dc in next 5 sts; rep from * around, join. (84 dc)
- Rnd 8: Ch 2, *2 dc in next st, dc in next 6 sts; rep from * around, join. (96 dc)
Check: Your crown should now measure about 7 in (18 cm) across. Do not increase any further — the rest of the hat is worked straight.
Color-Block Band (Color B)
Change to Color B at the end of Rnd 8 (finish the last stitch with Color B). Work plain double crochet rounds with no increases.
- Rnds 9–12: Ch 2, dc in each st around, join. (96 dc)
Change back to Color A at the end of Rnd 12. The band should measure about 2 in (5 cm) tall.
Basketweave Brim (Straight-Sided Tube, Color A)
The brim is worked as a tube with no increases. Each round has 12 blocks of 8 stitches: 4 fpdc followed by 4 bpdc. Blocks stay in the same position for 4 rounds, then swap to create the woven look. Important: work around the post of the stitch directly below, not into the top of the stitch.
- Rnd 13 (set-up): Ch 2, *fpdc around next 4 sts, bpdc around next 4 sts; rep from * around, join. (96 sts = 12 blocks)
- Rnds 14–16: Repeat Rnd 13. (96 sts)
- Rnd 17: Ch 2, *bpdc around next 4 sts, fpdc around next 4 sts; rep from * around, join. (96 sts — blocks swap to create the woven look)
- Rnds 18–20: Repeat Rnd 17. (96 sts)
- Rnds 21–24: Repeat Rnds 13–16. (96 sts)
- Rnds 25–28: Repeat Rnds 17–20. (96 sts)
Check: The brim should measure about 4 in (10 cm) from the color band, and the total hat height should be about 9 in (23 cm).
Edging
- Rnd 29: Ch 1, sc in each st around, join with sl st to first sc. (96 sc) Fasten off and weave in ends.
Assembly and Finishing
Good news: this hat has no seams to sew! The crown and brim are worked in one continuous piece, so "assembly" is really about shaping and tidying.
- Weave in ends: Thread each yarn tail onto your tapestry needle. Run the needle through the back of several stitches (about 1 inch), then back through a few more in the opposite direction to lock it. Trim close to the fabric. Do this for every tail — the magic ring tail, the color-change tails, and the fasten-off tail.
- Block the crown: Lightly dampen the hat with water from a spray bottle. Stretch it over a bowl or a round object about 7 inches across (a large bowl or a balloon works well). Smooth the crown flat and let it dry completely. This sets the flat circle shape and evens out your stitches.
- Shape the brim: While the hat is still damp, gently pull the brim straight down so the tube is even all around. Do not stretch it wider than 22 inches — you want the structured, straight-sided look.
- Optional contrast edge: If you want a second pop of color, work one more round of sc in Color B around the bottom edge, then fasten off and weave in.
Pro Tips and Variations
- Play with color blocks: Instead of one mustard band, work Rnds 9–10 in Color B and Rnds 11–12 in a third color, or make the brim a different color entirely. The basketweave texture looks great in a single bold color too.
- Adjust the size: To make the hat larger, add one more increase round to the crown (Rnd 9: *2 dc in next st, dc in next 7 sts; rep around = 108 dc) and add 12 stitches to every brim round. To make it smaller, stop the crown at Rnd 7 (84 dc) and work the brim with 84 stitches (10.5 blocks — round down to 10 blocks and adjust the last block).
- Substitute yarn: Cotton or cotton-blend worsted yarn gives a crisper, more structured brim; acrylic gives a softer, squishier hat. Always swatch first, because different fibers behave differently at the same gauge.
- Add a drawstring or band: Thread a crocheted chain or a thin cord through the last round of the color band and tie it at the back for an adjustable fit and an extra streetwear detail.