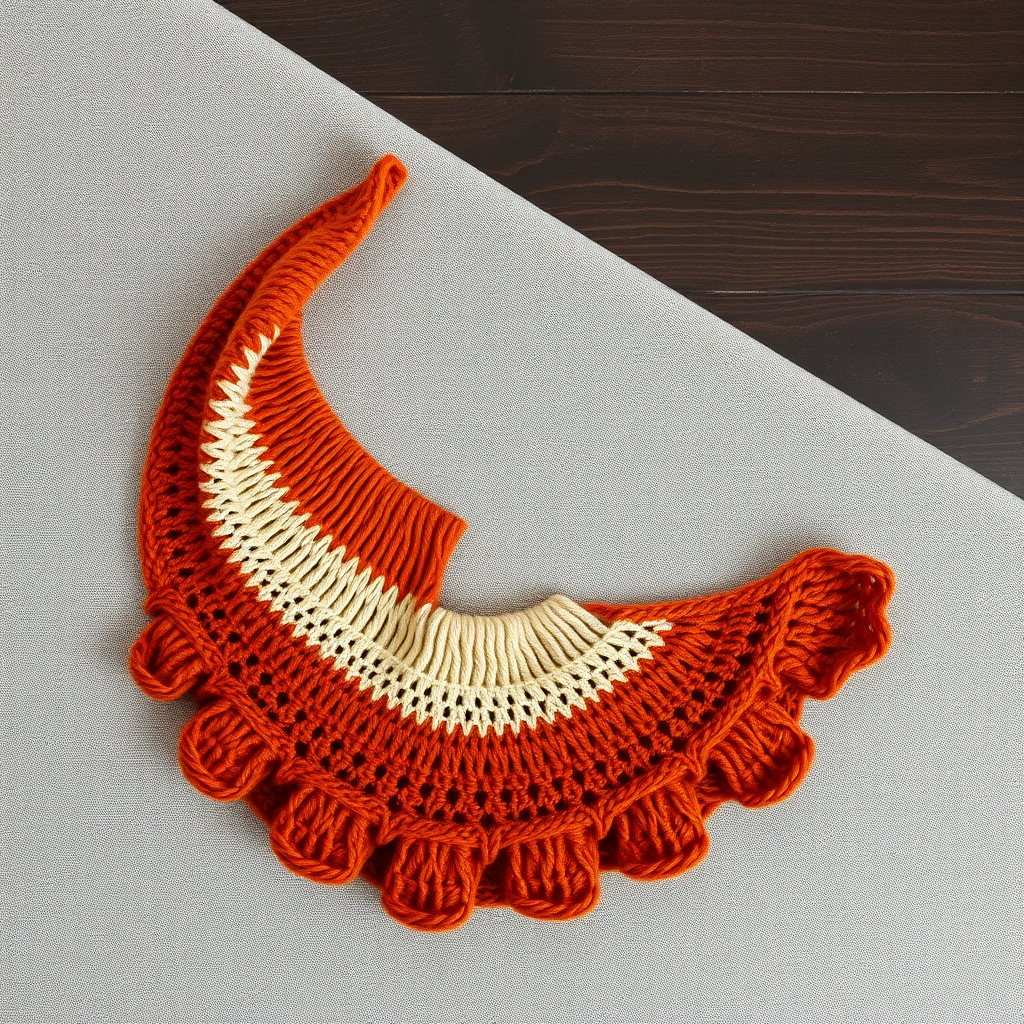
Frostfire Fern Shawl Free Pattern – Knitted Lace Wrap with Cable Accents

Frostfire Fern Shawl Free Pattern – Knitted Lace Wrap with Cable Accents
Wrap yourself in the quiet beauty of a winter forest with this heirloom-quality shawl, where delicate fern lace meets sturdy cables. The deep teal and silver-grey palette evokes frost-kissed branches, making it a stunning statement piece for cold-weather layers. This pattern is designed for adventurous beginners who want to expand their skills—you'll master yarn overs, decreases, and a simple 3-stitch cable while creating a luxurious, textured wrap that will be treasured for years.
This top-down triangular shawl features a central cable spine flanked by lace panels that mimic fern fronds. The worsted weight yarn gives it a cozy, substantial drape, while the alternating color stripes add visual interest. Whether you're a seasoned knitter or a confident beginner ready for a challenge, this pattern offers clear instructions and a stunning result.
Materials Needed
Before you begin, gather the following supplies:
- Yarn: Worsted weight yarn in two colors:
- Color A (deep teal): 600 yards (suggested: Malabrigo Rios in 'Ceto')
- Color B (silver-grey): 400 yards (suggested: Malabrigo Rios in 'Plomo')
- Needles: US 7 (4.5 mm) circular knitting needle, 32 inches or longer (to accommodate the growing number of stitches)
- Notions: Stitch markers (at least 4), cable needle, tapestry needle for weaving in ends
- Gauge: 18 stitches and 24 rows = 4 inches in stockinette stitch (blocked). Gauge is important for achieving the correct size and drape—always check before starting.
Step-by-Step Instructions
This shawl is worked from the top down in a triangular shape, with a central spine of cables and lace panels on each side. The pattern uses a combination of knit, purl, yarn over, and cable stitches. Read all instructions carefully before beginning.
Abbreviations
- k = knit
- p = purl
- yo = yarn over
- k2tog = knit two together (right-leaning decrease)
- ssk = slip, slip, knit (left-leaning decrease)
- C4F = slip 2 stitches to cable needle, hold in front, knit next 2 stitches, then knit 2 from cable needle
- C4B = slip 2 stitches to cable needle, hold in back, knit next 2 stitches, then knit 2 from cable needle
- pm = place marker
- sm = slip marker
Setup
With Color A, cast on 3 stitches using the long-tail method.
Row 1 (RS): k1, yo, k1, yo, k1 (5 stitches)
Row 2 (WS): k2, p1, k2
Row 3 (RS): k2, yo, k1, yo, k2 (7 stitches)
Row 4 (WS): k2, p3, k2
Row 5 (RS): k2, yo, k1, yo, k1, yo, k1, yo, k2 (11 stitches)
Row 6 (WS): k2, p7, k2
You now have 11 stitches on your needle. This forms the foundation for the shawl's triangular shape.
Body
Now establish the pattern. Place markers as follows: k2 (edge), pm, work right lace panel over 3 stitches, pm, work center cable panel over 3 stitches, pm, work left lace panel over 3 stitches, pm, k2 (edge). The edge stitches are always knit on both sides (garter edge).
Right Lace Panel (worked on RS): yo, ssk, k1
Left Lace Panel (worked on RS): k1, k2tog, yo
Center Cable Panel (worked on RS): This is a 3-stitch cable. Work as follows: slip 1 stitch to cable needle, hold in front, k2, then k1 from cable needle. On WS, purl these 3 stitches.
Increase Row (RS): k2, sm, yo, work right lace panel, sm, work center cable, sm, work left lace panel, yo, sm, k2. (This adds 2 stitches each RS row, one at each edge of the lace panels.)
Even Row (WS): k2, sm, purl all stitches to last 2, sm, k2.
Repeat these two rows, alternating colors every 10 rows (5 repeats of the increase row). When you switch colors, simply start the new color at the beginning of a RS row, leaving a tail to weave in later.
Pro Tip: The yarn overs on either side of the lace panels create the increases that form the triangular shape. The garter edge stitches (first and last 2 stitches) are always knit, creating a neat, non-curling border.
Continue until the shawl measures approximately 28 inches from the cast-on edge, or until you have used most of your yarn, ending with a WS row.
Edging
Switch to Color B (if not already) and work the following edging across the bottom edge:
Row 1 (RS): k2, *yo, k2tog, repeat from * to last 2 stitches, k2.
Row 2 (WS): knit all stitches.
Row 3 (RS): knit all stitches.
Bind off loosely in knit. This simple eyelet border adds a delicate finishing touch that echoes the lace panels above.
Finishing
Weave in all ends using your tapestry needle. Block the shawl gently by soaking in lukewarm water with a drop of wool wash, then pin out to shape, stretching the lace points. Allow to dry completely.
Blocking is essential for this pattern—it opens up the lace, defines the cables, and gives the shawl its beautiful drape. Don't skip this step!
Tips for Success
- Count your stitches after each increase row to ensure you haven't missed a yarn over or decrease.
- Use a lifeline every 10-20 rows by threading a contrasting piece of waste yarn through the stitches on your needle. If you make a mistake, you can easily rip back to the lifeline without losing your work.
- Keep your tension even when working the cables—don't pull too tightly or the cable will pucker.
- Mark your color changes with a removable stitch marker or a note in your pattern so you know exactly where you are.
This Frostfire Fern Shawl is a rewarding project that combines classic techniques with a modern, forest-inspired aesthetic. The finished piece is perfect for draping over your shoulders on chilly evenings or gifting to someone special. The combination of cables and lace creates a fabric that is both warm and breathable, making it a versatile addition to any winter wardrobe.
Happy knitting, and may your stitches always be even and your yarn never tangle!