Meadow Dusk Slouchy Beret Free Pattern – Knit a Cloud-Soft Textured Crown

Knit the Meadow Dusk Slouchy Beret: A Cloud-Soft Textured Crown
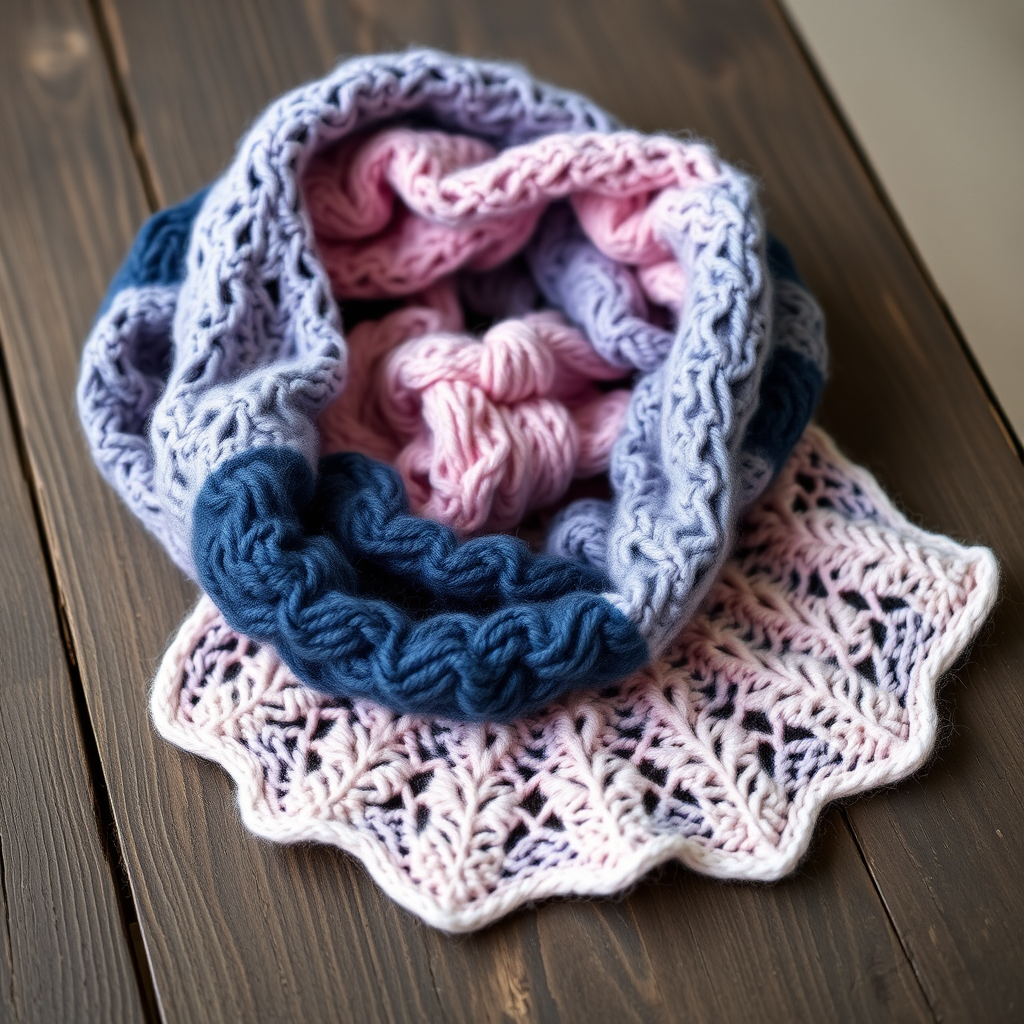
There are some knitting projects that feel like a warm embrace from the very first stitch. The Meadow Dusk Slouchy Beret is exactly that—a modern, romantic silhouette that wraps your head in gentle luxury. With a deep, ribbed band that flares into a billowing crown of honeycomb and seed stitch, this beret is the perfect accessory for chilly autumn days or crisp winter walks. The textured, waffle-like surface is not only visually stunning but also creates a fabric that is soft, slightly stretchy, and drapes elegantly. Whether you choose a dusty rose or a sage green merino-wool blend, this hand-knitted beret will become your new favorite cozy companion.
This pattern is designed with the beginner in mind, offering clear, step-by-step instructions that will guide you through every round. By the time you weave in your last end, you'll have a beautifully crafted, slouchy beret that looks like it came straight from a boutique. Let's get started!
Materials Needed
Before you begin, gather the following materials. Having everything ready will make your knitting experience smooth and enjoyable.
- Yarn: Worsted weight yarn (approx 220 yards), such as a soft merino-wool blend in a dusty rose or sage green. The yarn weight is crucial for achieving the correct drape and texture.
- Needles: US 7 (4.5 mm) 16-inch circular needle and US 7 double-pointed needles (or size needed to obtain gauge). The circular needle is for the main body, and the double-pointed needles are for the crown decreases.
- Other: Stitch marker, tapestry needle for weaving in ends, and scissors.
Gauge: 18 stitches and 24 rows = 4 inches in honeycomb stitch pattern (blocked). Always knit a gauge swatch to ensure your finished beret fits perfectly. If your gauge is off, adjust your needle size accordingly.
Step-by-Step Instructions
This pattern is worked in the round from the bottom up. Follow each step carefully, and you'll be amazed at how quickly your beret takes shape.
Finished Size & Abbreviations
Finished Size: Fits average adult head (21-23 inches), with a slouchy drape.
Abbreviations:
- CO: cast on
- K: knit
- P: purl
- K2tog: knit two together
- P2tog: purl two together
- St(s): stitch(es)
- Rep: repeat
- Rnd(s): round(s)
- PM: place marker
- SM: slip marker
Special Stitches
Honeycomb Stitch (worked in the round, multiple of 4):
- Rnd 1: *K2, P2; rep from * to end.
- Rnd 2: *K2, P2; rep from * to end.
- Rnd 3: *P2, K2; rep from * to end.
- Rnd 4: *P2, K2; rep from * to end.
- Repeat Rnds 1-4 for pattern.
Ribbed Band
This deep, stretchy band will hug your head comfortably and provide the perfect foundation for the slouchy crown.
- Cast On: CO 96 sts. Place marker and join in the round, being careful not to twist your stitches. The marker indicates the beginning of the round.
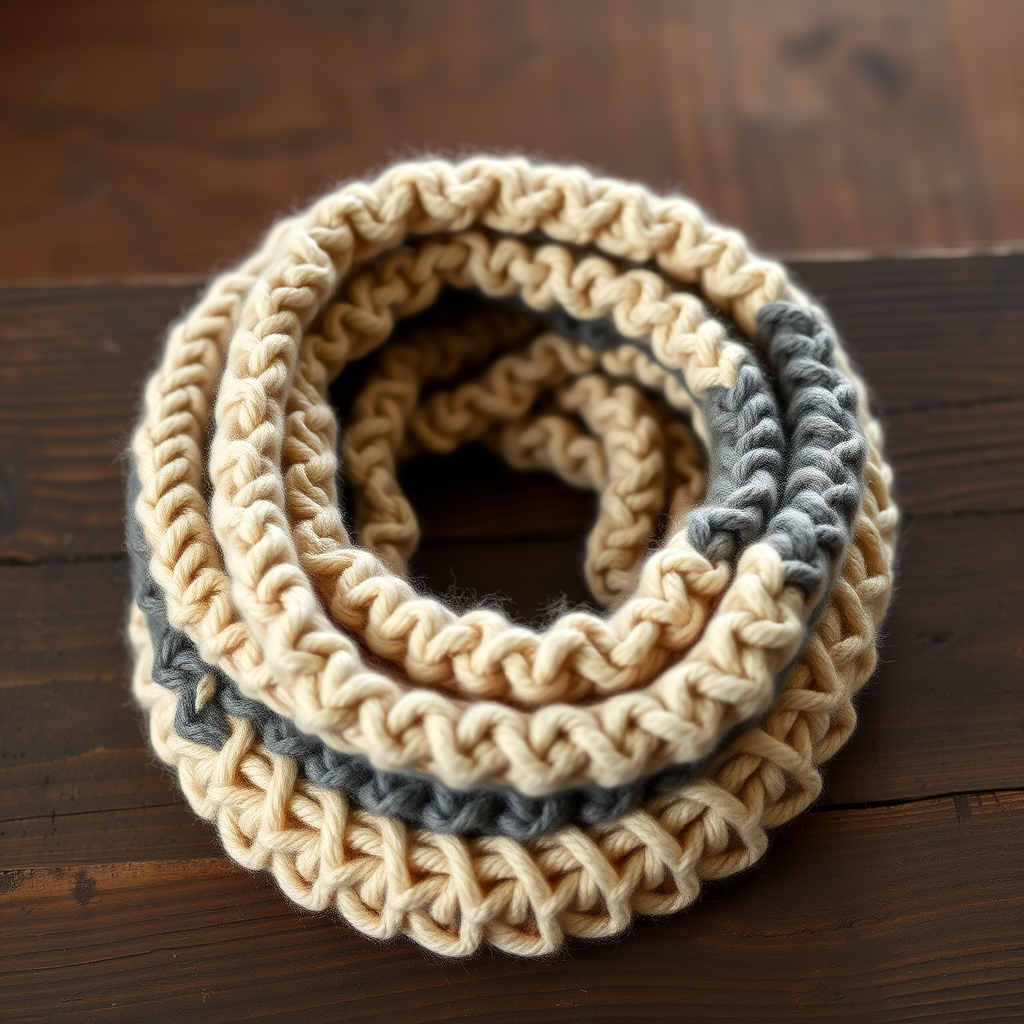
- Ribbing: Work K2, P2 ribbing for 2 inches (about 12 rnds). This creates a snug, elastic band that will keep your beret in place.
Crown Expansion
Now we'll increase stitches to create the voluminous, billowing crown that gives this beret its signature slouch.
- Increase Round: *K2, P2, M1 (pick up bar between sts and knit through back loop), K2, P2; rep from * to end. (120 sts). The M1 increase adds a stitch without leaving a hole, expanding the fabric smoothly.
- Honeycomb Pattern: Work even in Honeycomb Stitch pattern for 4 inches (about 24 rnds), starting with Rnd 1 of the pattern. This will create the beautiful, textured waffle-like surface of the crown.
Crown Shaping
This is where the magic happens. We'll gradually decrease stitches to shape the top of the beret, creating a rounded, elegant crown. Follow each round carefully, and don't be afraid to count your stitches after each decrease round.
- Rnd 1 (decrease): *K2tog, P2, K2, P2; rep from * to end. (108 sts)
- Rnd 2: *K1, P2, K2, P2; rep from * to end.
- Rnd 3: *K1, P2tog, K2, P2; rep from * to end. (96 sts)
- Rnd 4: *K1, P1, K2, P2; rep from * to end.
- Rnd 5: *K1, P1, K2tog, P2; rep from * to end. (84 sts)
- Rnd 6: *K1, P1, K1, P2; rep from * to end.
- Rnd 7: *K1, P1, K1, P2tog; rep from * to end. (72 sts)
- Rnd 8: *K1, P1, K1, P1; rep from * to end.
- Rnd 9: *K2tog, P1, K1, P1; rep from * to end. (60 sts)
- Rnd 10: *K1, P1, K1, P1; rep from * to end.
- Rnd 11: *K1, P1, K2tog; rep from * to end. (48 sts)
- Rnd 12: *K1, P1, K1; rep from * to end.
- Rnd 13: *K2tog, P1; rep from * to end. (32 sts)
- Rnd 14: *K1, P1; rep from * to end.
- Rnd 15: *K2tog; rep from * to end. (16 sts)
- Rnd 16: *K2tog; rep from * to end. (8 sts)
At this point, you should have 8 stitches remaining on your needles. Cut the yarn, leaving a 12-inch tail. Thread the tail through a tapestry needle, then slide it through the remaining 8 stitches. Pull tight to close the top of the beret, and secure the yarn on the inside of the hat.
Finishing
The final steps are what transform your knitting into a polished, professional-looking beret.
- Weave in Ends: Use your tapestry needle to weave in all loose ends on the inside of the hat. This ensures your beret is neat and durable.
- Blocking: Block gently by steaming or wet-blocking to open up the honeycomb texture and achieve the slouchy drape. To wet-block, soak the beret in lukewarm water with a drop of mild soap, gently squeeze out excess water (do not wring), and lay flat to dry, shaping it to your desired dimensions. Steaming is faster: hold a steam iron just above the hat and let the steam penetrate the fibers, then shape and let dry.
And there you have it—your very own Meadow Dusk Slouchy Beret! This cloud-soft, textured crown is perfect for adding a touch of handmade romance to any outfit. Whether you're treating yourself or gifting it to a loved one, this beret is sure to be cherished. Happy knitting!