The Ember & Ash Wrapped Cowl: A Free Knitting Pattern for a Textured, Two-Tone Infinity Scarf
Wrap Yourself in Warmth: The Ember & Ash Wrapped Cowl
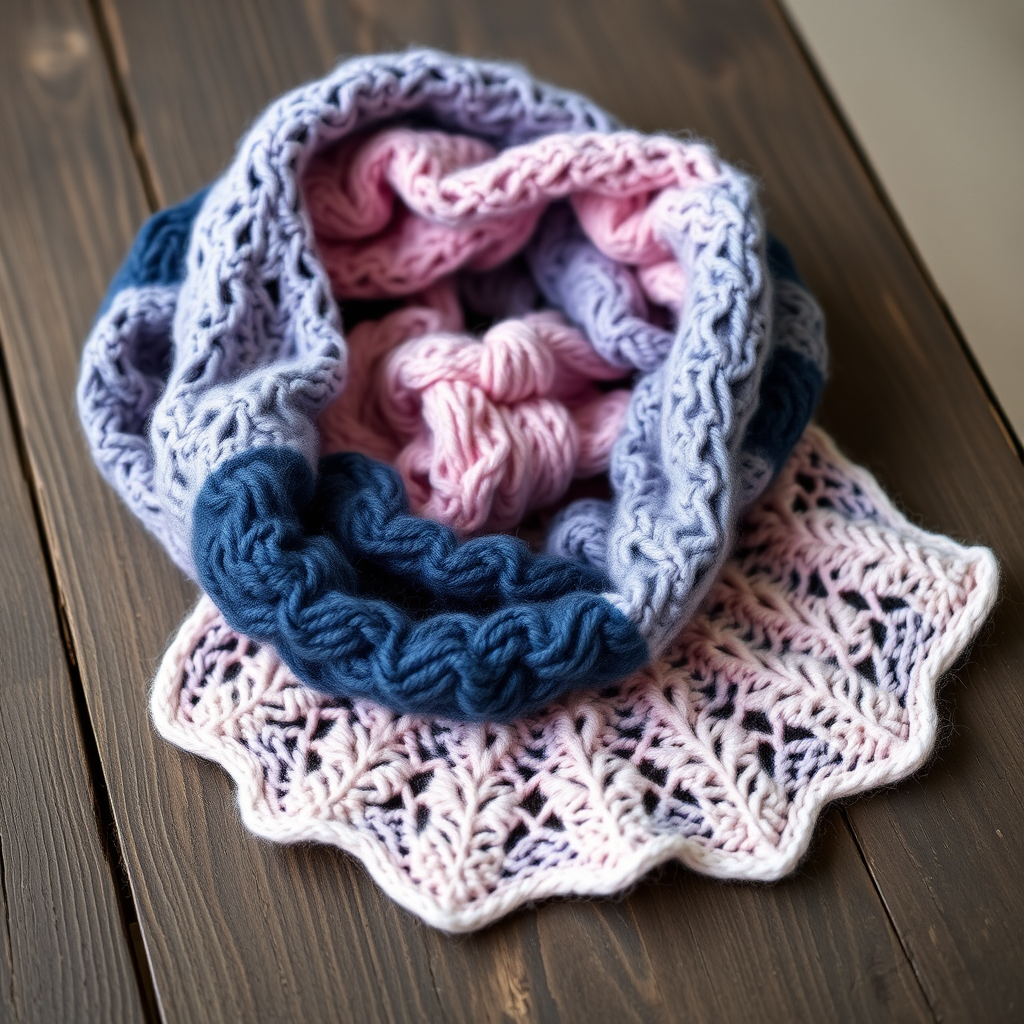
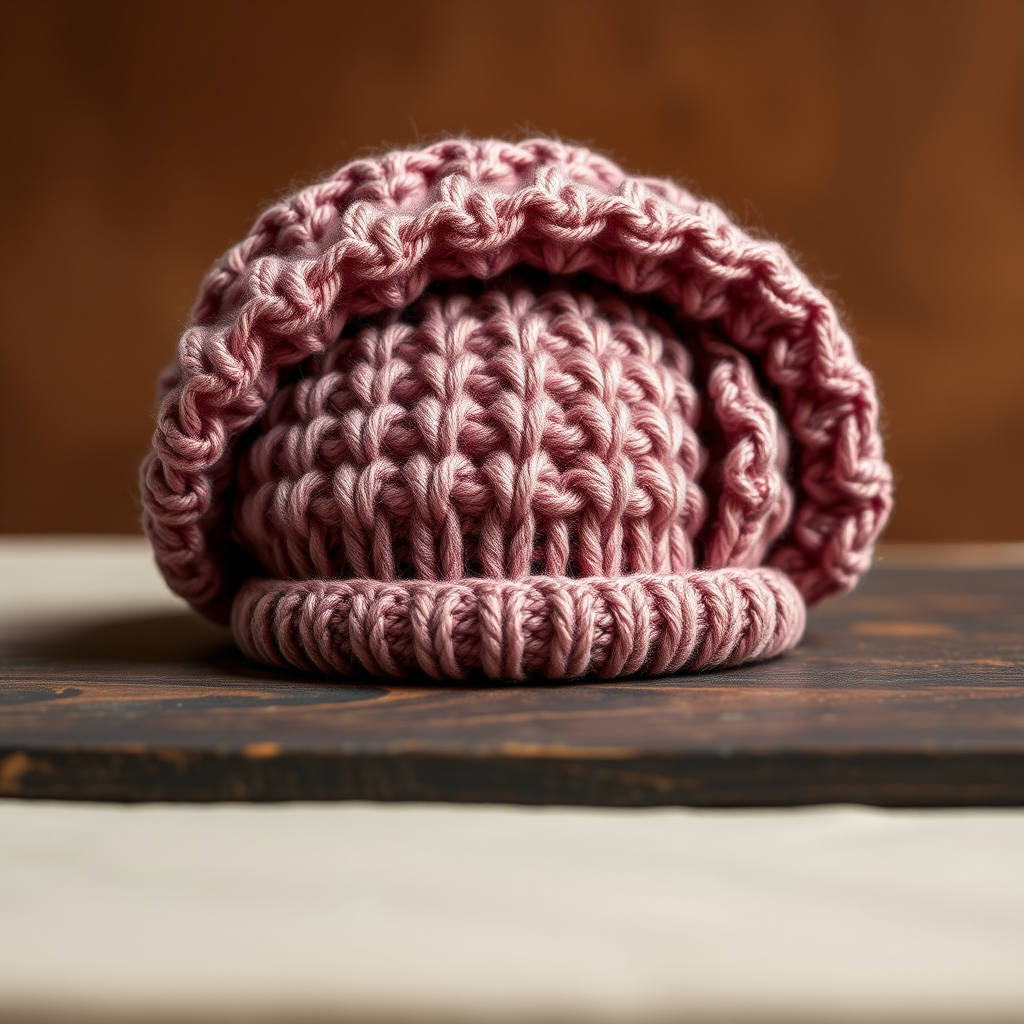
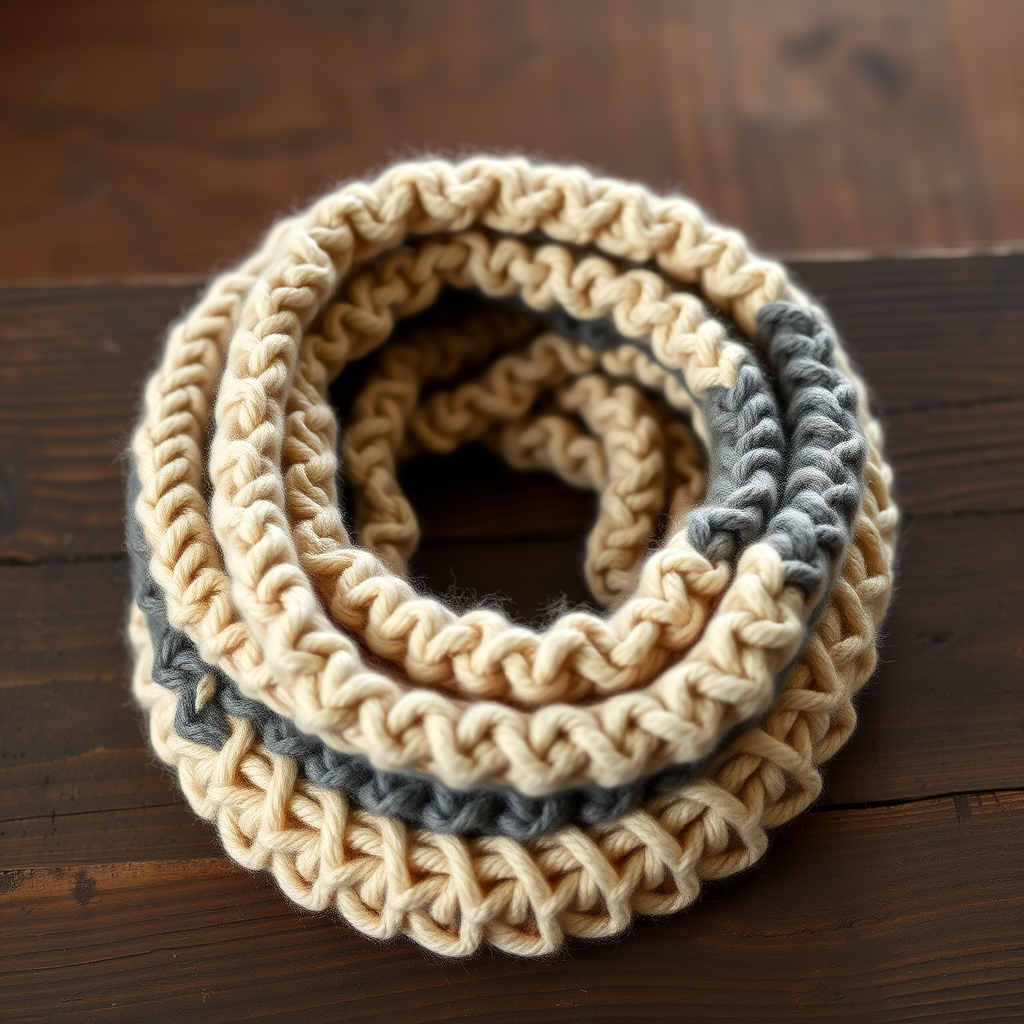
There’s something magical about a project that looks far more complex than it actually is. The Ember & Ash Wrapped Cowl is exactly that—a stunning, two-tone infinity scarf that uses a clever slipped-stitch technique to create a woven, textured fabric that feels both modern and heirloom-quality. Whether you’re curling up by the fire or heading out for a crisp autumn walk, this cowl will become your new favorite accessory. Designed for intermediate knitters, this free pattern works up quickly on circular needles and is the perfect way to use up two contrasting worsted-weight yarns. Let’s dive in and create something beautiful together.
Materials Needed
Before you begin, gather the following supplies. Using the exact materials listed will help you achieve the gauge and look shown in the sample, but feel free to substitute with similar worsted-weight yarns.
- Yarn: Worsted weight yarn in two contrasting colors. You will need approximately 150 yards of Color A and 150 yards of Color B. The sample uses Lion Brand Wool-Ease in ‘Oatmeal’ (Color A) and ‘Fisherman’ (Color B).
- Needle: US Size 8 (5 mm) circular knitting needle, 16-inch (40 cm) length. A circular needle is essential for working in the round.
- Notions: Stitch marker, tapestry needle for weaving in ends, blocking pins (optional).
Gauge & Finished Dimensions
- Gauge: 18 stitches and 24 rows = 4 inches (10 cm) in stockinette stitch, after blocking. Achieving the correct gauge is important for the final size and fit.
- Finished Dimensions: Approximately 9 inches (23 cm) wide and 50 inches (127 cm) circumference, after blocking. This creates a cozy, wrap-around cowl that can be worn doubled or single.
Step-by-Step Instructions
Follow these detailed instructions carefully. The pattern is worked in the round, so you will be knitting continuously without turning your work. The slipped stitch pattern creates a dense, warm fabric with a beautiful woven texture. Remember to carry the unused yarn loosely up the inside of the work to avoid puckering.
Abbreviations
- CO: Cast on
- K: Knit
- P: Purl
- Sl: Slip stitch purlwise with yarn in back (wyib)
- Rep: Repeat
- St(s): Stitch(es)
- BO: Bind off
Pattern Notes
- The cowl is worked in the round on a circular needle. Do not turn your work at the end of each round.
- The slipped stitch pattern alternates between two colors every two rounds. When slipping a stitch, always hold the yarn to the back of the work (wyib) as if to knit, but insert the needle purlwise. This creates the woven effect.
- Carry the unused yarn loosely up the inside of the work. Do not cut the yarn between color changes; simply drop the old color and pick up the new one at the start of each round.
Instructions
Round 1 (Setup): With Color A, CO 200 sts. Place marker and join in the round, being careful not to twist. Knit 1 round.
Round 2: With Color A, *K1, Sl1 wyib; rep from * around.
Round 3: With Color B, *Sl1 wyib, K1; rep from * around.
Round 4: With Color B, *K1, Sl1 wyib; rep from * around.
Round 5: With Color A, *Sl1 wyib, K1; rep from * around.
Round 6: With Color A, *K1, Sl1 wyib; rep from * around.
Round 7: With Color B, *Sl1 wyib, K1; rep from * around.
Round 8: With Color B, *K1, Sl1 wyib; rep from * around.
Repeat Rounds 1-8 until the cowl measures approximately 9 inches (23 cm) from the cast-on edge, ending after a Round 8 (with Color B). This will ensure the pattern is symmetrical and the final round is worked with Color B.
Finishing
With Color B, BO all stitches loosely in pattern. To do this, knit the knit stitches and slip the slip stitches as you bind off. For example: K1, Sl1 wyib, then pass the first stitch over the second. Continue in this manner across the round. This keeps the edge stretchy and matches the texture of the cowl. Weave in all ends using a tapestry needle. Block gently by soaking in cool water, gently squeezing out excess water (do not wring), and laying flat to dry. You can pin the edges to open up the stitch pattern slightly. Once dry, your Ember & Ash Wrapped Cowl is ready to wear and enjoy!