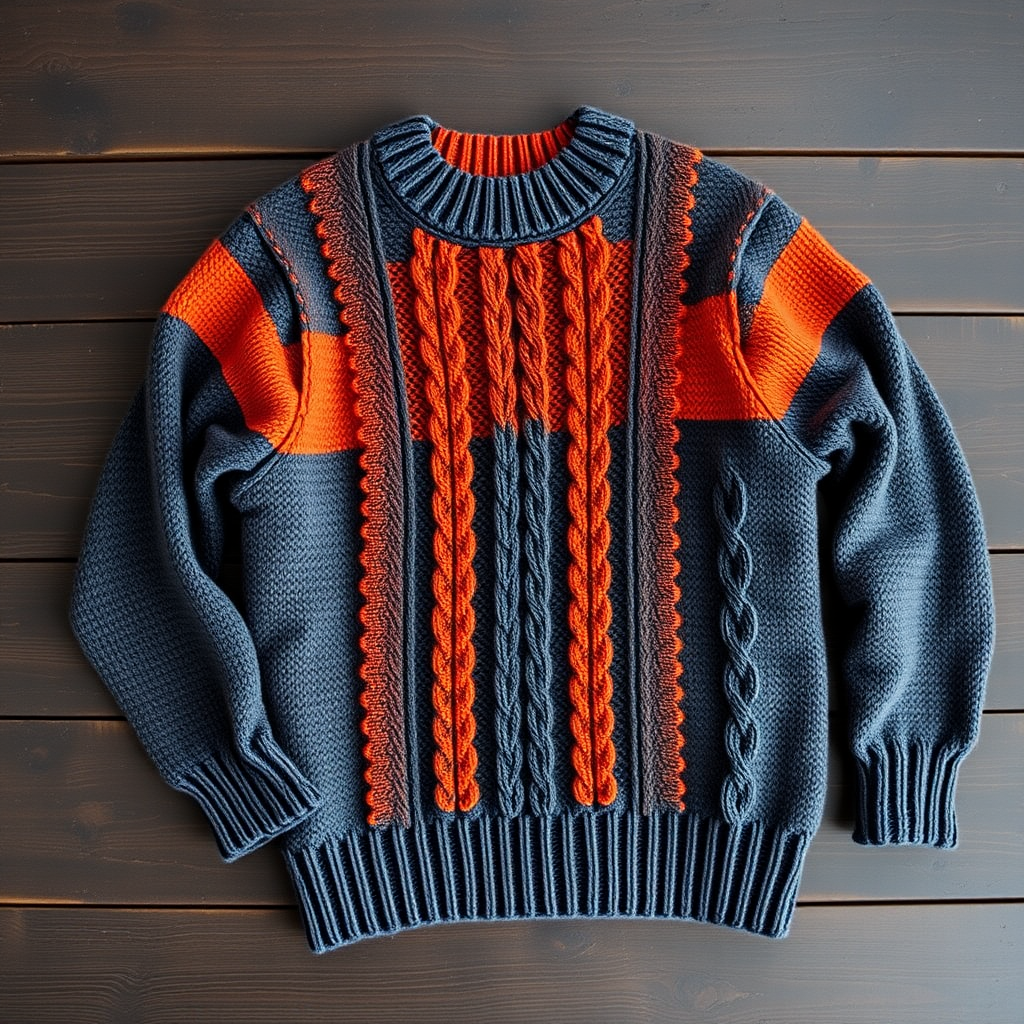
The Alpine Ascent Quarter Zip Free Pattern – A Textured Mountain Knit

The Alpine Ascent Quarter Zip Free Pattern – A Textured Mountain Knit
There's something deeply satisfying about knitting a sweater that feels as rugged and adventurous as the landscapes that inspire it. The Alpine Ascent Quarter Zip is exactly that kind of project—a handsome, textured pullover designed for men who appreciate both style and substance. Knit in a heathered worsted wool, this sweater features a subtle broken rib pattern that creates a dimensional, woven surface reminiscent of rocky mountain trails. Whether you're planning a weekend camping trip or simply want a cozy layer for crisp autumn evenings, this pattern delivers both warmth and timeless appeal.
The quarter-zip design adds a modern, sporty touch while the tall folded collar provides extra coziness against the chill. With a classic masculine silhouette, slightly dropped shoulders, and a straight hem, this sweater is as versatile as it is beautiful. Best of all, this free pattern is written for beginner-to-intermediate knitters, with clear instructions that break down every step. Let's get started on your new favorite handmade garment.
Materials Needed
Before you cast on, gather the following supplies. Having everything ready will make your knitting experience smooth and enjoyable.
Yarn
- Worsted weight wool or wool blend (e.g., Cascade 220, 220 yards per 100g)
- Approximate yardage: 1200 (1350, 1500, 1650, 1800) yards for sizes S (M, L, XL, XXL)
Needles & Notions
- US 7 (4.5 mm) 16-inch circular needle for collar and cuffs
- US 8 (5.0 mm) 24-inch or longer circular needle for body and sleeves
- Stitch markers
- Cable needle (optional, for pattern ease)
- Tapestry needle for weaving in ends
- 9-inch separating zipper (matte black or matching your yarn)
Gauge
- 18 stitches and 26 rows = 4 inches in textured pattern stitch on US 8 needles, after blocking
Tip: Always knit a gauge swatch before starting. Block it the same way you'll block the finished sweater to ensure accurate measurements.
Step-by-Step Instructions
This pattern is written for sizes S (M, L, XL, XXL) with a finished chest measurement of 38 (42, 46, 50, 54) inches. Follow the numbers in parentheses for your size throughout.
Stitch Pattern (Multiple of 4 + 2)
This broken rib creates the beautiful textured surface of the sweater. It's simple to memorize and works up quickly.
- Row 1 (RS): *K2, P2; repeat from * to last 2 sts, K2.
- Row 2 (WS): *P2, K2; repeat from * to last 2 sts, P2.
- Row 3: *P2, K2; repeat from * to last 2 sts, P2.
- Row 4: *K2, P2; repeat from * to last 2 sts, K2.
Repeat Rows 1-4 for the pattern.
Back
- With smaller needle (US 7), cast on 86 (94, 102, 110, 118) sts.
- Work in K2, P2 ribbing for 2.5 inches, ending with a WS row.
- Switch to larger needle (US 8) and begin pattern stitch.
- Work even until piece measures 15 (15.5, 16, 16.5, 17) inches from cast-on, ending with a WS row.
Armhole Shaping
- Bind off 5 (6, 7, 8, 9) sts at beginning of next 2 rows.
- Decrease 1 st each side every RS row 4 (5, 6, 7, 8) times – 68 (72, 76, 80, 84) sts remain.
- Work even until armhole measures 8 (8.5, 9, 9.5, 10) inches, ending with a WS row.
Shoulder Shaping
- Bind off 6 (7, 7, 8, 8) sts at beginning of next 4 rows.
- Then bind off 7 (7, 8, 8, 9) sts at beginning of next 2 rows.
- Place remaining 28 (30, 32, 34, 36) sts on a holder for back neck.
Front
- Work same as back until armhole shaping is complete – 68 (72, 76, 80, 84) sts.
- Work even for 2 (2.5, 3, 3.5, 4) inches, ending with a WS row.
Divide for Zipper Placket
- Next row (RS): Work 34 (36, 38, 40, 42) sts in pattern, place remaining 34 (36, 38, 40, 42) sts on a holder.
- Work left front only. Work even until armhole measures 6 (6.5, 7, 7.5, 8) inches, ending with a WS row.
Neck Shaping
- At neck edge (end of RS rows), bind off 5 (6, 7, 8, 9) sts once.
- Then decrease 1 st every RS row 4 times – 25 (26, 27, 28, 29) sts remain.
- Work even until armhole measures same as back. Shape shoulder as for back.
Right Front: Return to holder sts, join yarn at neck edge (WS), and work right front to match, reversing shaping (neck decreases at beginning of RS rows).
Sleeves (Make 2)
- With smaller needle, cast on 42 (42, 46, 46, 50) sts.
- Work K2, P2 ribbing for 2.5 inches.
- Switch to larger needle and pattern stitch.
- Increase 1 st each side every 6th row 12 (14, 14, 16, 16) times – 66 (70, 74, 78, 82) sts.
- Work even until sleeve measures 18 (18.5, 19, 19.5, 20) inches from cast-on, ending with a WS row.
Cap Shaping
- Bind off 5 (6, 7, 8, 9) sts at beginning of next 2 rows.
- Decrease 1 st each side every RS row 12 (13, 14, 15, 16) times.
- Then decrease every row 4 (4, 5, 5, 6) times.
- Bind off remaining 24 (24, 24, 26, 26) sts.
Finishing
- Block all pieces to the measurements indicated. This is crucial for the textured pattern to open up and lay flat.
- Sew shoulder seams using mattress stitch or your preferred seaming method.
- Set in sleeves, then sew side and sleeve seams.
Collar
- With smaller needle, pick up and knit 80 (84, 88, 92, 96) sts around neck edge, including back holder sts.
- Work K2, P2 ribbing for 3 inches.
- Bind off loosely in rib.
Zipper Insertion
- Pin zipper to placket edges, folding collar over zipper top.
- Sew zipper in place using matching thread and a whipstitch through the knit fabric. Take your time here—a neat zipper makes the sweater look professional.
- Fold collar in half to inside and sew down securely.
Weave in all ends with your tapestry needle. Give your finished sweater a final gentle block if needed, and it's ready to wear!
Final Thoughts
The Alpine Ascent Quarter Zip is more than just a sweater—it's a statement piece that combines comfort, durability, and handcrafted charm. The textured broken rib pattern is engaging to knit without being complicated, making it an excellent weekend project for knitters looking to expand their skills. Whether you're gifting it to an outdoor enthusiast or keeping it for yourself, this sweater will become a beloved staple in any wardrobe. Happy knitting!