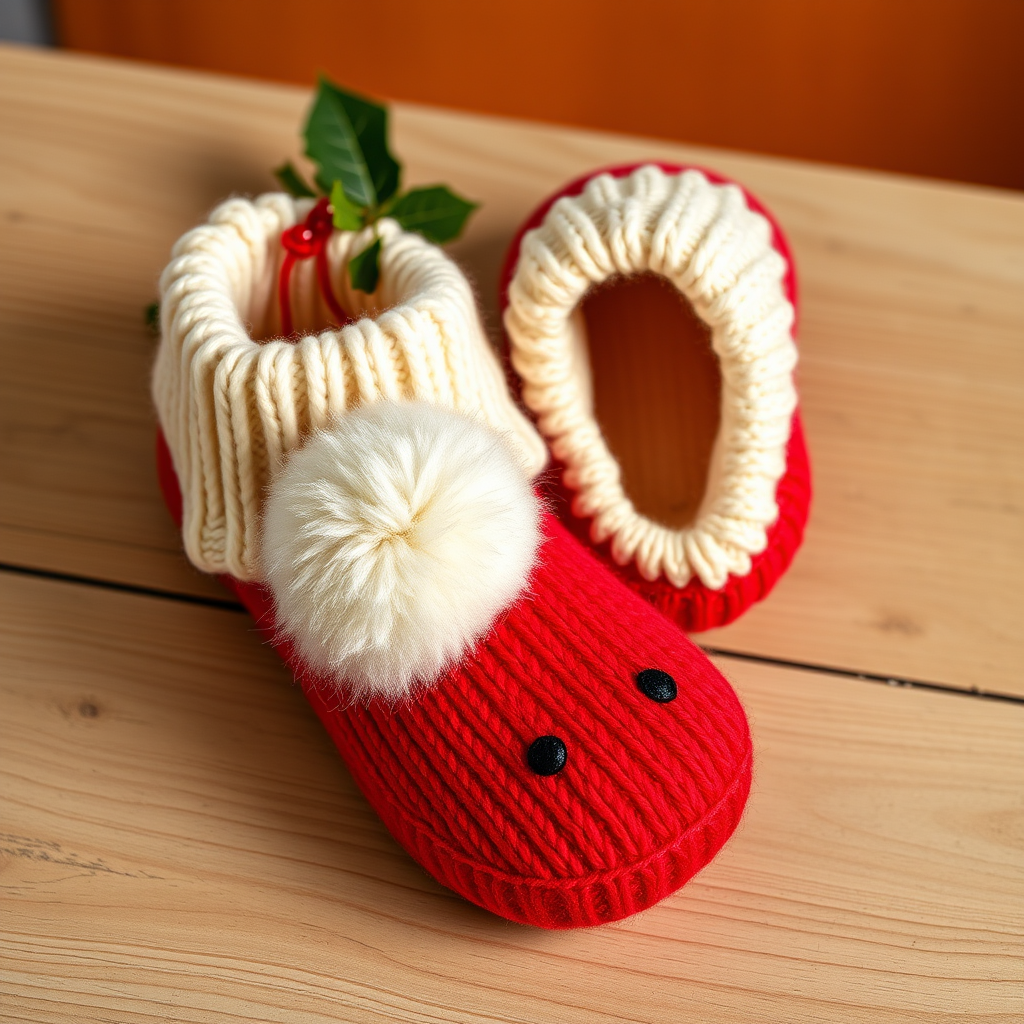
The Alpine Lodge Felted Slipper Boots Free Pattern – Cozy Knit with Nordic Star Motif

The Alpine Lodge Felted Slipper Boots: A Cozy Knit with Nordic Star Motif
Imagine wrapping your feet in the warmth of a mountain cabin after a long day in the snow. That's the magic of these Alpine Lodge Felted Slipper Boots. This free knitting pattern creates chunky, felted slipper boots featuring an intricate Nordic star motif that looks far more complex than it actually is. Knitted flat and then felted in the washing machine, these boots mold perfectly to your feet for a custom, cloud-like fit. Whether you're a seasoned knitter looking for a satisfying weekend project or a confident beginner ready for a fun challenge, these felted slippers are the perfect winter craft. Let's get started!
Materials Needed
Before you begin, gather the following materials. Using the specified yarn is crucial for successful felting—it must be 100% wool (not superwash) to shrink and mat properly.
Yarn
- Worsted weight 100% wool (e.g., Cascade 220) in three colors:
- Main Color (MC) – Cream: Approximately 300g (about 6 skeins)
- Contrast Color 1 (CC1) – Rust Red: Approximately 100g (about 2 skeins)
- Contrast Color 2 (CC2) – Deep Teal: Approximately 50g (about 1 skein)
Needles & Notions
- US 10.5 (6.5 mm) knitting needles – straight or circular for magic loop
- Tapestry needle for weaving ends and seaming
- Stitch markers
- Pillowcase and rubber band (for felting)
Gauge
- Before felting: 14 stitches and 20 rows = 4 inches in stockinette stitch
- After felting: 16 stitches and 24 rows = 4 inches (gauge will tighten significantly)
Step-by-Step Instructions
Sizes & Abbreviations
Sizes: Women's US 6-8 (9-11). To adjust size, add or subtract stitches in multiples of 4.
Abbreviations:
- K = knit
- P = purl
- K2tog = knit two together (decrease)
- SSK = slip slip knit (decrease)
- PM = place marker
- SM = slip marker
- MC = main color (Cream)
- CC1 = contrast color 1 (Rust Red)
- CC2 = contrast color 2 (Deep Teal)
- M1 = make one (increase)
- W&T = wrap and turn (short-row technique)
Pattern Notes: The boots are worked flat from the toe to the cuff, then seamed. After knitting, they are felted in the washing machine for a dense, waterproof finish. Don't worry if they look huge before felting—that's exactly what we want!
TOE (Worked Flat, Starting at Toe)
With MC (Cream), cast on 8 stitches.
- Row 1 (RS): K1, M1, K to last stitch, M1, K1. (10 stitches)
- Row 2 (WS): Purl all stitches.
Repeat Rows 1-2 until you have 24 (28) stitches. Work even in stockinette stitch (knit on RS, purl on WS) until the piece measures 4 (5) inches from the cast-on edge. This is your toe section.
FOOT (Increase for Instep)
- Next Row (RS): K1, M1, K to last stitch, M1, K1. (26/30 stitches)
Work even in stockinette stitch for 3 inches. Repeat the increase row once more. (28/32 stitches)
Continue working even until the foot measures 8 (9) inches from the toe cast-on, ending with a wrong-side row.
HEEL (Short-Row Shaping)
This technique creates a rounded heel without any bulky seams. Follow carefully:
- Row 1 (RS): K to last 8 stitches, wrap next stitch (W&T), turn work.
- Row 2 (WS): P to last 8 stitches, wrap next stitch, turn.
- Row 3: K to 4 stitches before the last wrapped stitch, wrap next stitch, turn.
- Row 4: P to 4 stitches before the last wrapped stitch, wrap next stitch, turn.
Continue this pattern (working 4 fewer stitches each row) until you have 8 (10) wrapped stitches on each side, ending with a wrong-side row.
- Next Row (RS): K across all stitches, picking up wraps and knitting them together with the wrapped stitch to close any holes. (28/32 stitches)
LEG (Worked in the Round)
Now we transition to working in the round to create the ankle and leg of the boot.
- Place stitches on double-pointed needles or use the magic loop method. Place a marker at the center of the heel.
- Pick up and knit 4 (6) stitches along each side of the heel, then knit across the toe stitches. You should have 36 (44) stitches total. Join in the round.
- Round 1: Knit all stitches.
- Round 2: *K2tog, K to 2 stitches before marker, SSK* – repeat for both sides (this decreases 4 stitches total). (32/40 stitches)
- Knit 2 rounds even.
- Repeat the decrease round once more. (28/36 stitches)
- Knit even until the leg measures 4 inches from the pick-up round.
NORDIC STAR MOTIF (Stranded Colorwork)
Now for the fun part! Switch to CC1 (Rust Red) and CC2 (Deep Teal). Work the following chart in the round, repeating the pattern across all stitches. Remember to carry the unused yarn loosely behind your work.
- Rounds 1-2: *K1 CC1, K1 CC2* repeat around.
- Round 3: *K2 CC1, K1 CC2* repeat around.
- Round 4: *K1 CC1, K2 CC2* repeat around.
- Rounds 5-6: *K2 CC2, K1 CC1* repeat around.
- Round 7: *K1 CC2, K2 CC1* repeat around.
- Round 8: *K2 CC1, K1 CC2* repeat around.
- Rounds 9-10: *K1 CC1, K1 CC2* repeat around.
Cut CC2 (Deep Teal). Continue with CC1 (Rust Red) only.
CUFF
Knit 2 inches in K1, P1 ribbing with CC1 (Rust Red). Bind off loosely in pattern. The ribbing will create a snug, stretchy cuff that can be folded down.
FINISHING
- Weave in all ends securely using your tapestry needle.
- Sew the toe seam (from the cast-on edge to the instep) using mattress stitch for an invisible join.
- Fold the cuff down if desired. The boots are now ready for felting!
FELTING INSTRUCTIONS (The Magic Step)
This is where your oversized knitted boots transform into perfectly fitted slippers!
- Place both boots inside a pillowcase and secure the opening with a rubber band. This protects your washing machine from excess wool fibers.
- Machine wash on hot with a small amount of detergent. Add a pair of old jeans to increase agitation—this helps the felting process.
- Check every 5 minutes until the desired size is reached (usually 15-20 minutes). Don't walk away! Felting happens quickly.
- Once felted, rinse in cold water to stop the felting process.
- Shape by hand while damp—smooth out any wrinkles and mold the toe and heel areas.
- Stuff with plastic bags to help them hold their shape while drying. Allow to air dry completely (usually 24-48 hours).
Important: The boots will shrink about 20-30% and become dense and water-resistant. If they shrink too much, you can gently stretch them while damp. If they haven't shrunk enough, run them through another short cycle.
And there you have it—your very own pair of Alpine Lodge Felted Slipper Boots! These cozy, custom-fitted slippers make wonderful handmade gifts or a special treat for yourself. The Nordic star motif adds a touch of Scandinavian charm, while the felting process creates a durable, warm, and truly unique footwear. Happy knitting!