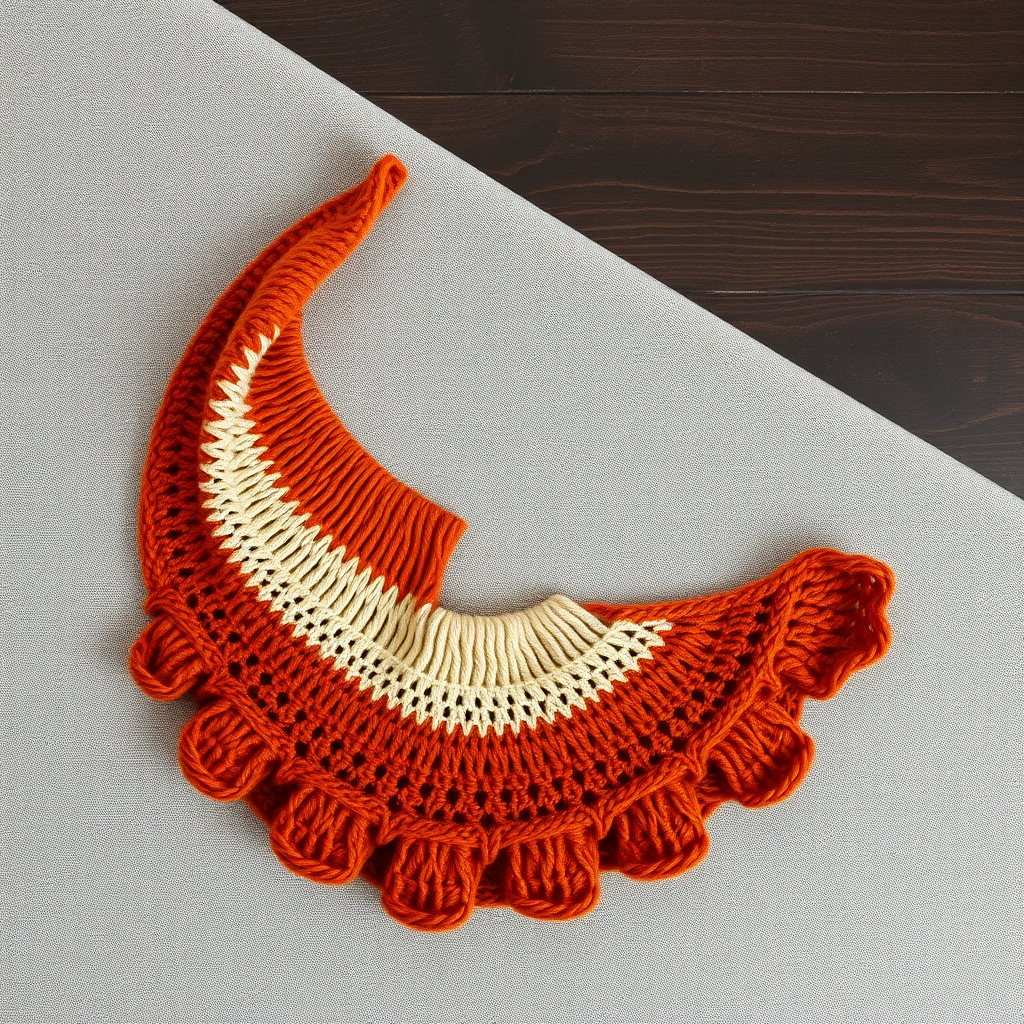
The Ember Glow Mosaic Shawl: A Free Knitting Pattern for a Textured, Color-Blocked Wrap

Wrap Yourself in Autumn: The Ember Glow Mosaic Shawl
There's something magical about the transition from summer to fall—the crisp air, the changing leaves, and the desire to wrap yourself in something warm and beautiful. The Ember Glow Mosaic Shawl captures that essence perfectly. This stunning, textured wrap features a unique color-blocked design that creates a woven, almost tapestry-like fabric through the magic of mosaic knitting. Despite its sophisticated look, this pattern is surprisingly beginner-friendly, using only knit, purl, slip stitch, and simple increases. Whether you're new to colorwork or a seasoned knitter looking for a relaxing project, this shawl will become a cherished accessory for those cozy autumn days and evenings.
Materials Needed
Before you begin, gather the following materials. Using the suggested yarn will help you achieve the rich, autumnal look shown in the photos, but any worsted weight yarn in two contrasting colors will work beautifully.
- Yarn: Worsted weight yarn in two contrasting colors:
- Color A (Main Color): 350 yards. Suggested: Lion Brand Wool-Ease in 'Gold'
- Color B (Contrast Color): 250 yards. Suggested: Lion Brand Wool-Ease in 'Espresso'
- Needles: US Size 8 (5.0 mm) knitting needles, or size needed to obtain gauge. A circular needle (at least 32 inches long) is recommended to hold the increasing number of stitches comfortably.
- Notions: Tapestry needle for weaving in ends, stitch markers (optional, for marking increase points), blocking pins and mats.
- Gauge: 18 stitches and 24 rows = 4 inches in stockinette stitch, after blocking. Gauge is important for achieving the correct size and drape, but a slight difference will only change the final dimensions.
Step-by-Step Instructions
Notes Before You Begin
- Construction: This shawl is worked flat from the top down. Increases are made at both edges (one stitch on each side) on every right-side (RS) row, creating a triangular shape.
- Mosaic Technique: The mosaic pattern is created by working with only one color per row and slipping stitches from the previous row. This creates vertical columns of color without the complexity of stranded colorwork. Always slip stitches purlwise.
- Reading the Pattern: Read all instructions before beginning. The pattern is divided into sections for clarity.
Abbreviations
- CO: Cast on
- K: Knit
- P: Purl
- Sl: Slip stitch purlwise with yarn in back (wyib) on RS rows, or with yarn in front (wyif) on WS rows
- YO: Yarn over
- St(s): Stitch(es)
- Rep: Repeat
- RS: Right side
- WS: Wrong side
Section 1: Foundation (Creating the Center Point)
This section establishes the center spine of the shawl and the initial increases. Work carefully to ensure a neat point.
- With Color A, CO 3 sts.
- Row 1 (WS): K3.
- Row 2 (RS): K1, YO, K1, YO, K1. (5 sts)
- Row 3: K2, P1, K2.
- Row 4: K1, YO, K1, YO, K1, YO, K1, YO, K1. (9 sts)
- Row 5: K2, P5, K2.
- Row 6: K1, YO, K3, YO, K1, YO, K3, YO, K1. (13 sts)
- Row 7: K2, P9, K2.
Section 2: Mosaic Pattern (Establishing the Colorwork)
Now you will begin the mosaic pattern. The slipped stitches will create vertical stripes. Note that the increases continue on every RS row (one YO at each edge).
- Row 8 (RS, Color B): K1, YO, K1, *Sl 1 wyib, K1; rep from * to last 2 sts, K1, YO, K1. (15 sts)
- Row 9 (WS, Color B): K2, P1, *Sl 1 wyif, P1; rep from * to last 2 sts, K2.
- Row 10 (RS, Color A): K1, YO, K2, *Sl 1 wyib, K1; rep from * to last 3 sts, K2, YO, K1. (17 sts)
- Row 11 (WS, Color A): K2, P2, *Sl 1 wyif, P1; rep from * to last 3 sts, P1, K2.
- Row 12 (RS, Color B): K1, YO, K3, *Sl 1 wyib, K1; rep from * to last 4 sts, K3, YO, K1. (19 sts)
- Row 13 (WS, Color B): K2, P3, *Sl 1 wyif, P1; rep from * to last 4 sts, P2, K2.
- Row 14 (RS, Color A): K1, YO, K4, *Sl 1 wyib, K1; rep from * to last 5 sts, K4, YO, K1. (21 sts)
- Row 15 (WS, Color A): K2, P4, *Sl 1 wyif, P1; rep from * to last 5 sts, P3, K2.
Section 3: Repeat Pattern (Building the Body)
Continue working in the established pattern. The mosaic pattern repeats every 2 rows (one row with Color B, one row with Color A). The slipped stitches will form vertical columns. The increases continue on every RS row—always work a YO after the first stitch and before the last stitch.
- Repeat the following 2-row sequence:
- RS Row (Color B): K1, YO, knit to last stitch, working *Sl 1 wyib, K1* across, ending with K1, YO, K1. (Increase 2 sts)
- WS Row (Color B): K2, purl to last 2 sts, working *Sl 1 wyif, P1* across, ending with K2.
- RS Row (Color A): K1, YO, knit to last stitch, working *Sl 1 wyib, K1* across, ending with K1, YO, K1. (Increase 2 sts)
- WS Row (Color A): K2, purl to last 2 sts, working *Sl 1 wyif, P1* across, ending with K2.
- Continue until the shawl measures approximately 24 inches from the cast-on edge, measured along the center spine. End with a WS row (either Color A or Color B).
Section 4: Border (Finishing the Edges)
The garter stitch border provides a clean, polished edge that frames the mosaic pattern beautifully. Continue to increase on RS rows as before.
- With Color A, work 6 rows of garter stitch (knit every row), continuing to increase at the edges on RS rows as follows:
- RS Row: K1, YO, knit to last stitch, YO, K1.
- WS Row: Knit all stitches.
Section 5: Bind Off
A loose bind off is essential to maintain the shawl's drape and prevent the edge from pulling.
- Bind off loosely knitwise. To ensure a stretchy edge, use a needle one or two sizes larger for the bind off, or use a stretchy bind off method (such as the Jenny's Surprisingly Stretchy Bind Off).
- Cut yarn, leaving a 6-inch tail. Pull tail through the last loop.
Finishing
- Weave in ends: Using a tapestry needle, carefully weave in all yarn tails on the wrong side of the shawl. Weave them in along the edges or through similar-colored stitches to hide them.
- Blocking: This step is crucial for the mosaic pattern to open up and lie flat. Soak the shawl in lukewarm water with a small amount of wool wash for 15-20 minutes. Gently squeeze out excess water (do not wring). Lay the shawl flat on a blocking mat, gently stretching it to shape. Pin out the points along the edges to create a smooth, even triangle. Allow to dry completely before removing pins.
Your Ember Glow Mosaic Shawl is now complete! The interplay of the warm gold and deep espresso, combined with the woven texture, creates a truly stunning accessory. Wear it draped over your shoulders on a cool autumn evening, or gift it to someone special. Happy knitting!