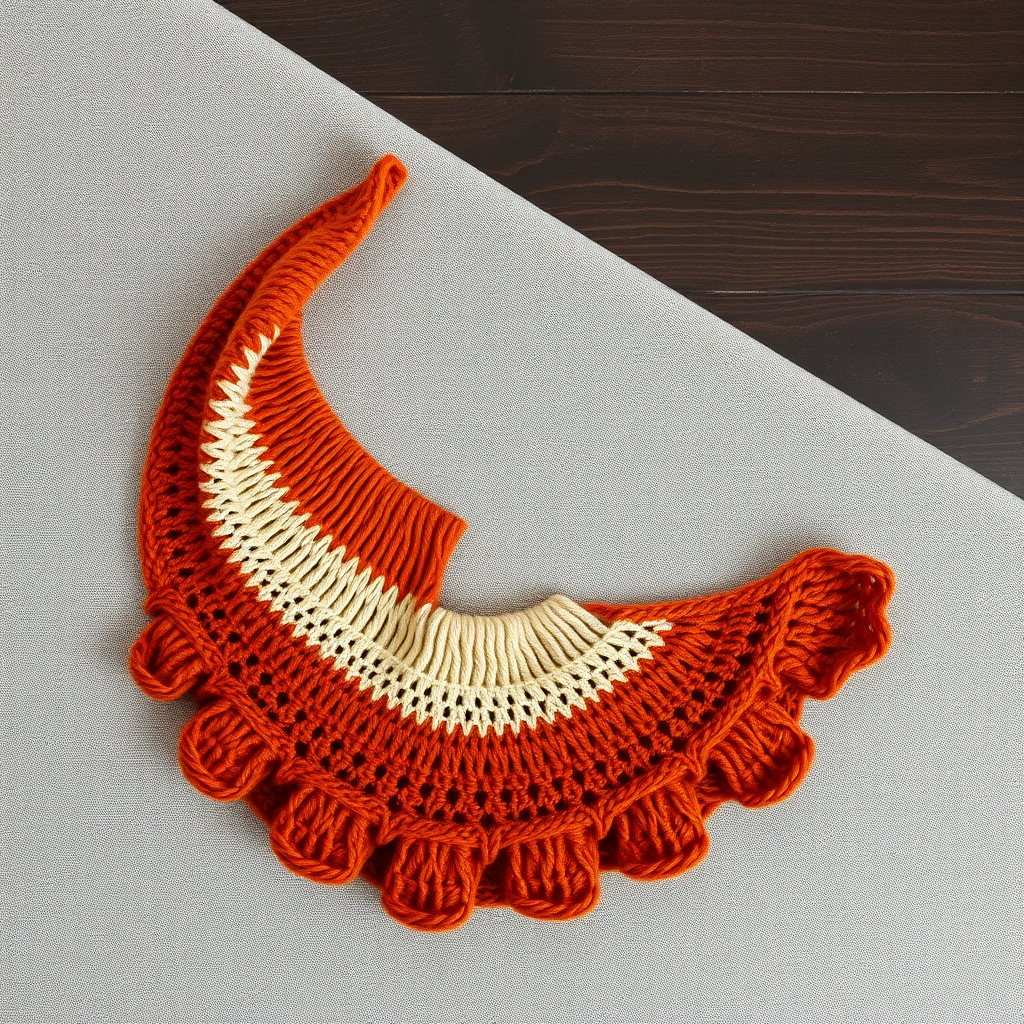
The Misty Meadow Wrap Free Pattern – Knit a Lush Textured Shawl

The Misty Meadow Wrap Free Pattern – Knit a Lush Textured Shawl
Wrap yourself in the soft, earthy embrace of a shawl that mimics a misty meadow with its rich, textured stripes and gentle drape. This knitted wrap is a cozy, versatile layer for cool evenings and quiet mornings. The combination of slipped stitches, eyelets, and a harmonious color palette creates a fabric that feels both rustic and refined—like a walk through rolling hills dotted with wildflowers. Whether you're a seasoned knitter or looking for your next mindful project, this free pattern will guide you stitch by stitch to a stunning, wearable piece of art.
Materials Needed
Before you begin, gather the following supplies. Using the exact yarn weight and needle size ensures your shawl matches the intended drape and gauge.
- Yarn: Worsted weight yarn in 4 colors:
- Color A: Moss Green (approx. 220 yards)
- Color B: Earthy Brown (approx. 220 yards)
- Color C: Cream (approx. 220 yards)
- Color D: Dusty Blue (approx. 110 yards)
- Needle: US 8 (5 mm) circular knitting needle, 32 inches or longer (to accommodate the growing number of stitches).
- Notions: Stitch markers (optional), tapestry needle for weaving in ends, blocking pins and mats.
- Gauge: 18 stitches and 24 rows = 4 inches in stockinette stitch. Always swatch to match gauge for best results.
Step-by-Step Instructions
This shawl is worked flat from the top center down, with increases at the beginning and end of each row to create a triangular shape. The pattern uses a combination of knit, purl, and slipped stitches to create a rich, textured fabric reminiscent of rolling hills and wildflower patches. Follow along carefully—each row builds on the last.
Abbreviations
- k = knit
- p = purl
- k2tog = knit two together (decrease)
- yo = yarn over (increase)
- sl1 = slip one stitch purlwise
- psso = pass slipped stitch over
- st(s) = stitch(es)
- RS = right side
- WS = wrong side
Cast On & Foundation Rows
Cast On: With color A, cast on 3 stitches using your preferred method (long-tail is recommended).
Row 1 (RS): k1, yo, k1, yo, k1 — you now have 5 stitches.
Row 2 (WS): k1, p to last stitch, k1 (knit the first and last stitch of every row for a neat edge).
Row 3 (RS): k1, yo, k to last stitch, yo, k1 — you now have 7 stitches.
Row 4 (WS): k1, p to last stitch, k1.
Repeat Rows 3 and 4 until you have 31 stitches, ending with a WS row. This forms the base of your shawl.
Begin Texture Pattern
Now you'll work the main body of the shawl. The texture pattern is a 4-row repeat that includes increases at both edges, so your stitch count grows by 2 stitches every RS row.
Row 1 (RS): k1, yo, *sl1, k1, psso, k2, yo, k1, yo, k2, k2tog, k1*; repeat from * to * until 1 stitch remains, yo, k1. (Increase 2 stitches)
Row 2 (WS): k1, p to last stitch, k1.
Row 3 (RS): k1, yo, *k3, yo, sl1, k1, psso, k1, k2tog, yo, k2*; repeat from * to * until 1 stitch remains, yo, k1. (Increase 2 stitches)
Row 4 (WS): k1, p to last stitch, k1.
Repeat Rows 1–4 of the texture pattern, working in the following color sequence:
- 8 rows with color A (Moss Green)
- 8 rows with color B (Earthy Brown)
- 8 rows with color C (Cream)
- 8 rows with color D (Dusty Blue)
- 8 rows with color C (Cream)
- 8 rows with color B (Earthy Brown)
- 8 rows with color A (Moss Green)
Note: When changing colors, do so at the beginning of a RS row for a clean stripe transition. Weave in ends as you go or leave them for finishing.
Continue repeating the texture pattern rows, maintaining the increase at each edge, until the shawl measures approximately 60 inches across the top edge, or until you reach your desired length. End with a WS row.
Edging
The edging adds a delicate, scalloped finish that complements the textured body. Work these final rows carefully.
Row 1 (RS): k1, yo, *k2tog, yo*; repeat from * to * until 1 stitch remains, yo, k1.
Row 2 (WS): k1, p to last stitch, k1.
Row 3 (RS): k1, yo, *k1, yo, k2tog*; repeat from * to * until 1 stitch remains, yo, k1.
Row 4 (WS): k1, p to last stitch, k1.
Bind off loosely knitwise on the next RS row. Tip: Use a larger needle or a loose bind-off method (like the knitted bind-off) to ensure the edge remains stretchy and doesn't pucker.
Finishing
Weave in all ends using a tapestry needle, being careful to secure them on the wrong side of the work. Block the shawl gently to open up the lace and texture, pinning the edges to shape. Use blocking mats and rust-proof pins, and mist with water (or use a steam iron on low, keeping it a few inches above the fabric). Allow to dry completely before unpinning. This step is crucial for showcasing the beautiful stitch definition and achieving the perfect drape.
Your Misty Meadow Wrap is now complete! Drape it over your shoulders and enjoy the cozy, earthy elegance you've created with your own hands. This pattern is perfect for gifting or treating yourself—each stripe tells a story of mindful making.