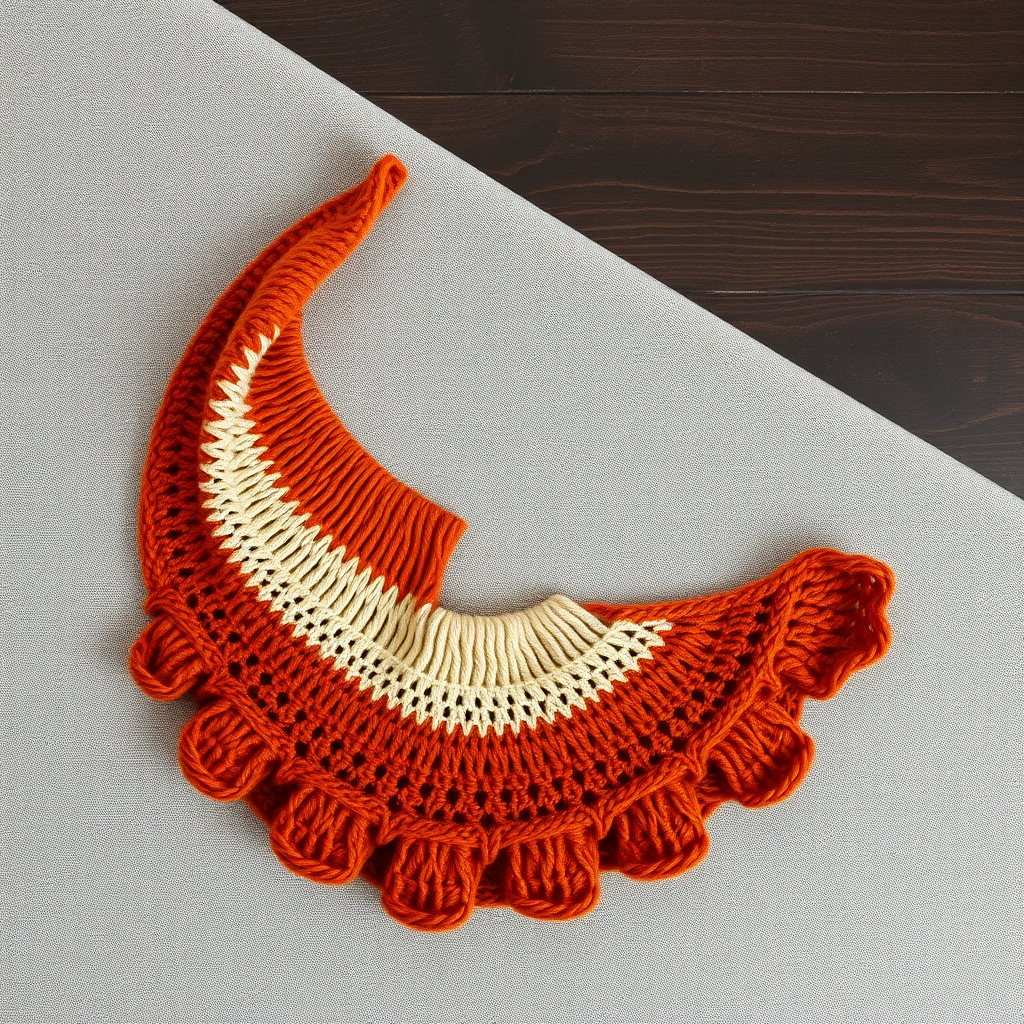
The Whispering Willow Lace Shawl: A Free Knitting Pattern for a Textured, Asymmetrical Wrap

The Whispering Willow Lace Shawl: A Free Knitting Pattern for a Textured, Asymmetrical Wrap
Wrap yourself in the gentle elegance of the Whispering Willow Shawl, a modern asymmetrical design that combines delicate lace with a cozy, textured garter stitch border. This free knitting pattern creates a stunning, wearable piece of art that drapes beautifully over any outfit. The combination of a simple garter tab start, a textured garter border, and an intricate lace body makes this project both satisfying to knit and breathtaking to wear. Whether you're a confident beginner looking to expand your lace skills or an experienced knitter seeking a relaxing yet beautiful project, this shawl is the perfect companion for cozy evenings and stylish outings.
Materials Needed
- Yarn: Fingering weight yarn (approx. 400-450 yards). Sample shown in Malabrigo Sock (100% Superwash Merino) in 'Piedras' colorway.
- Needle: US Size 6 (4.0 mm) circular needle, 32-inch or longer (to accommodate the growing number of stitches).
- Notions: Stitch markers (2), tapestry needle for weaving in ends, blocking pins and mats.
Gauge & Sizing
Gauge: 20 stitches and 28 rows = 4 inches in stockinette stitch, after blocking. Gauge is not critical for this project, but consistency will affect yardage and final size.
Finished Size: Approximately 24 inches from cast-on edge to longest point, after blocking. Width will vary based on your gauge and how many pattern repeats you work.
Step-by-Step Instructions
Abbreviations
- k = knit
- p = purl
- k2tog = knit two together (right-leaning decrease)
- yo = yarn over
- ssk = slip slip knit (left-leaning decrease)
- pm = place marker
- slip marker = move marker from left needle to right needle
- RS = right side
- WS = wrong side
Special Stitches
Lace Pattern (Multiple of 4 + 1):
- Row 1 (RS): k1, *yo, ssk, k2tog, yo, k1; repeat from * to end.
- Row 2 (WS): purl all stitches.
- Row 3 (RS): k2, *yo, ssk, k2tog, yo, k1; repeat from * to last 3 stitches, yo, ssk, k1.
- Row 4 (WS): purl all stitches.
Garter Tab Cast-On
- Cast on 3 stitches using your preferred method.
- Knit 6 rows (you will have 3 garter ridges on the right side). Do not turn after the last row.
- Turn work 90 degrees clockwise. Pick up and knit 3 stitches along the side edge (one stitch in each garter ridge). You now have 3 loops on your needle.
- Turn work 90 degrees clockwise again. Pick up and knit 3 stitches from the cast-on edge (the bottom bumps). You now have 9 stitches on your needle.
Set-Up Row (WS)
k3, pm, p3, pm, k3. (9 stitches: 3 garter border, 3 center, 3 garter border)
Body – Increase Section
Note: The garter stitch border (first and last 3 stitches) is always knit on every row. Increases are made by working a yarn over on each side of the center section on RS rows only.
- Row 1 (RS): k3, slip marker, yo, k1, yo, slip marker, k3. (11 stitches: 3 border, 3 center, 3 border)
- Row 2 (WS): k3, slip marker, p5, slip marker, k3.
- Row 3 (RS): k3, slip marker, yo, k3, yo, slip marker, k3. (13 stitches: 3 border, 5 center, 3 border)
- Row 4 (WS): k3, slip marker, p7, slip marker, k3.
- Row 5 (RS): k3, slip marker, yo, k5, yo, slip marker, k3. (15 stitches: 3 border, 7 center, 3 border)
- Row 6 (WS): k3, slip marker, p9, slip marker, k3.
Continue in this manner, increasing by 2 stitches every RS row (yo at each side of the center section) until you have 43 stitches in the center section (total 49 stitches on needle: 3 border + 43 center + 3 border). End after a WS row.
Body – Lace Pattern Section
Now you will work the lace pattern across the center stitches while continuing the garter borders. The lace pattern is worked over the center stitches only (between markers).
- Row 1 (RS): k3, slip marker, work Lace Pattern Row 1 across center stitches (43 stitches), slip marker, k3.
- Row 2 (WS): k3, slip marker, purl across center stitches, slip marker, k3.
- Row 3 (RS): k3, slip marker, work Lace Pattern Row 3 across center stitches, slip marker, k3.
- Row 4 (WS): k3, slip marker, purl across center stitches, slip marker, k3.
Increase Row (RS): k3, slip marker, yo, work Lace Pattern Row 1 across center stitches, yo, slip marker, k3. (2 stitches increased – now 45 center stitches)
Continue working the Lace Pattern, repeating the 4-row pattern, and working an Increase Row every 4th RS row (i.e., every 8 rows total: work 3 plain RS rows, then 1 increase RS row). Work until the shawl measures approximately 24 inches from the cast-on edge, ending after a WS row. The number of center stitches will grow with each increase row; the lace pattern will still work as long as you maintain the multiple of 4 + 1.
Edging
- Knit 6 rows (garter stitch) across all stitches (no markers needed – just knit every stitch).
- Bind off loosely knitwise. To ensure a stretchy edge, use a needle one size larger for the bind-off or use a stretchy bind-off method like Jeny's Surprisingly Stretchy Bind-Off.
Finishing
- Weave in all ends using a tapestry needle. Be sure to weave in securely on the wrong side.
- Blocking (Essential for Lace): Soak the shawl in lukewarm water with a gentle wool wash for 20-30 minutes. Gently squeeze out excess water (do not wring). Roll in a towel to remove remaining moisture.
- Lay the shawl flat on a blocking mat. Gently stretch and pin out the points and edges to open up the lace pattern. Focus on the long, asymmetrical point on one side. Pin the garter border edges straight. Allow to dry completely (24-48 hours) before removing pins.
Your Whispering Willow Shawl is now complete! The delicate lace will bloom beautifully after blocking, revealing the elegant leaf-like pattern. Enjoy wearing this cozy, modern wrap that adds a touch of handmade luxury to any outfit.