The Whispering Woods Fingerless Gloves: A Free Knitting Pattern for Textured, Modern Mitts

Introduction: The Quiet Magic of the Forest
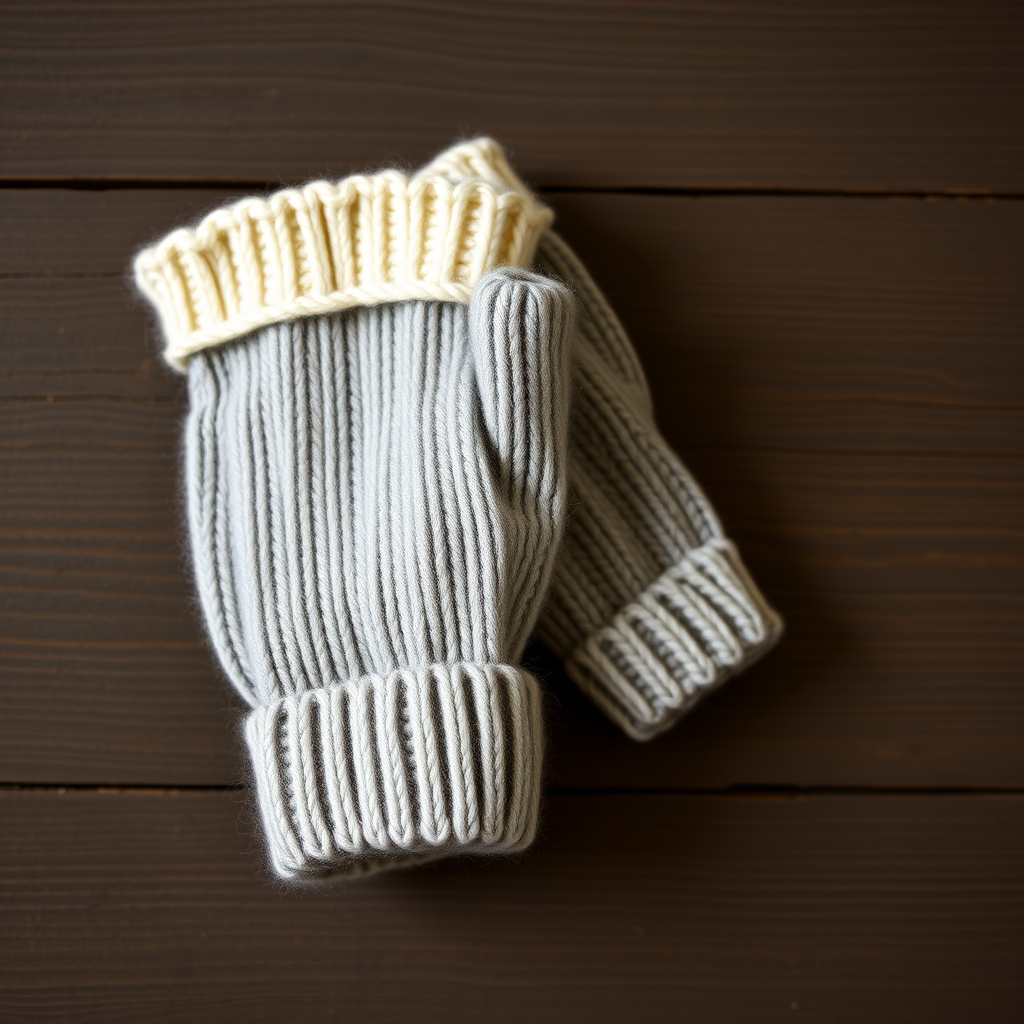
There's a special kind of magic found in the quiet hush of a forest—the dappled light, the soft moss underfoot, the intricate patterns of bark and leaf. The Whispering Woods Fingerless Gloves capture that very essence in a modern, textured accessory. This free knitting pattern combines the structural beauty of twisted stitches with the airy delicacy of lace panels, creating a richly textured fabric that is both warm and dexterous. Knit in a heathered moss green, these mitts are perfect for a cozy walk, a chilly office, or simply curling up with a good book. Whether you're an adventurous beginner or an experienced knitter, this pattern offers a rewarding project that builds confidence with cables and lace.
Materials Needed
Before you begin, gather the following materials. The pattern is designed for a worsted weight yarn, which provides excellent stitch definition for both the cables and the lace.
- Yarn: Worsted weight yarn (e.g., Malabrigo Rios in 'Piedras' or similar heathered green), approximately 200 yards.
- Needles: US 6 (4.0 mm) knitting needles. You can use a set of double-pointed needles (DPNs) or a long circular needle for the magic loop method.
- Notions: Stitch markers (4), cable needle, stitch holder or waste yarn, tapestry needle for weaving in ends.
- Gauge: 20 stitches and 28 rows = 4 inches in stockinette stitch, blocked. Achieving the correct gauge is crucial for a proper fit.
Step-by-Step Instructions
This pattern is written for three sizes: Small (Medium, Large). The finished palm circumference is 7 (8, 9) inches. Please read through all instructions before beginning.
Abbreviations
- CO: Cast on
- K: Knit
- P: Purl
- K2tog: Knit two together (right-leaning decrease)
- SSK: Slip, slip, knit (left-leaning decrease)
- YO: Yarn over
- M1L: Make one left (increase, lifts the bar between stitches from front to back)
- M1R: Make one right (increase, lifts the bar between stitches from back to front)
- C4F: Cable 4 front (slip 2 stitches to cable needle, hold in front, knit next 2, then knit 2 from cable needle)
- C4B: Cable 4 back (slip 2 stitches to cable needle, hold in back, knit next 2, then knit 2 from cable needle)
- St(s): Stitch(es)
- Rep: Repeat
- RS: Right side
- WS: Wrong side
- Pm: Place marker
- Sm: Slip marker
Special Stitches
These stitch patterns are the heart of the design. Practice them on a swatch if you are new to cables or lace.
- Twisted Rib (worked flat over multiple of 2 sts):
- Row 1 (RS): *K1 through back loop (tbl), P1; rep from *.
- Row 2: *K1, P1 tbl; rep from *.
- Repeat rows 1-2.
- Lace Panel (worked over 10 sts):
- Row 1 (RS): K2, YO, SSK, K2, K2tog, YO, K2.
- Row 2 and all WS rows: Purl all stitches.
- Row 3: K1, YO, K2tog, YO, SSK, K2tog, YO, SSK, YO, K1.
- Row 5: K2, YO, SSK, K2, K2tog, YO, K2.
- Row 7: K1, YO, SSK, YO, K2tog, K2, YO, SSK, YO, K1.
- Row 9: K2, YO, SSK, K2, K2tog, YO, K2.
- Row 11: K1, YO, K2tog, YO, SSK, K2tog, YO, SSK, YO, K1.
- Row 12: Purl.
- Repeat rows 1-12.
- Cable Panel (worked over 8 sts):
- Row 1 (RS): C4F, C4B.
- Row 2 and all WS rows: Purl.
- Row 3: K8.
- Row 5: C4B, C4F.
- Row 7: K8.
- Row 8: Purl.
- Repeat rows 1-8.
Instructions: Left Glove
- Cast On and Cuff: CO 40 (44, 48) sts. Distribute evenly across DPNs or use magic loop. Join in the round, being careful not to twist. Work in Twisted Rib for 1.5 inches.
- Set-up Round: K10 (12, 14) sts, place marker (pm), work Cable Panel over next 8 sts, pm, work Lace Panel over next 10 sts, pm, K12 (14, 16) sts to end. You now have four sections: palm stitches, cable panel, lace panel, and back-of-hand stitches.
- Work Even: Work even in pattern (knit the knit sts, purl the purl sts, and follow the chart for cable and lace panels) for 2 inches. Remember that on WS rows for the cable and lace panels, you purl all stitches.
- Thumb Gusset:
- Round 1 (Increase Round): K to 2 sts before first marker, M1R, K1, M1L, K1, slip marker (sm), work cable panel, sm, work lace panel, sm, K to end. (2 sts increased)
- Round 2: Work even in pattern (knit the knit sts, purl the purl sts, and follow chart for cable and lace panels).
- Repeat rounds 1-2 until you have 12 (14, 16) sts between the first marker and the cable panel marker. The thumb gusset is worked between the first marker and the cable panel.
- Separate Thumb:
- Next round: K to first marker, remove marker, place next 12 (14, 16) sts on a stitch holder or waste yarn for thumb, remove marker, work cable panel, sm, work lace panel, sm, K to end. (40 (44, 48) sts remain)
- Hand Body: Continue working even in pattern until glove measures 7 (7.5, 8) inches from cast-on edge, or desired length to knuckles.
- Hand Shaping (Decreases):
- Round 1 (Decrease Round): *K2tog, K to 2 sts before next marker, SSK; rep from * once more (4 sts decreased).
- Round 2: Work even.
- Repeat rounds 1-2 until 16 (20, 24) sts remain.
- Next round: *K2tog; rep from * around. (8 (10, 12) sts remain)
- Cut yarn, thread through remaining sts, pull tight, and weave in end.
Instructions: Thumb (Both Gloves)
- Place 12 (14, 16) thumb sts onto DPNs. Pick up and knit 2 sts from the gap. (14 (16, 18) sts)
- Work in stockinette stitch (knit every round) for 1.5 inches.
- Next round: *K2tog; rep from * around. (7 (8, 9) sts remain)
- Cut yarn, thread through remaining sts, pull tight, and weave in end.
Instructions: Right Glove
The right glove is a mirror image of the left. The thumb gusset is placed after the lace panel instead of before the cable panel.
- Cast On and Cuff: Work exactly as for the Left Glove.
- Set-up Round: K12 (14, 16) sts, pm, work Lace Panel over next 10 sts, pm, work Cable Panel over next 8 sts, pm, K10 (12, 14) sts to end.
- Work Even: Work even in pattern for 2 inches.
- Thumb Gusset: Work thumb gusset between the lace panel marker and the cable panel marker. Follow the same increase pattern as for the Left Glove.
- Separate Thumb and Complete: Continue as for the Left Glove from the "Separate Thumb" step onward.
Finishing
- Weave in all ends using a tapestry needle. Be sure to secure the yarn at the thumb gap to prevent holes.
- Block gently to open lace and set cables. Soak the gloves in lukewarm water with a drop of wool wash, gently squeeze out excess water, and lay flat to dry, shaping as desired.
Your Whispering Woods Fingerless Gloves are now complete! Enjoy the cozy, handcrafted warmth and the beautiful texture you've created.