Whispering Prairie Dune Wrap Free Knitting Pattern
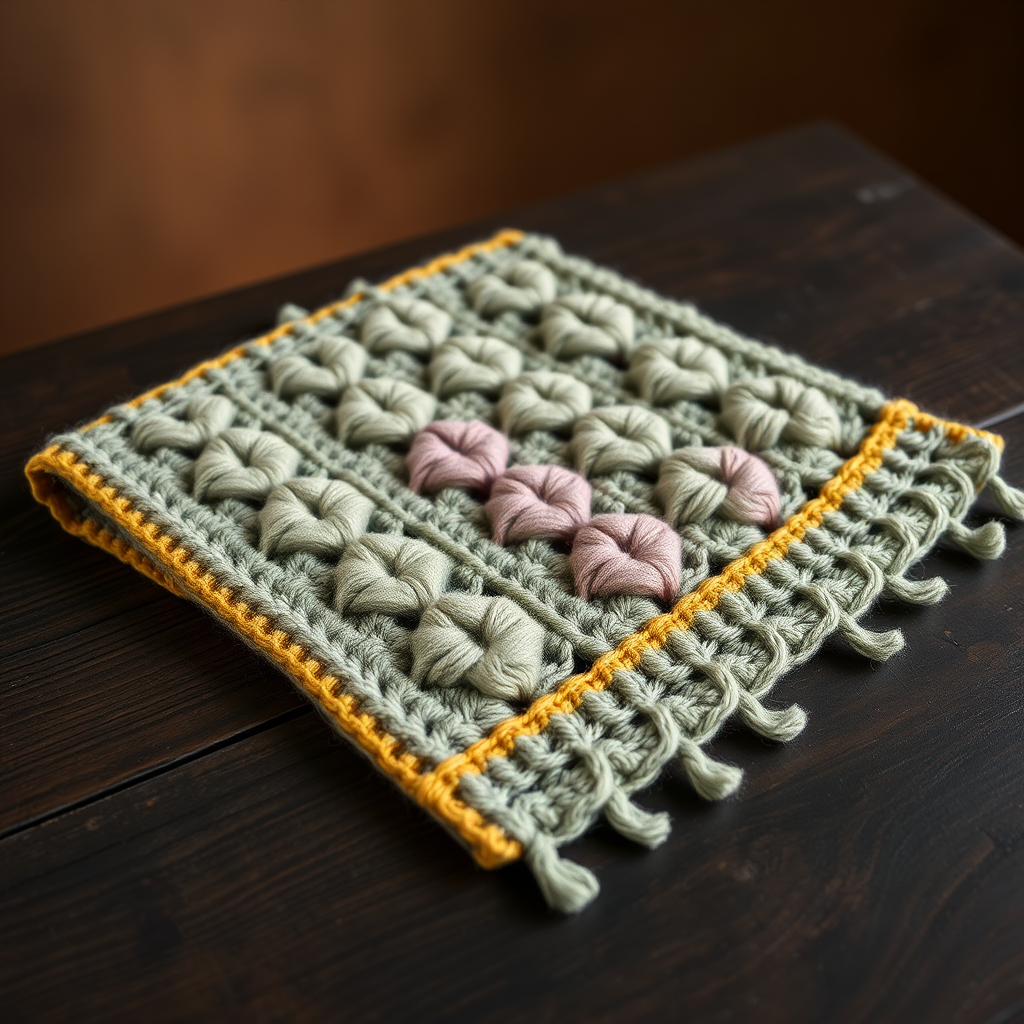
The Whispering Prairie Dune Wrap: A Free Knitting Pattern for a Modern Heirloom
Wrap yourself in the muted, sun-bleached hues of the American prairie with this exquisite, textured wrap. The Whispering Prairie Dune Wrap is a stunning knitting project that combines the soothing rhythm of garter ridges with the visual intrigue of slipped-stitch diamonds. The interplay of these techniques creates a modern, geometric fabric that drapes beautifully over the shoulders, evoking the earthy calm of sagebrush, dusty roses, and sun-dried wheat. Whether you are a confident beginner looking for a rewarding challenge or an intermediate knitter seeking a mindful project, this free pattern is designed to become a cherished piece in your wardrobe. Let's cast on and bring a touch of the serene prairie into your home.
Materials Needed
Before you begin your journey, gather the following materials. The quality of your yarn will greatly affect the drape and feel of your finished wrap, so choose a soft, worsted-weight yarn that you love.
- Yarn: Worsted weight yarn in 3 colors:
- Color A (Sagebrush): 400 yards (e.g., a muted sage green)
- Color B (Dusty Rose): 350 yards (e.g., a faded rose pink)
- Color C (Wheat): 300 yards (e.g., a warm wheat yellow)
- Needles: US 8 (5.0 mm) 32-inch circular needle (or straight needles if you prefer, though the circular needle is recommended to accommodate the large number of stitches).
- Other: Tapestry needle for weaving in ends, scissors, and blocking mats with pins.
Gauge
18 stitches and 24 rows = 4 inches in stockinette stitch (blocked). While gauge is not critical for this project, it will affect the final size and drape. For the best results, take a moment to knit a small swatch and adjust your needle size if necessary to match this gauge.
Step-by-Step Instructions
This pattern is worked flat, back and forth in rows. The slipped-stitch diamond pattern is created over a multiple of 8 stitches + 3 (for symmetry). Follow these detailed instructions carefully, and you will create a beautiful, heirloom-quality wrap.
Size & Abbreviations
Finished Size: Approximately 24 inches wide x 70 inches long (after blocking).
Abbreviations:
- CO: Cast on
- K: Knit
- P: Purl
- Sl: Slip stitch purlwise with yarn in back (unless otherwise noted)
- K2tog: Knit two together
- Yo: Yarn over
- RS: Right side
- WS: Wrong side
Pattern Notes
- The wrap is worked flat, back and forth in rows. Use a circular needle to accommodate the large number of stitches.
- The slipped-stitch diamond pattern is created over a multiple of 8 stitches + 3 (for symmetry).
- Always slip stitches purlwise with yarn in back on RS rows, and with yarn in front on WS rows (unless otherwise stated).
- When changing colors, carry the unused yarn loosely up the side, or weave in ends at the end.
Section 1: Garter Border (Color A)
This border creates a sturdy, neat edge for your wrap.
- CO 99 stitches with Color A.
- Knit every row for 8 rows (this will create 4 garter ridges).
Section 2: Diamond Pattern (Color A & B)
This is the heart of the pattern, where the beautiful geometric texture emerges. The pattern is a simple 8-row repeat. Pay close attention to the yarn position when slipping stitches.
- Row 1 (RS, Color A): K3, *Sl 1, K3, Sl 1, K3; repeat from * to last 0 sts (end with K3). This means you will repeat the sequence until you have worked all stitches, ending with the K3 from the repeat.
- Row 2 (WS, Color A): Purl all stitches.
- Row 3 (RS, Color B): K3, *K1, Sl 1, K1, Sl 1, K1, Sl 1, K1; repeat from * to last 3 sts, K3. This row staggers the slipped stitches to begin forming the diamond shape.
- Row 4 (WS, Color B): Purl all stitches.
- Row 5 (RS, Color A): K3, *Sl 1, K3, Sl 1, K3; repeat from * to end. This is identical to Row 1.
- Row 6 (WS, Color A): Purl all stitches.
- Row 7 (RS, Color B): K3, *K1, Sl 1, K1, Sl 1, K1, Sl 1, K1; repeat from * to last 3 sts, K3. This is identical to Row 3.
- Row 8 (WS, Color B): Purl all stitches.
Repeat Rows 1-8 until the piece measures approximately 60 inches from the cast-on edge, ending with a Row 8 (a WS row). This will ensure your border is symmetrical.
Section 3: Garter Border (Color C)
Finish the wrap with a warm, wheat-colored border to match the beginning.
- Switch to Color C.
- Knit every row for 8 rows (4 garter ridges).
- Bind off loosely in knit. A loose bind-off is crucial to prevent the edge from pulling in and ruining the drape. You can use a larger needle to bind off if needed.
Finishing
The final steps are what transform your knitting into a polished, professional piece.
- Weave in all ends using a tapestry needle. Be sure to weave them in securely on the wrong side of the work, following the path of the yarn to keep them invisible.
- Block the wrap gently to open up the stitch patterns and even out the edges. To do this, soak the wrap in lukewarm water with a mild wool wash, gently squeeze out excess water (do not wring), and lay it flat on a towel. Roll the towel to remove more water, then lay the wrap flat on blocking mats. Pin the edges to your desired dimensions (24" x 70") and allow it to dry completely. This step is essential for achieving the beautiful drape and crisp stitch definition.
Once dry, your Whispering Prairie Dune Wrap is ready to be worn and admired. The subtle texture and earthy colors make it a versatile accessory that pairs beautifully with both casual and dressy outfits. Enjoy the fruits of your labor, and know that you have created a truly special piece that echoes the quiet beauty of the prairie.



